

Make your older house smart with konnected.io
It's getting cold again and I was checking and repairing my weather stripping around my house. Whilst taking a close look at the doors, I noticed most of them had what looked like recessed sensors in them. Into the rabbit hole I went...
Investigation
I had to first confirm my suspicions. I knew I had a bunch of wires in the basement, which I assumed were phone wires. I found some wires with labels such as "basement door" and "garage door". I'd expected only two wires for a magnetic reed switch, but mine had four. Using a multi-meter to measure resistance, I started testing wires in pairs. The wires should measure low resistance (closed circuit) with the door closed, and very high resistance with the door open (open circuit). Doing this I was able to trace all the wires for all the doors in my house and confirm they worked as expected.
Konnected
Konnected.io is an open source firmware to interface old wired sensors to new smart home frameworks. It runs on cheap and reliable ESP8266 microcontrollers available for about $10. Though I use a Smart Things hub, it can also integrate Home Assistant, OpenHAB, and Hubitat.
Hardware

Konnecting my wired doors
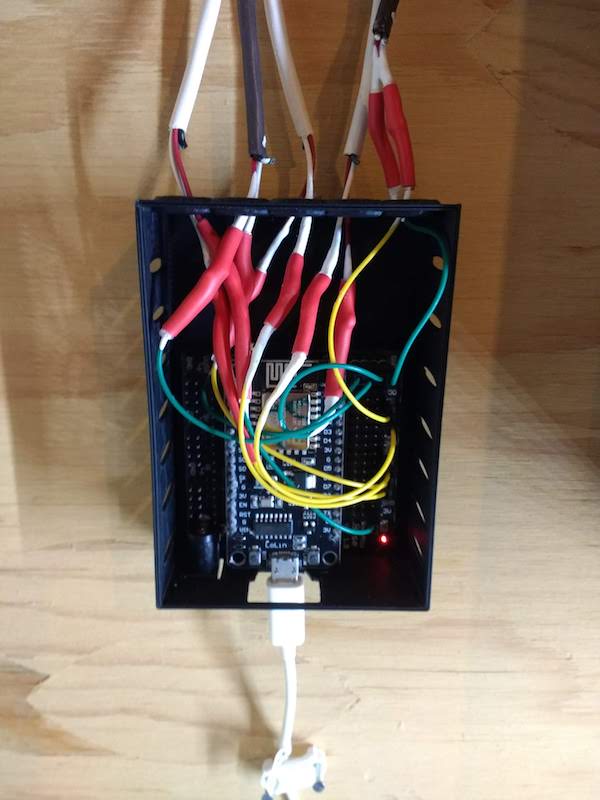
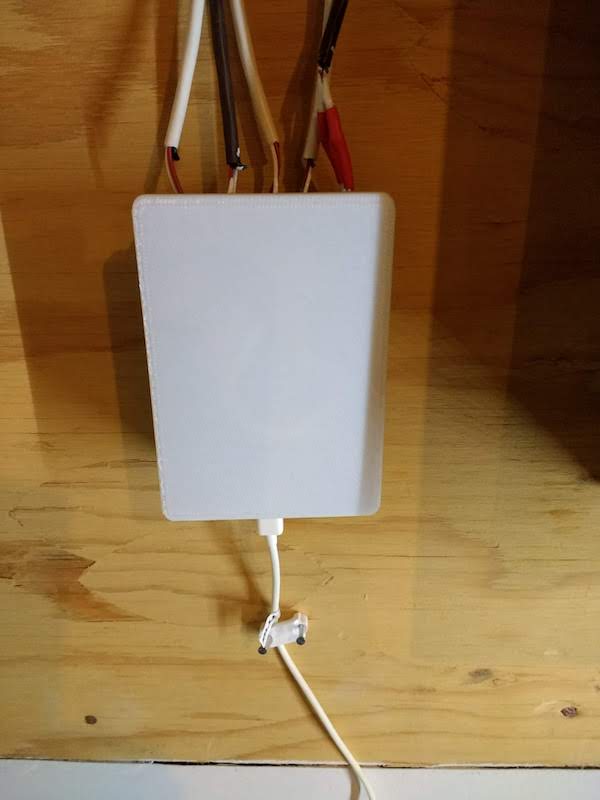
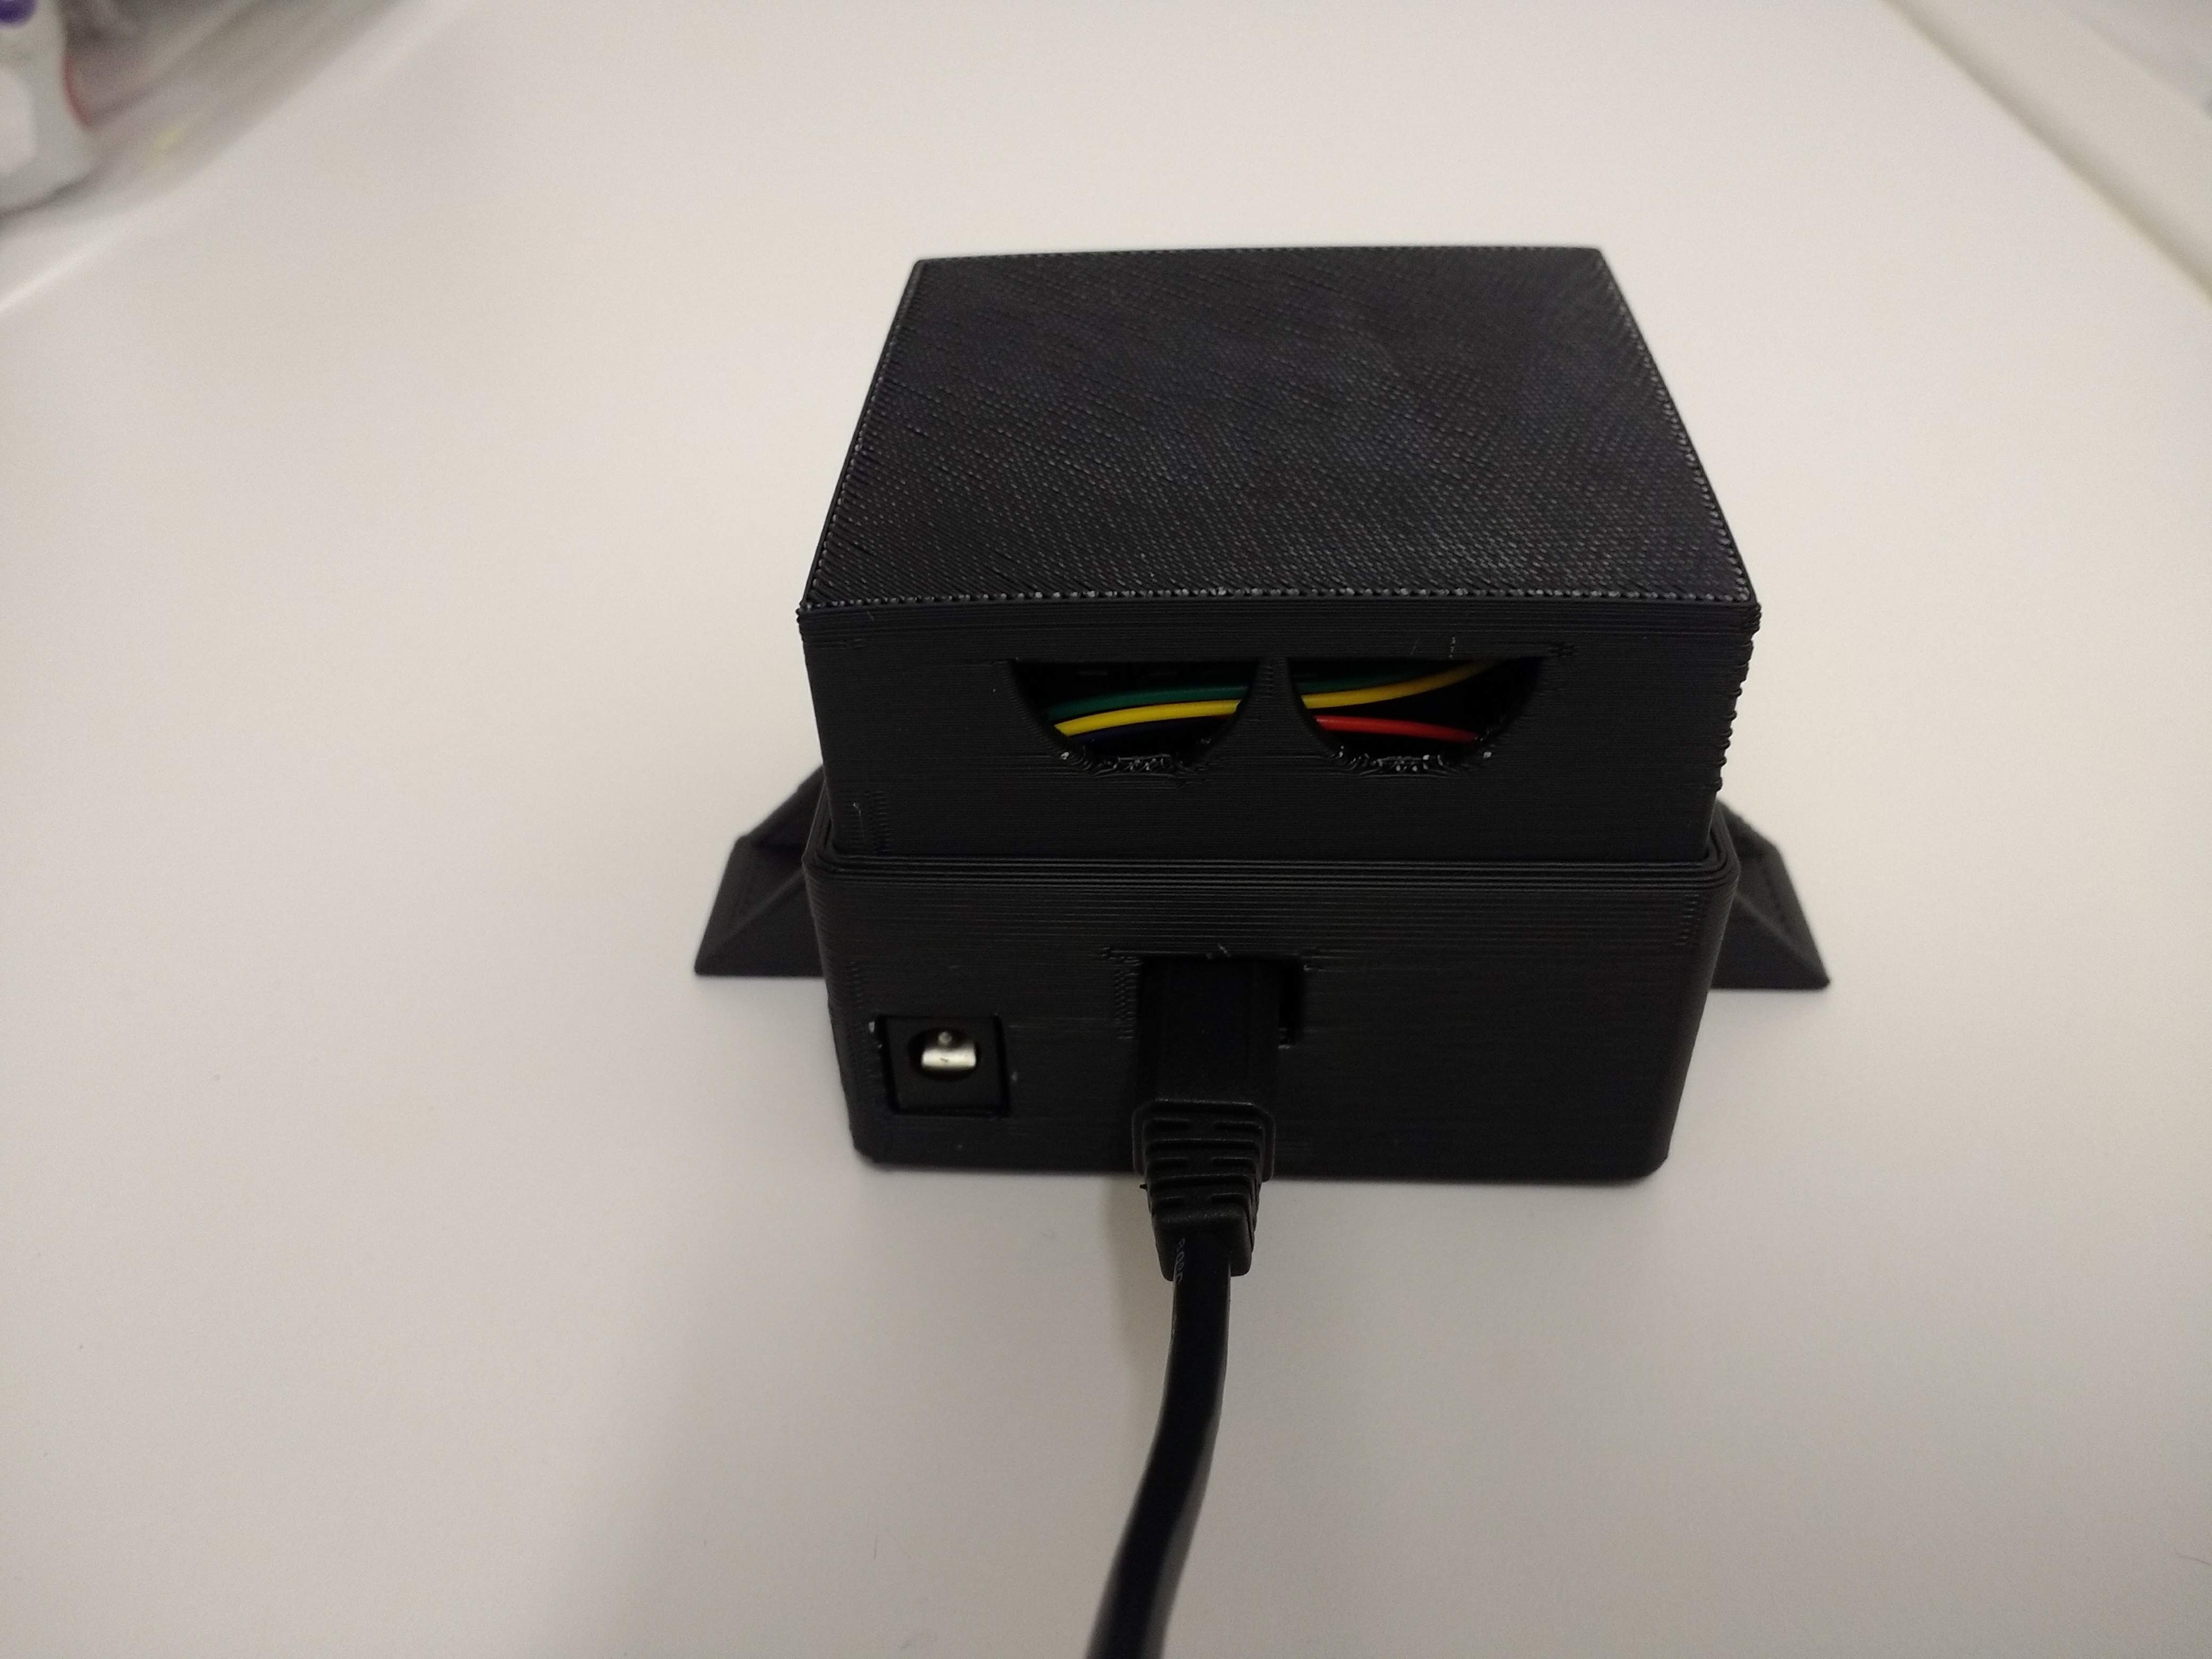
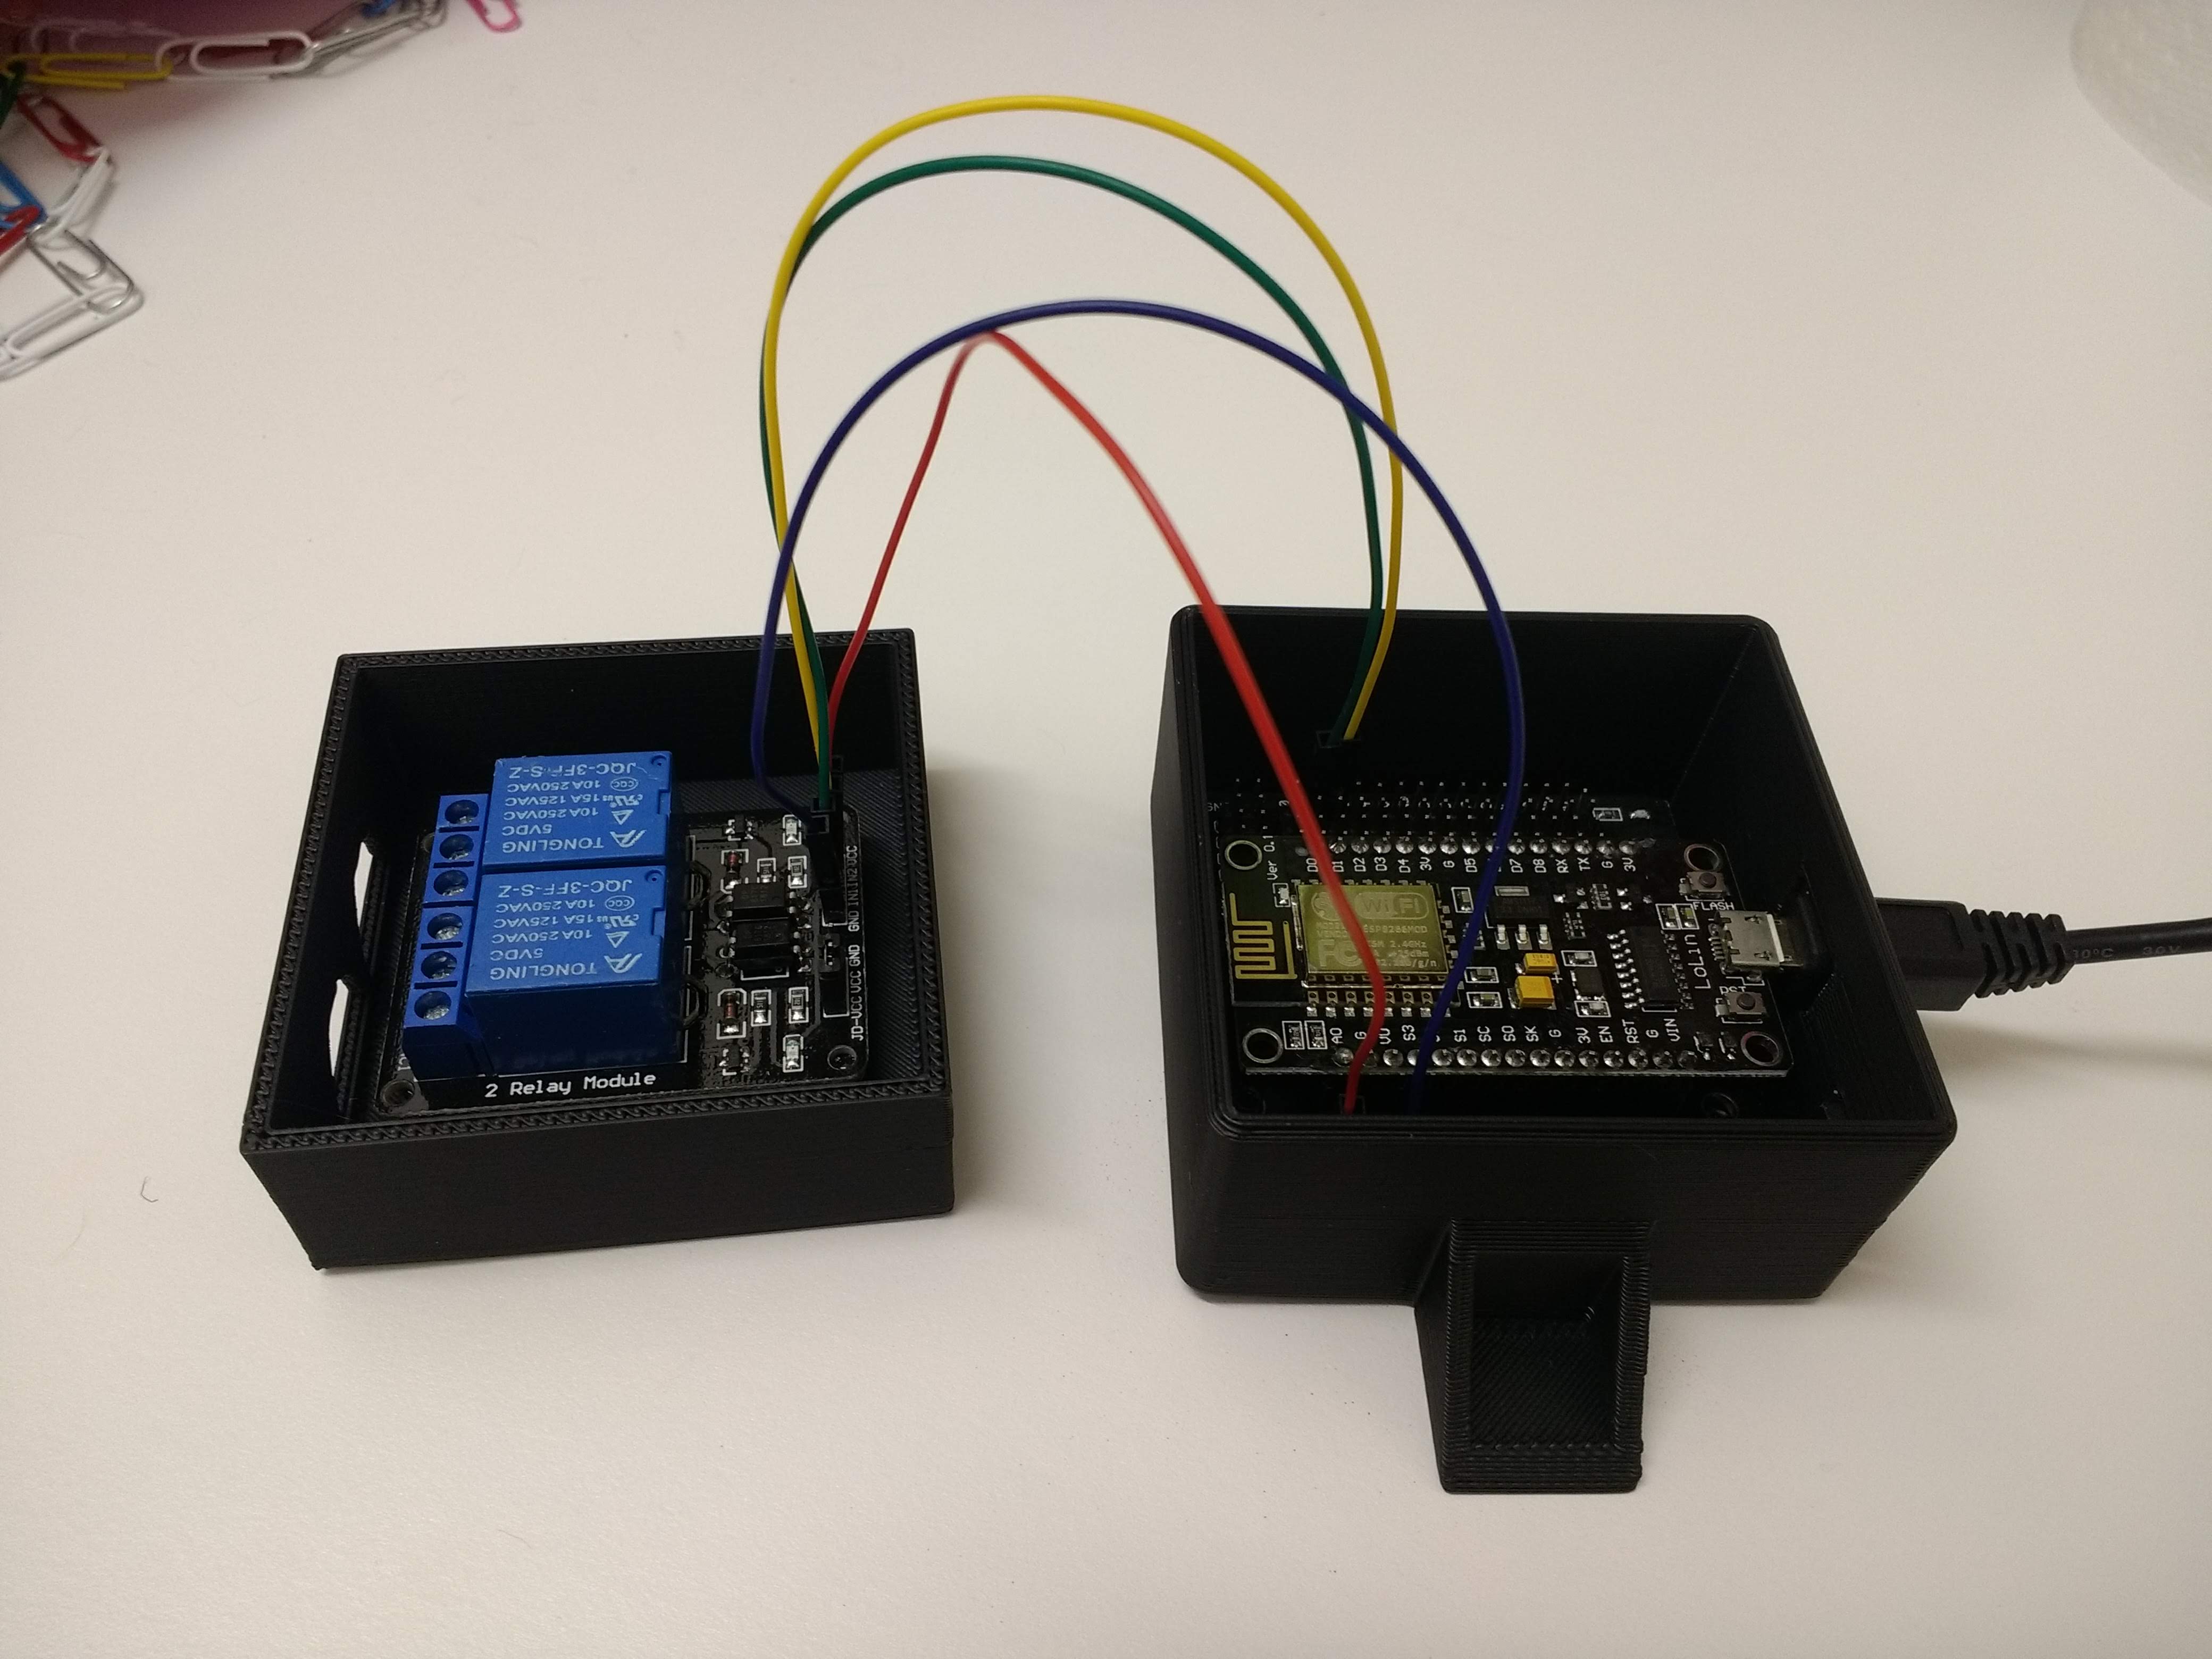
Once you've flashed the firmware and identified the wires, you need to hook it up and configure it. I wanted my hardware enclosed, so I first created a case for it with Tinkercad and 3d printed it.

The configuration in Smart Things is a bit involved. You first need to install some device handlers and Smart Apps. The docs cover this well. You end up with a configuration in Smart Things that is a simple assignment of each hardware pin to device.
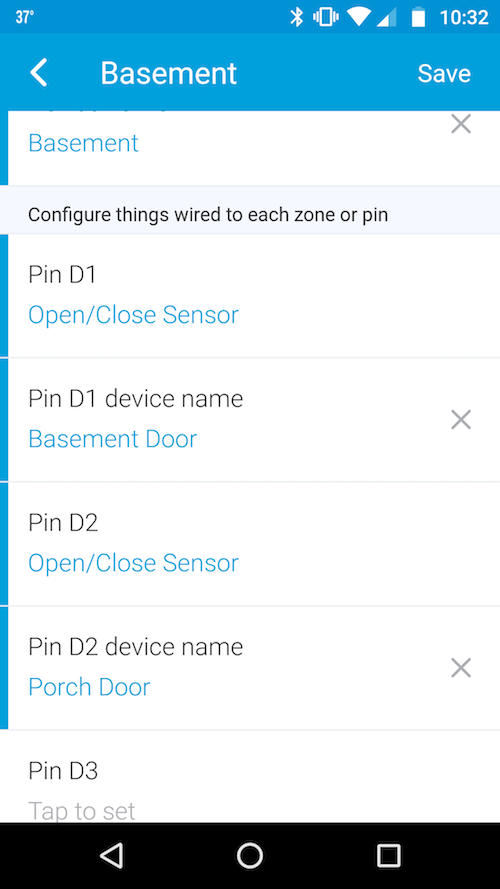
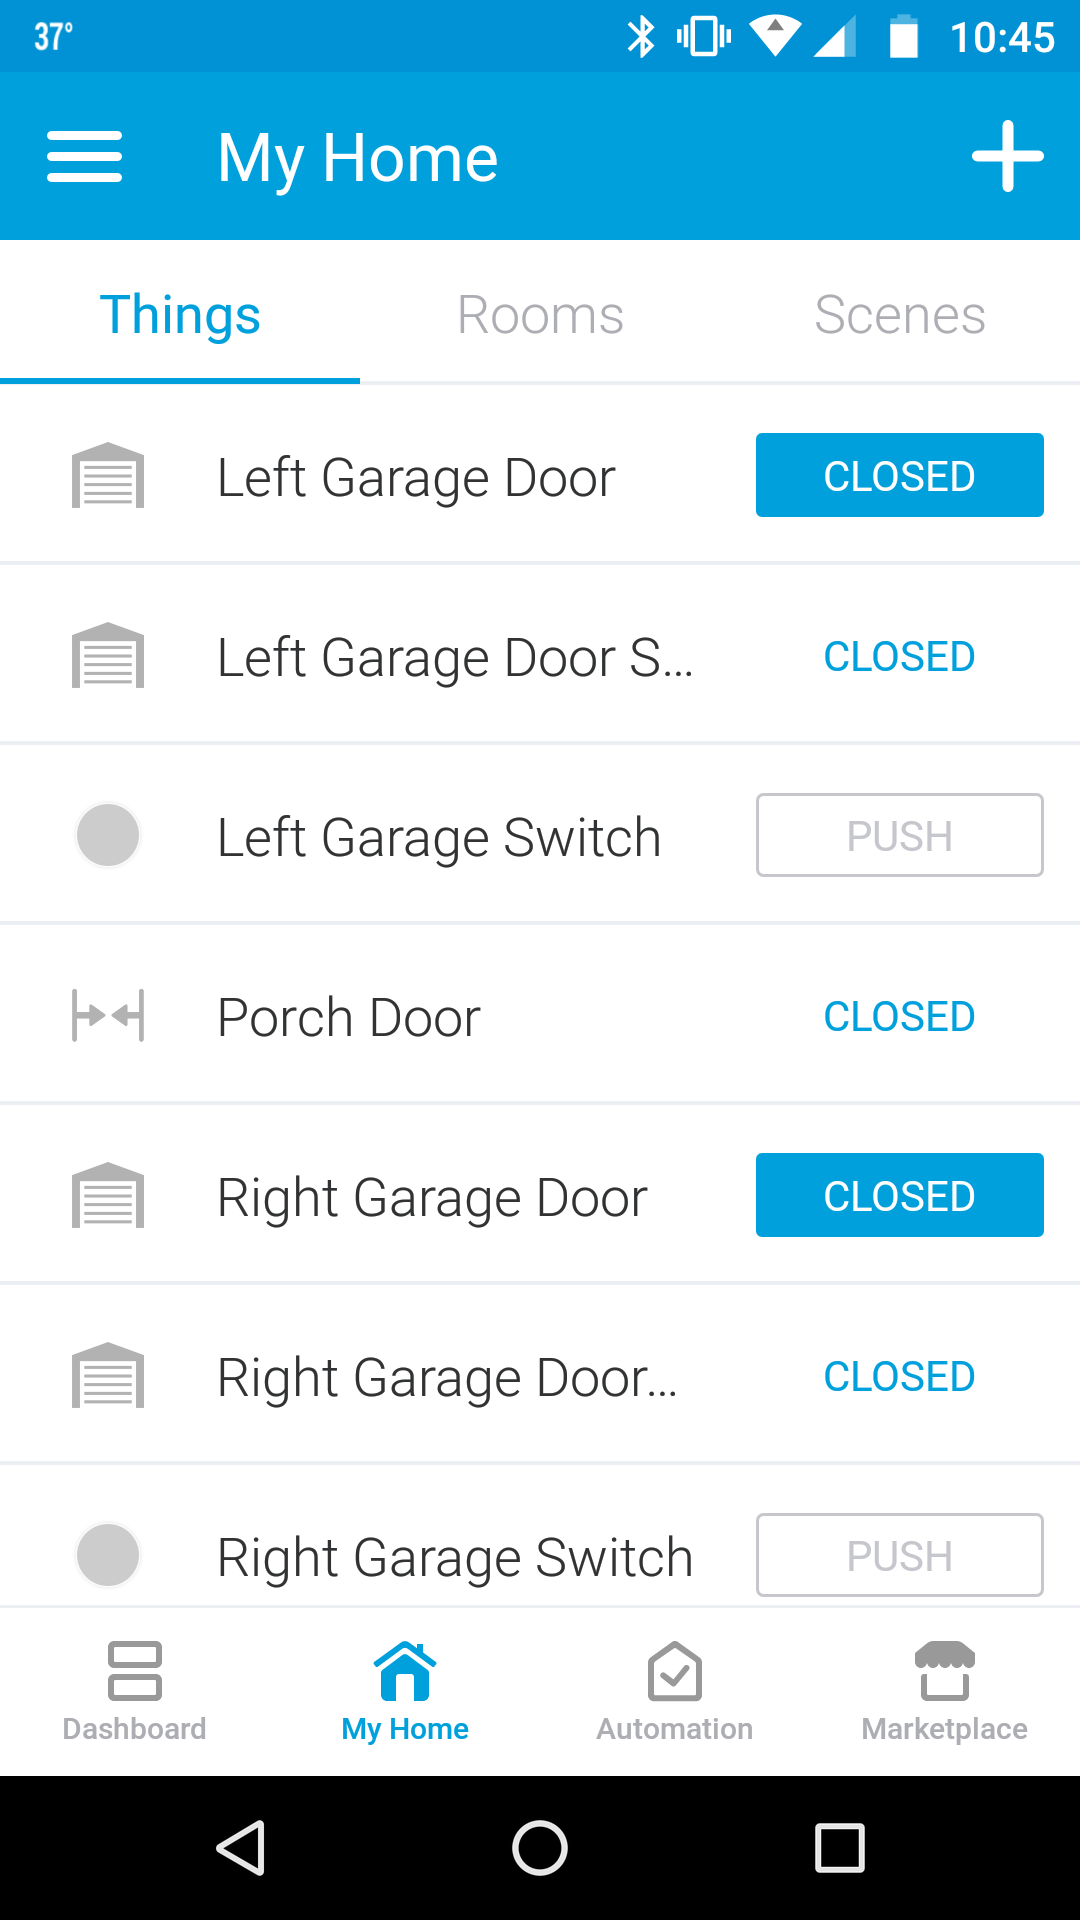
Once you're done, they all appear as regular doors in Smart Things.
Konnecting my garage doors
Closing thoughts
There are a few caveats to Konnected worth knowing about. First, I noticed that the Konnected devices don't show as unavailable in Smart Things if the Konnected device is down. Support is good, though. I had an issue with the garage box rebooting, but opened a ticket and had it resolved within hours. Second, it uses a Smart App that loads status from the device. This works fine on your LAN, but does NOT work otherwise (e.g. when you're not home). Not a huge issue, as the devices seem pretty stable, but definitely a short-coming, and unusual Smart Things behavior. Third, you end up with three "devices" for each garage door:
- A virtual push button to act as a trigger
- The multipurpose sensor detects if the door is open or closed
- A virtual garage door used to hook into automations
All minor things overall, I'm really happy with the results.