
Simple DIY PVC Pipe Birdhouse
There are some great looking wooden birdhouses, but after just a year or two, they start to rot and fall apart. Even when cleaned out each fall and stored indoors each winter. Wood just isn't very durable, and birdhouses get abused inside and out.
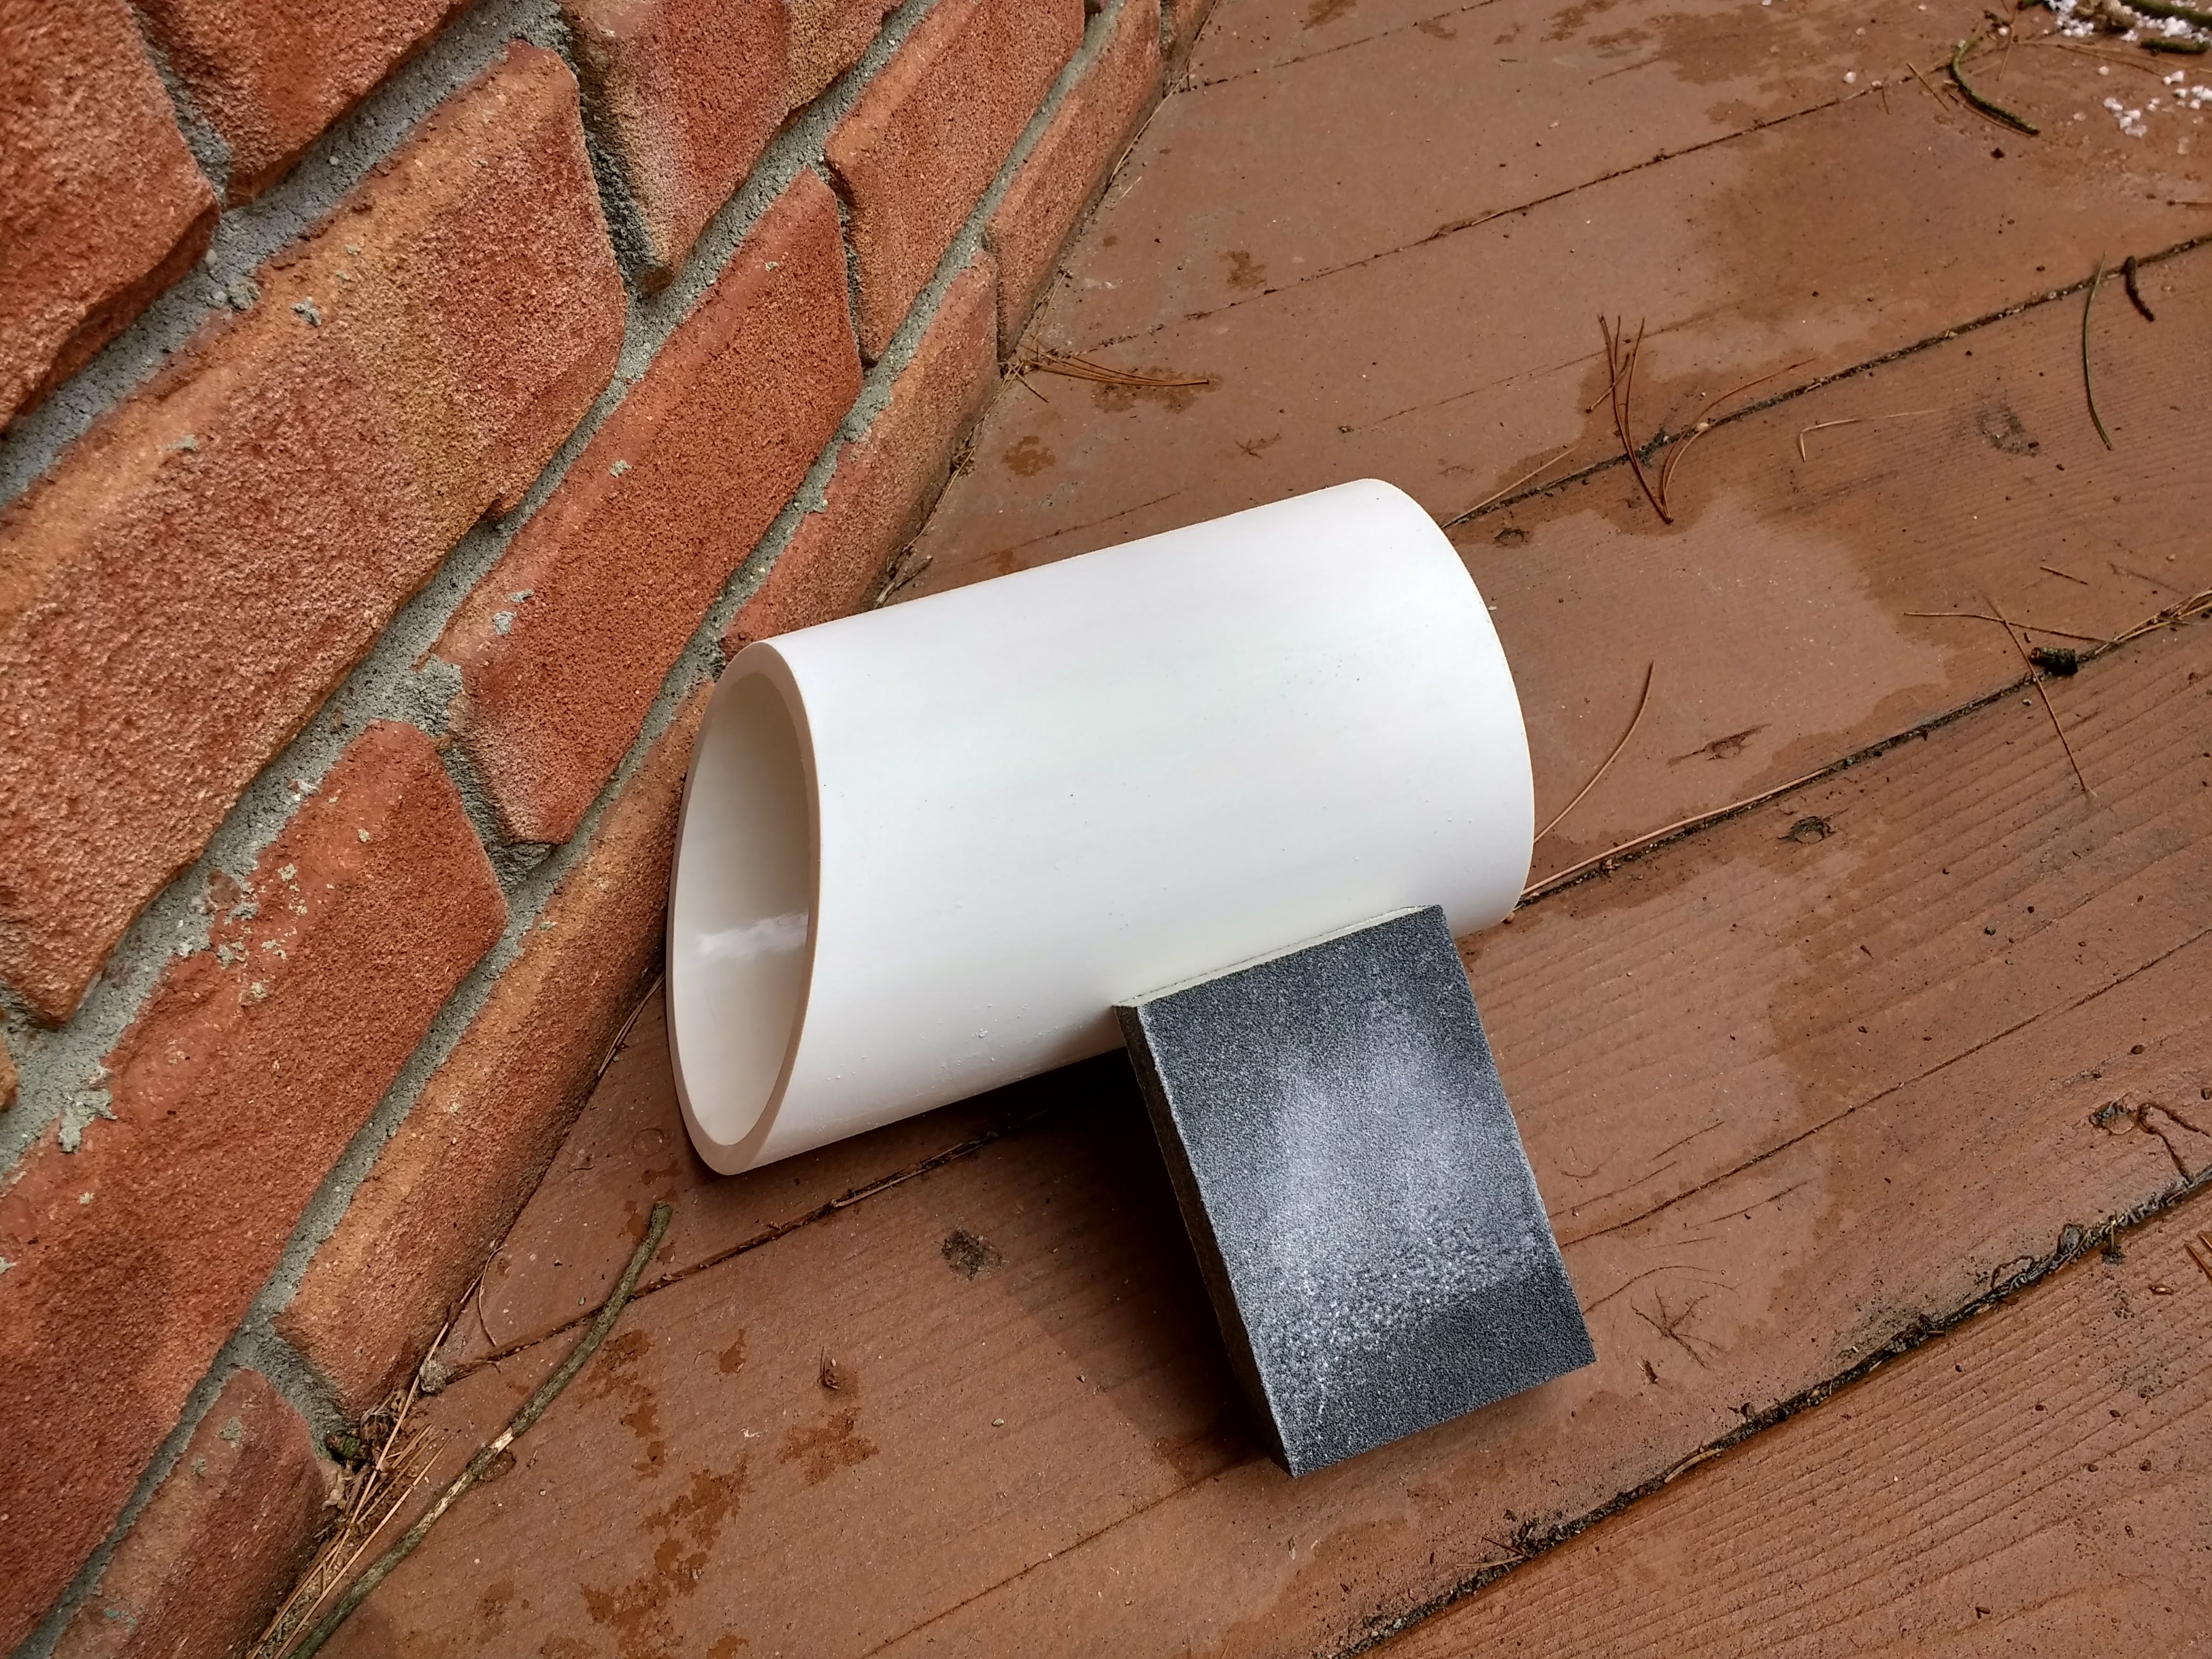
Doing some reasearch, I came across this design that uses PVC pipe for most of the house. However, the ends and perch are still made of wood. Sure, you could use composite lumber, but it's still pretty hard to cut a perfect 4" plug. Plus, I've never seen a composite dowel.
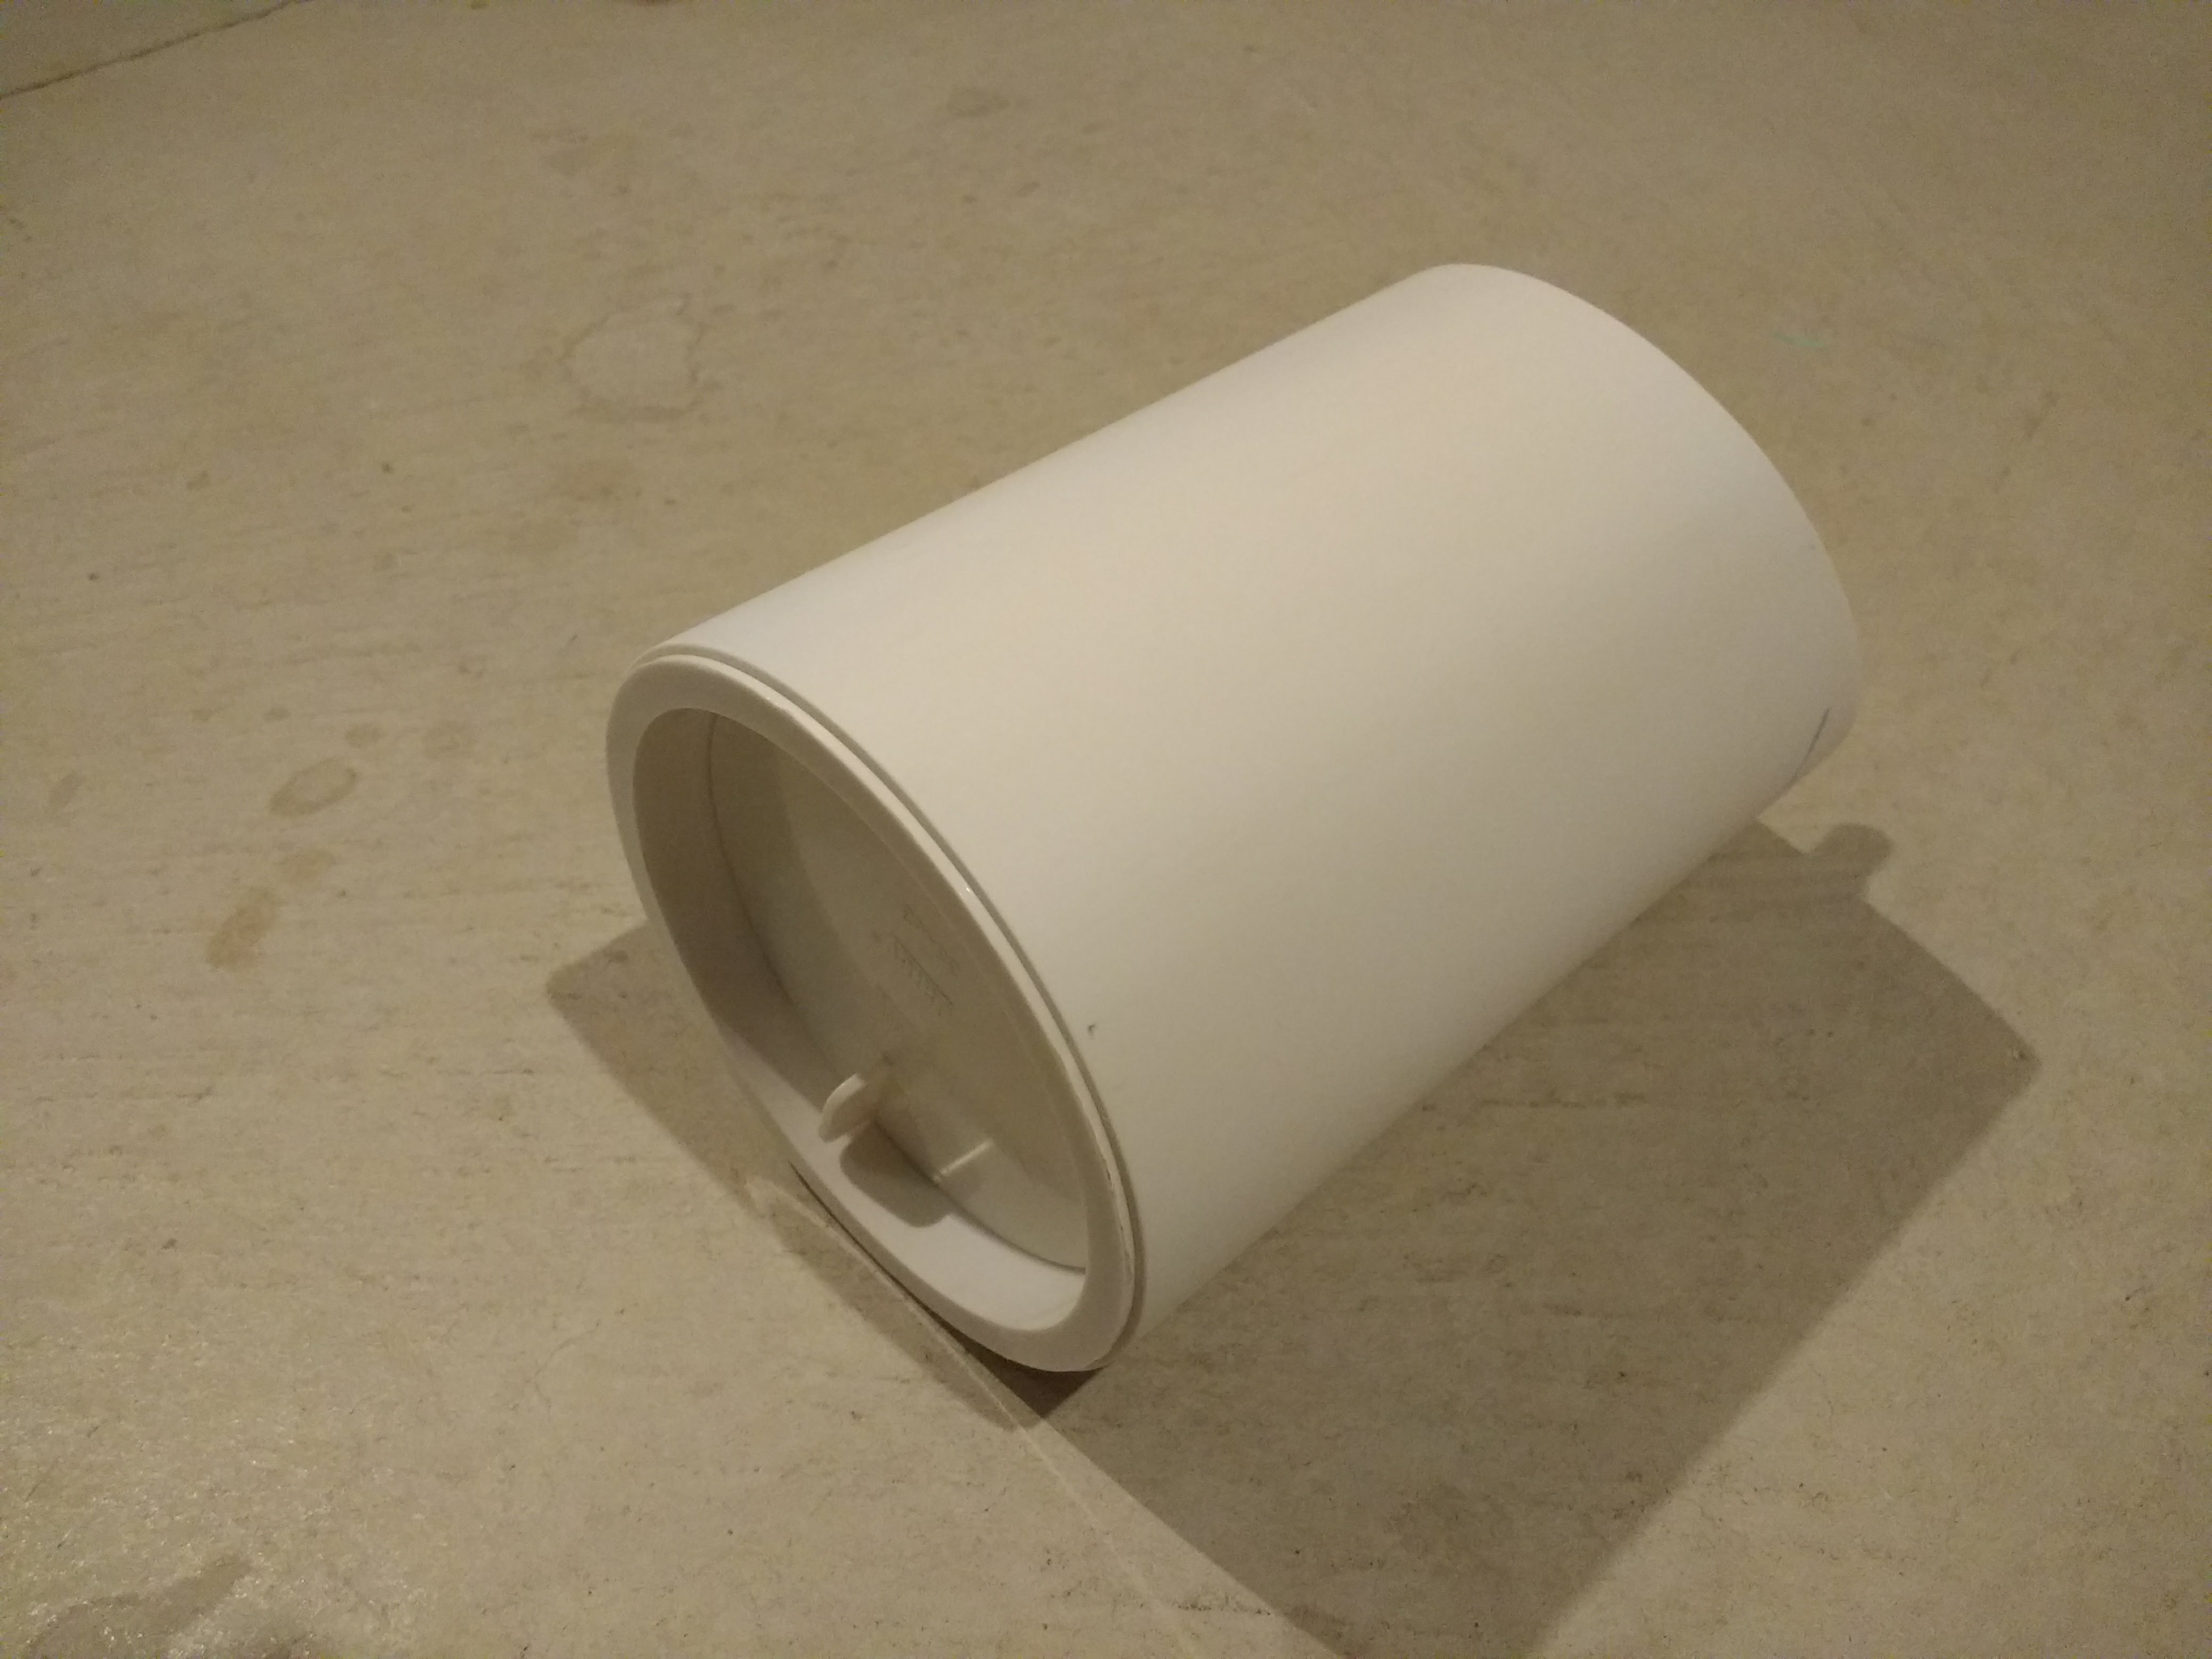
The Door End
It just so happens that I have access to a device that allows me to easily craft custom designed components out of plastic: a 3D printer! Don't worry if you don't have a 3D printer, you can get parts printed and mailed to you online.
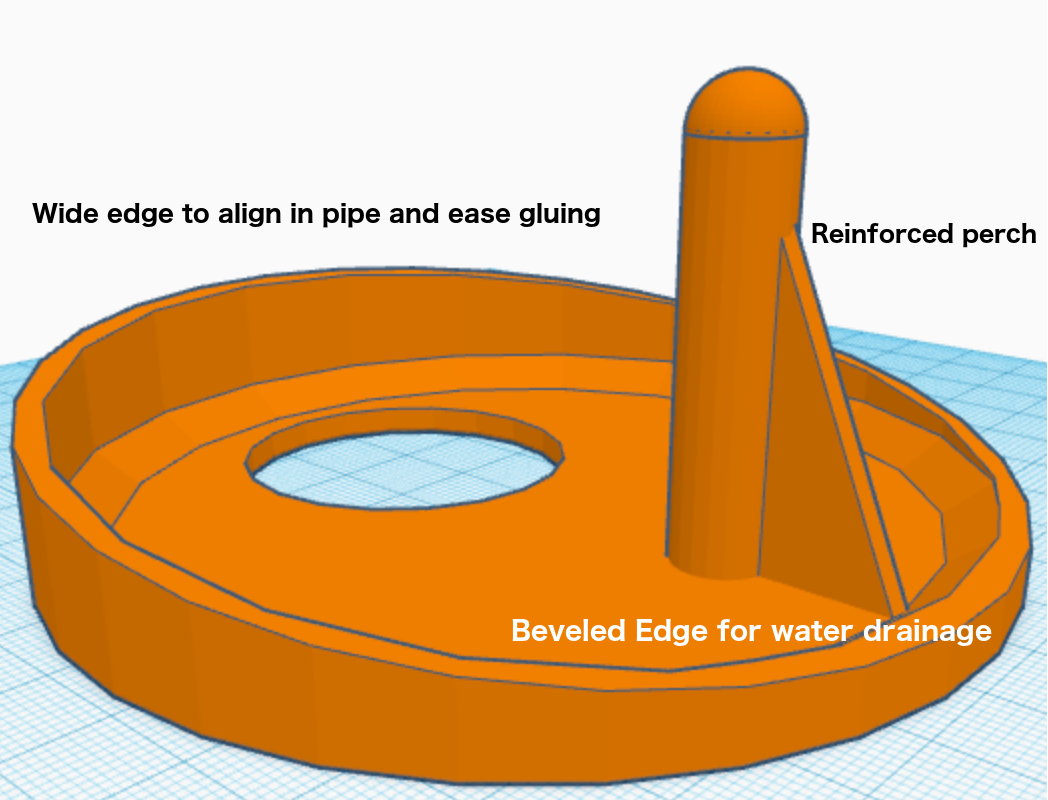
I used Tinkercad to design the door end with the following attributes:
- Easy to align and insert into a 4" pipe cut at an angle.
- Easy to glue or screw into place.
- A reinforced perch, because things that stick out tend to get broken.
- A tapered lip to help with water and debris drainage.
Here's what I came up with:
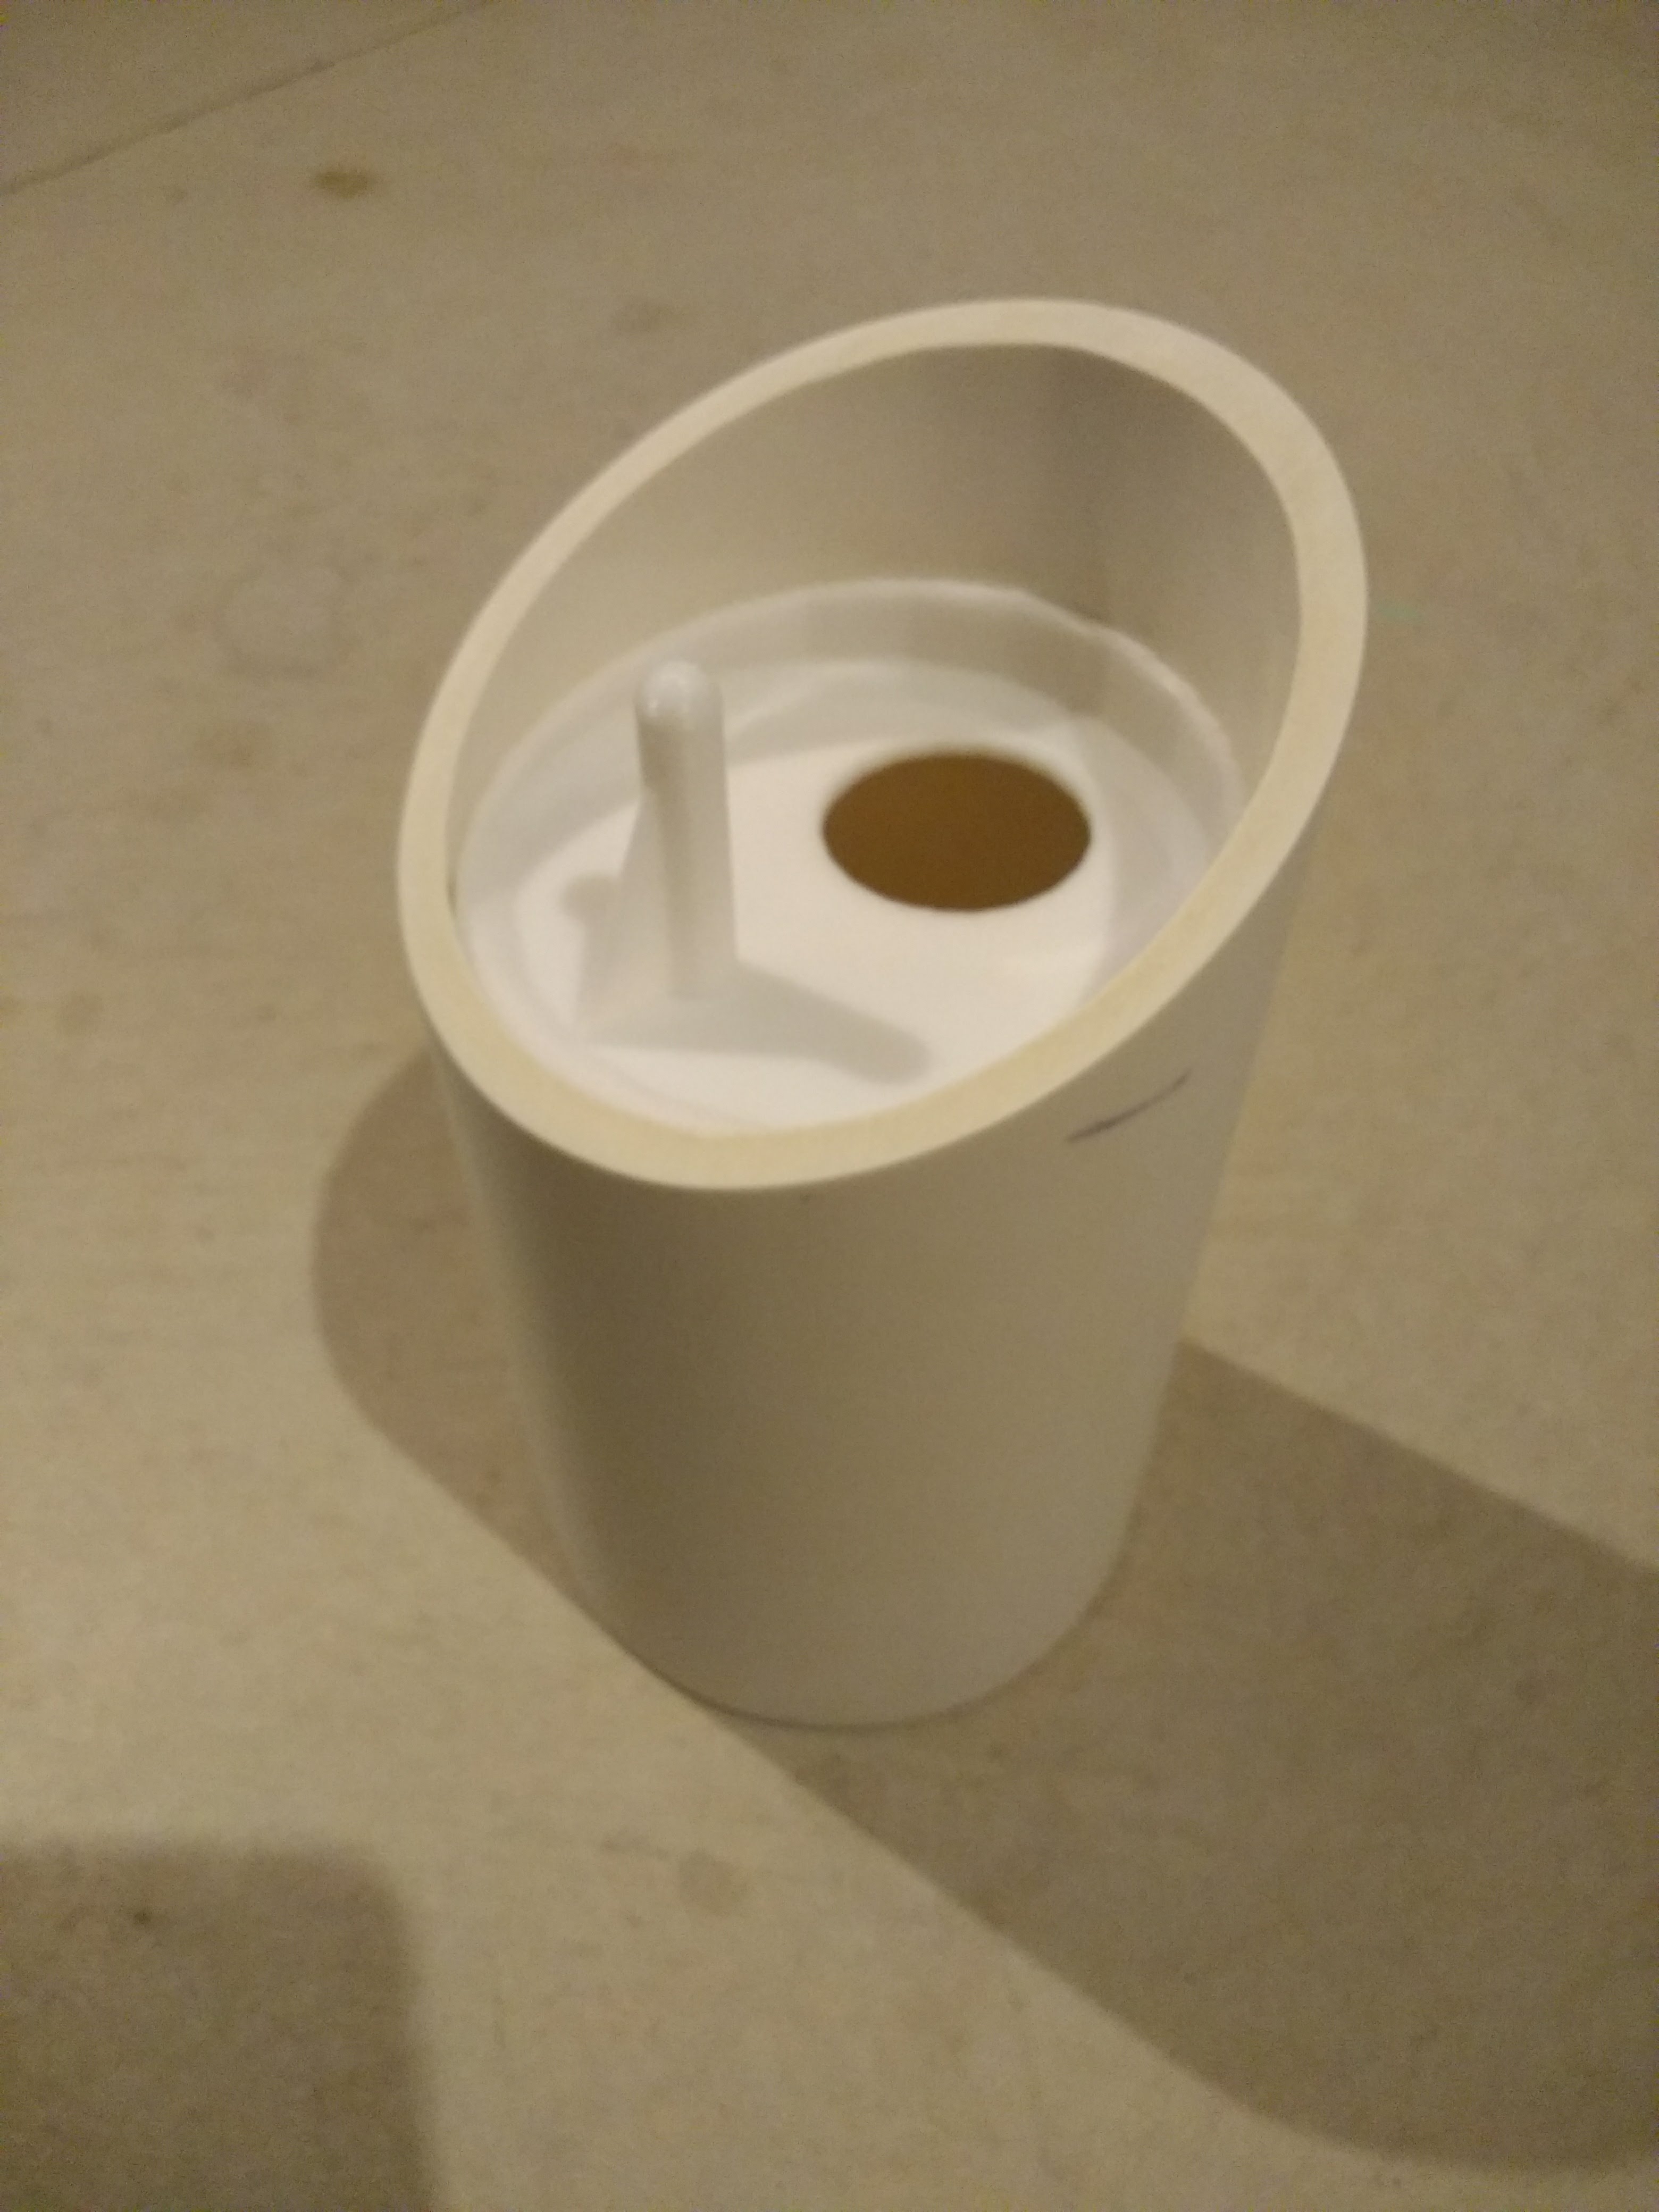
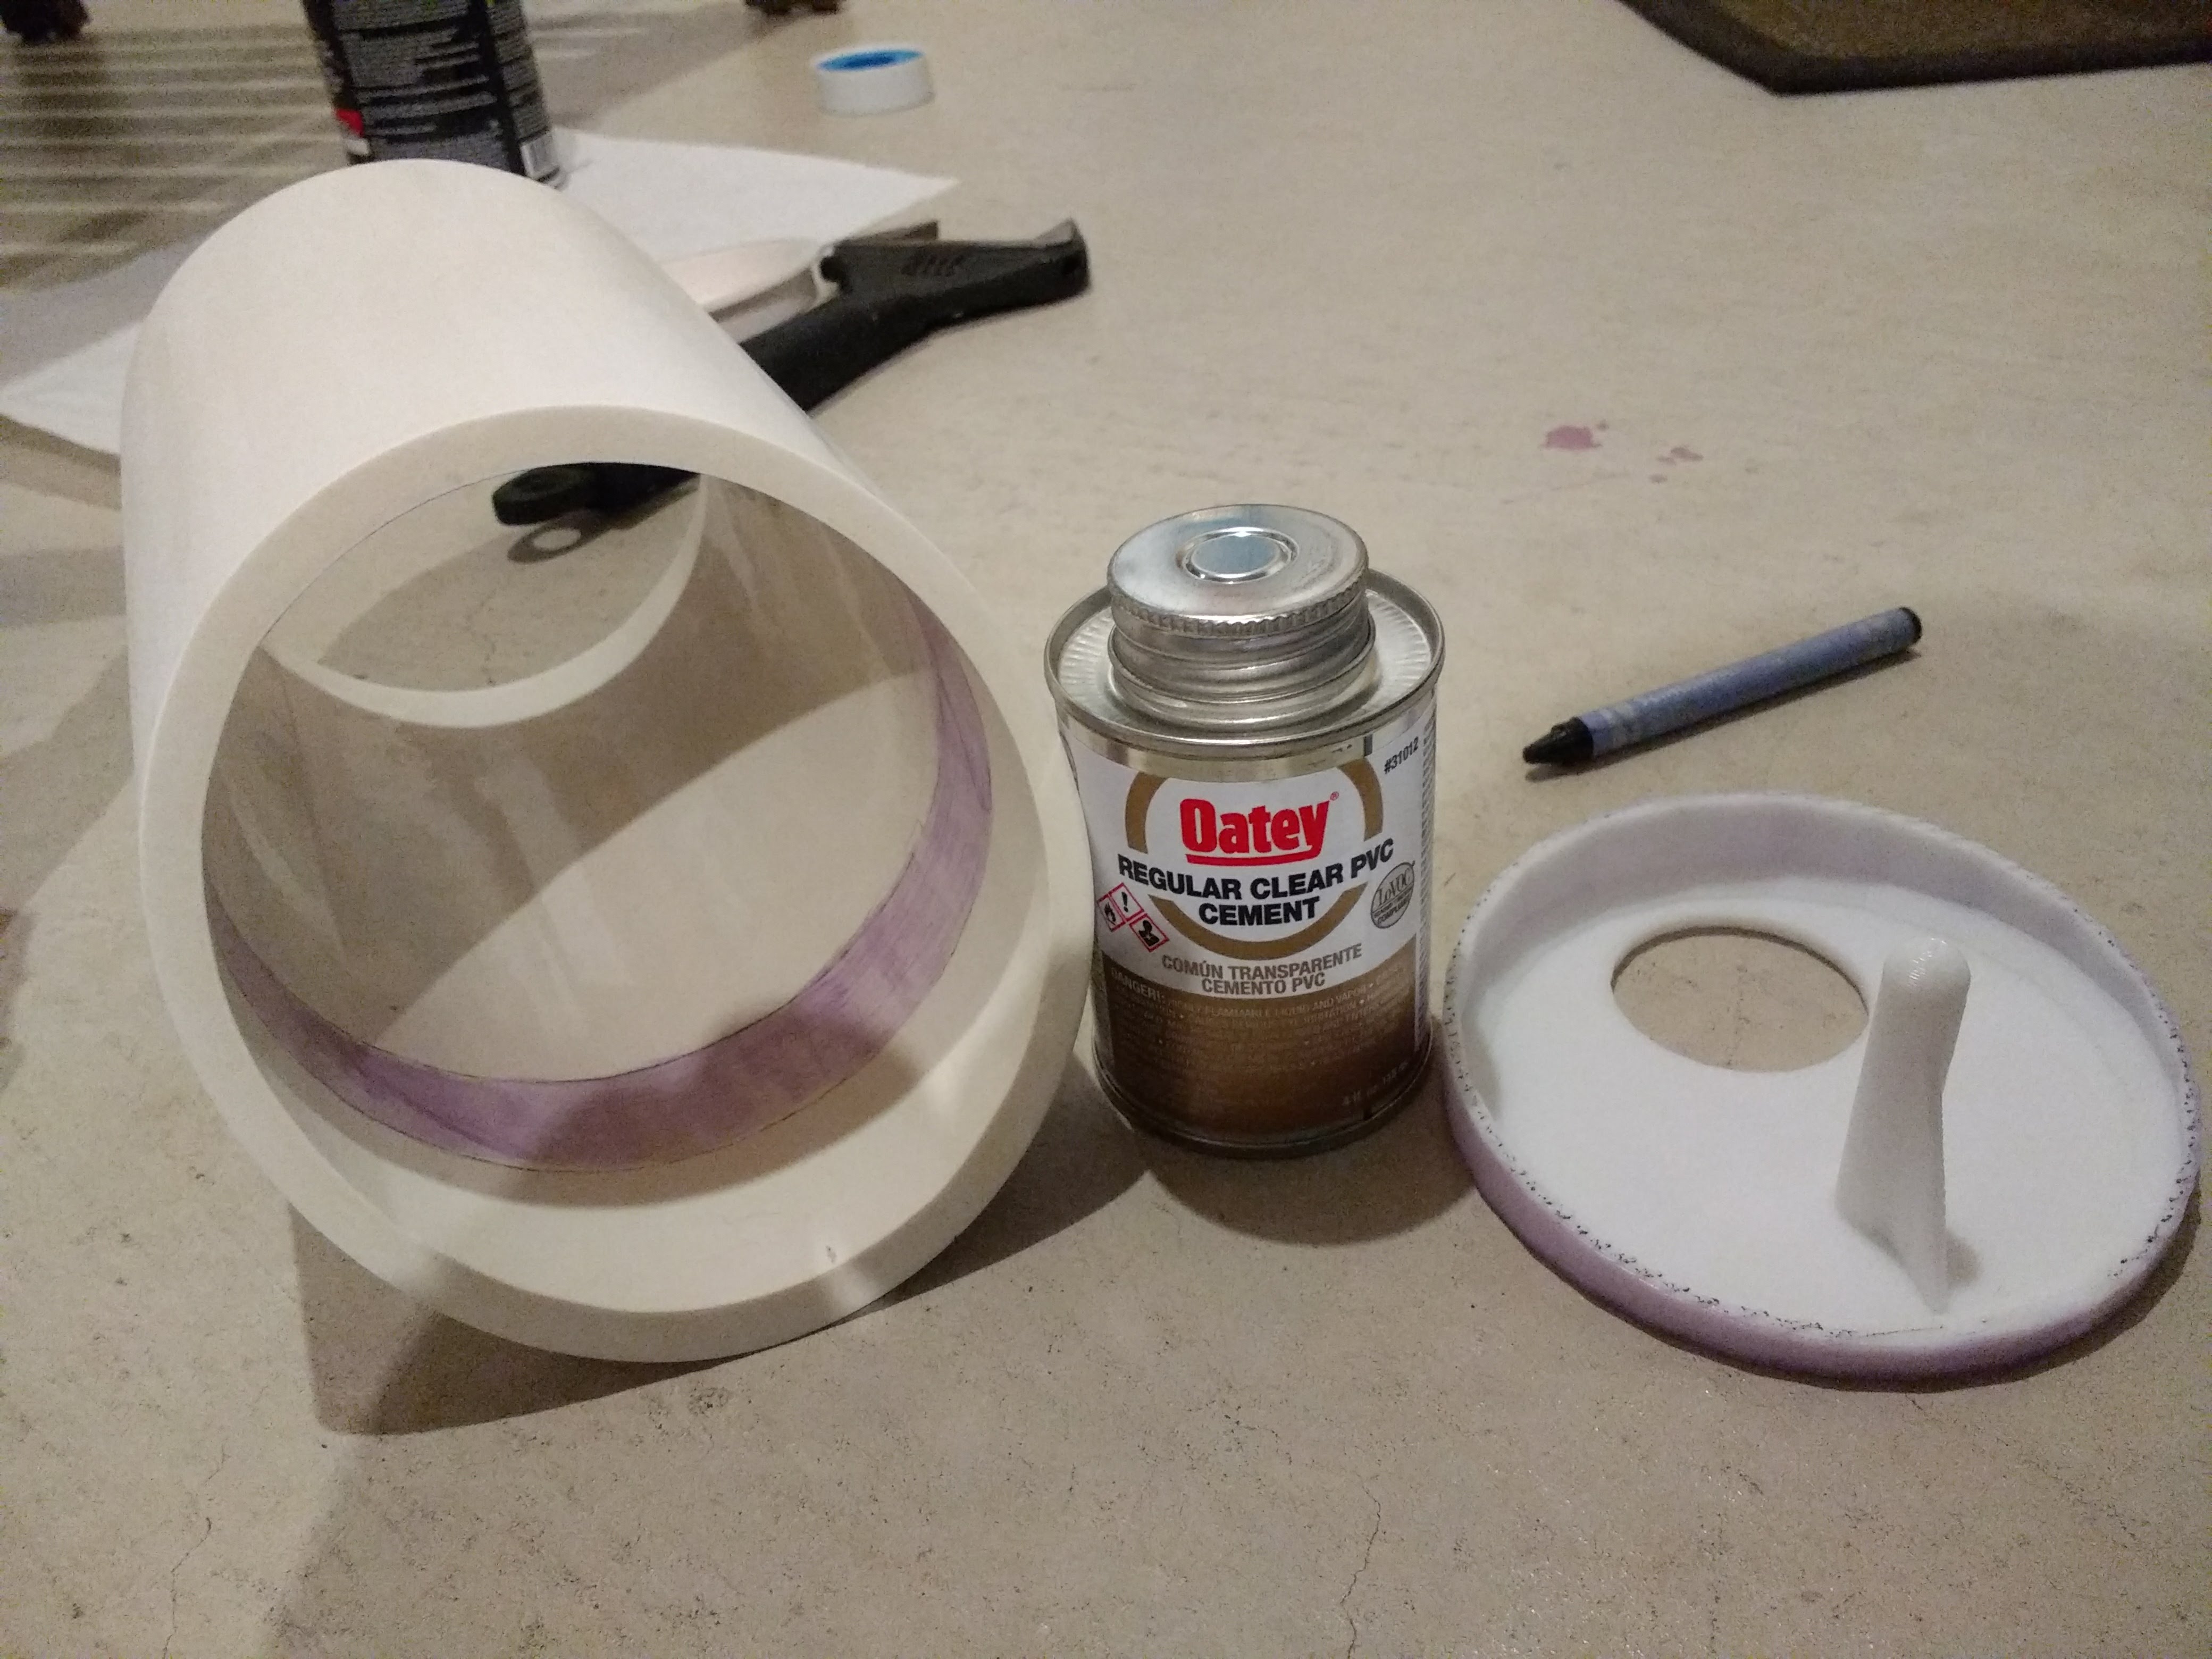
The Other End
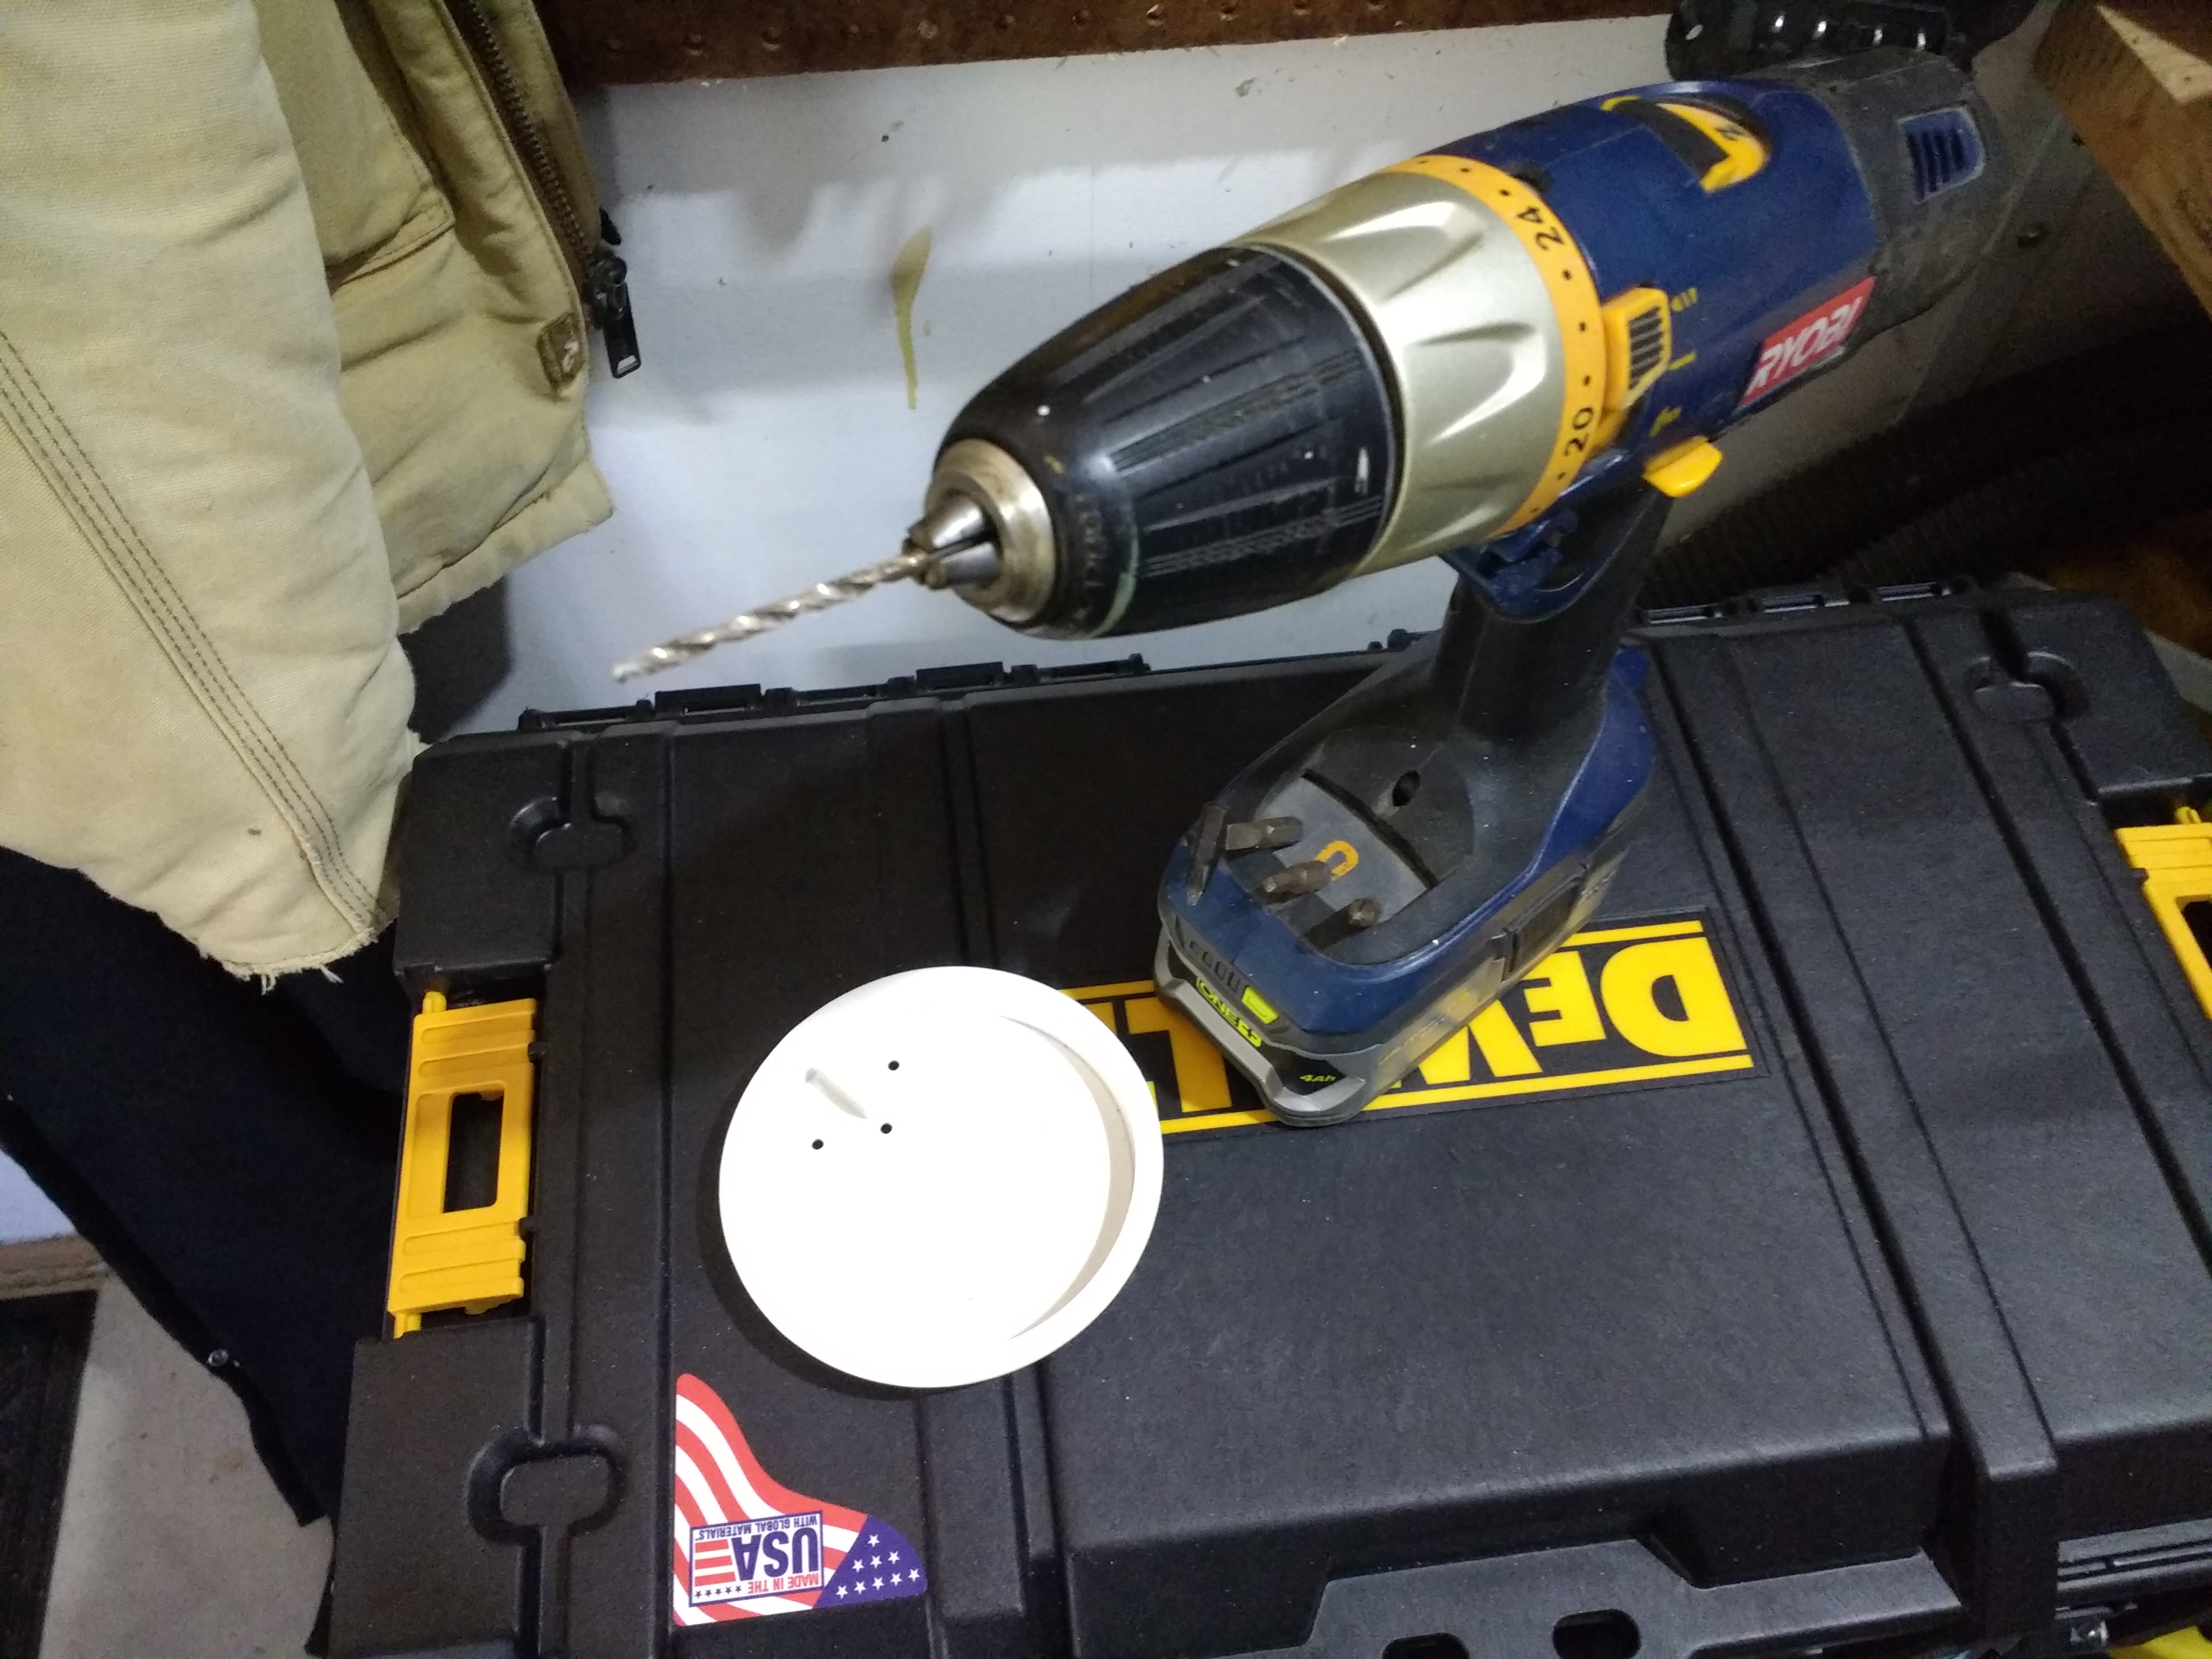
The other end of the house, I just needed a simple removable plug. The perfect solution for that is the 4" knock-out test cap, available at most hardware stores for less than a dollar. That is simply held in place by two small screws for easy cleaning.
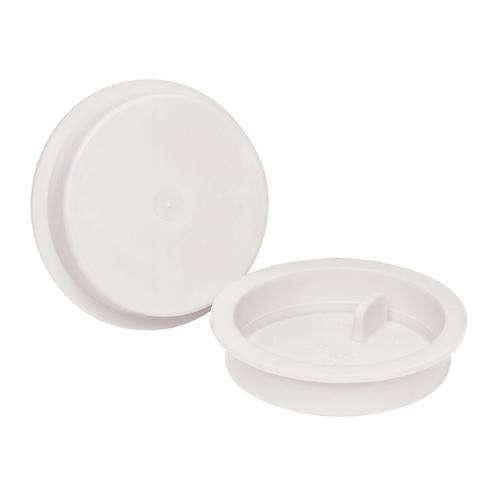
Knockout plugs are easily removable and seal the other end
Step 1: Tools and Materials
You will need the following basic tools:
- Saw. I used a chop saw to get a clean cut and consistent angle, but any saw should do.
- Drill and drill bits.
and materials:
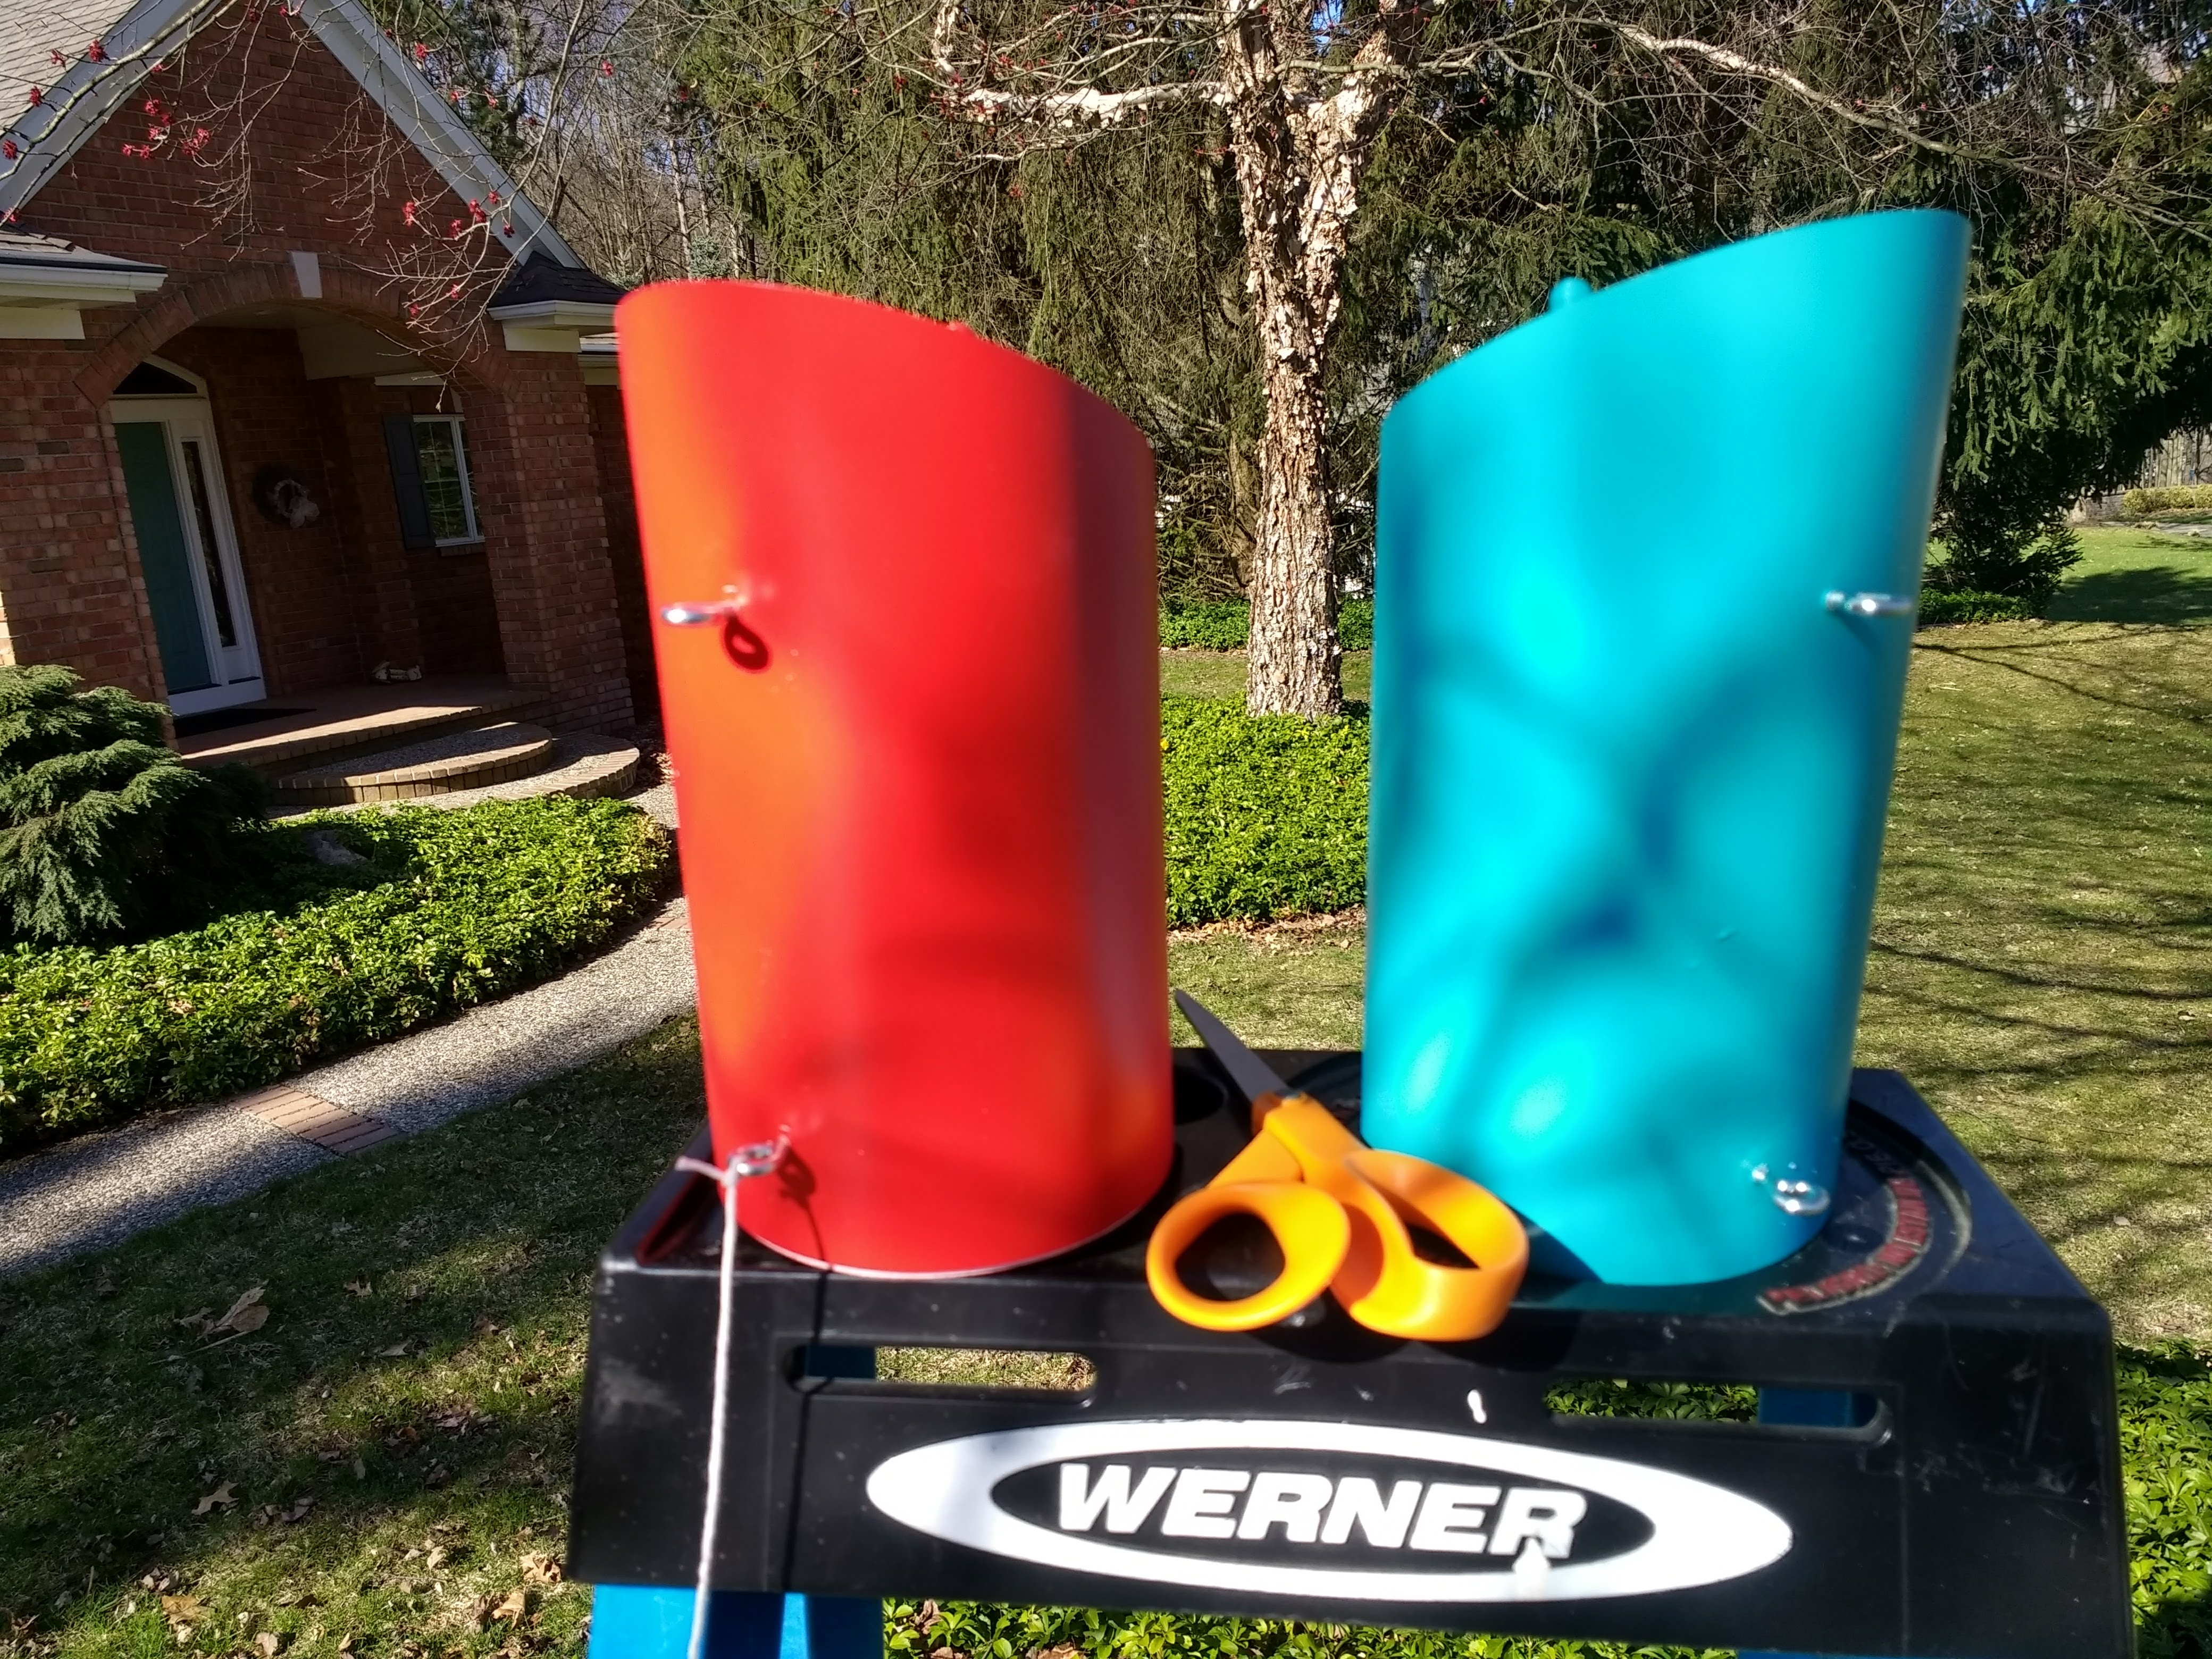
- 4" PVC pipe, about 10" per birdhouse
- Small metal eyelets for hanging, two per birdhouse
- PVC cement and primer. Some other weather resistant glue should work too.
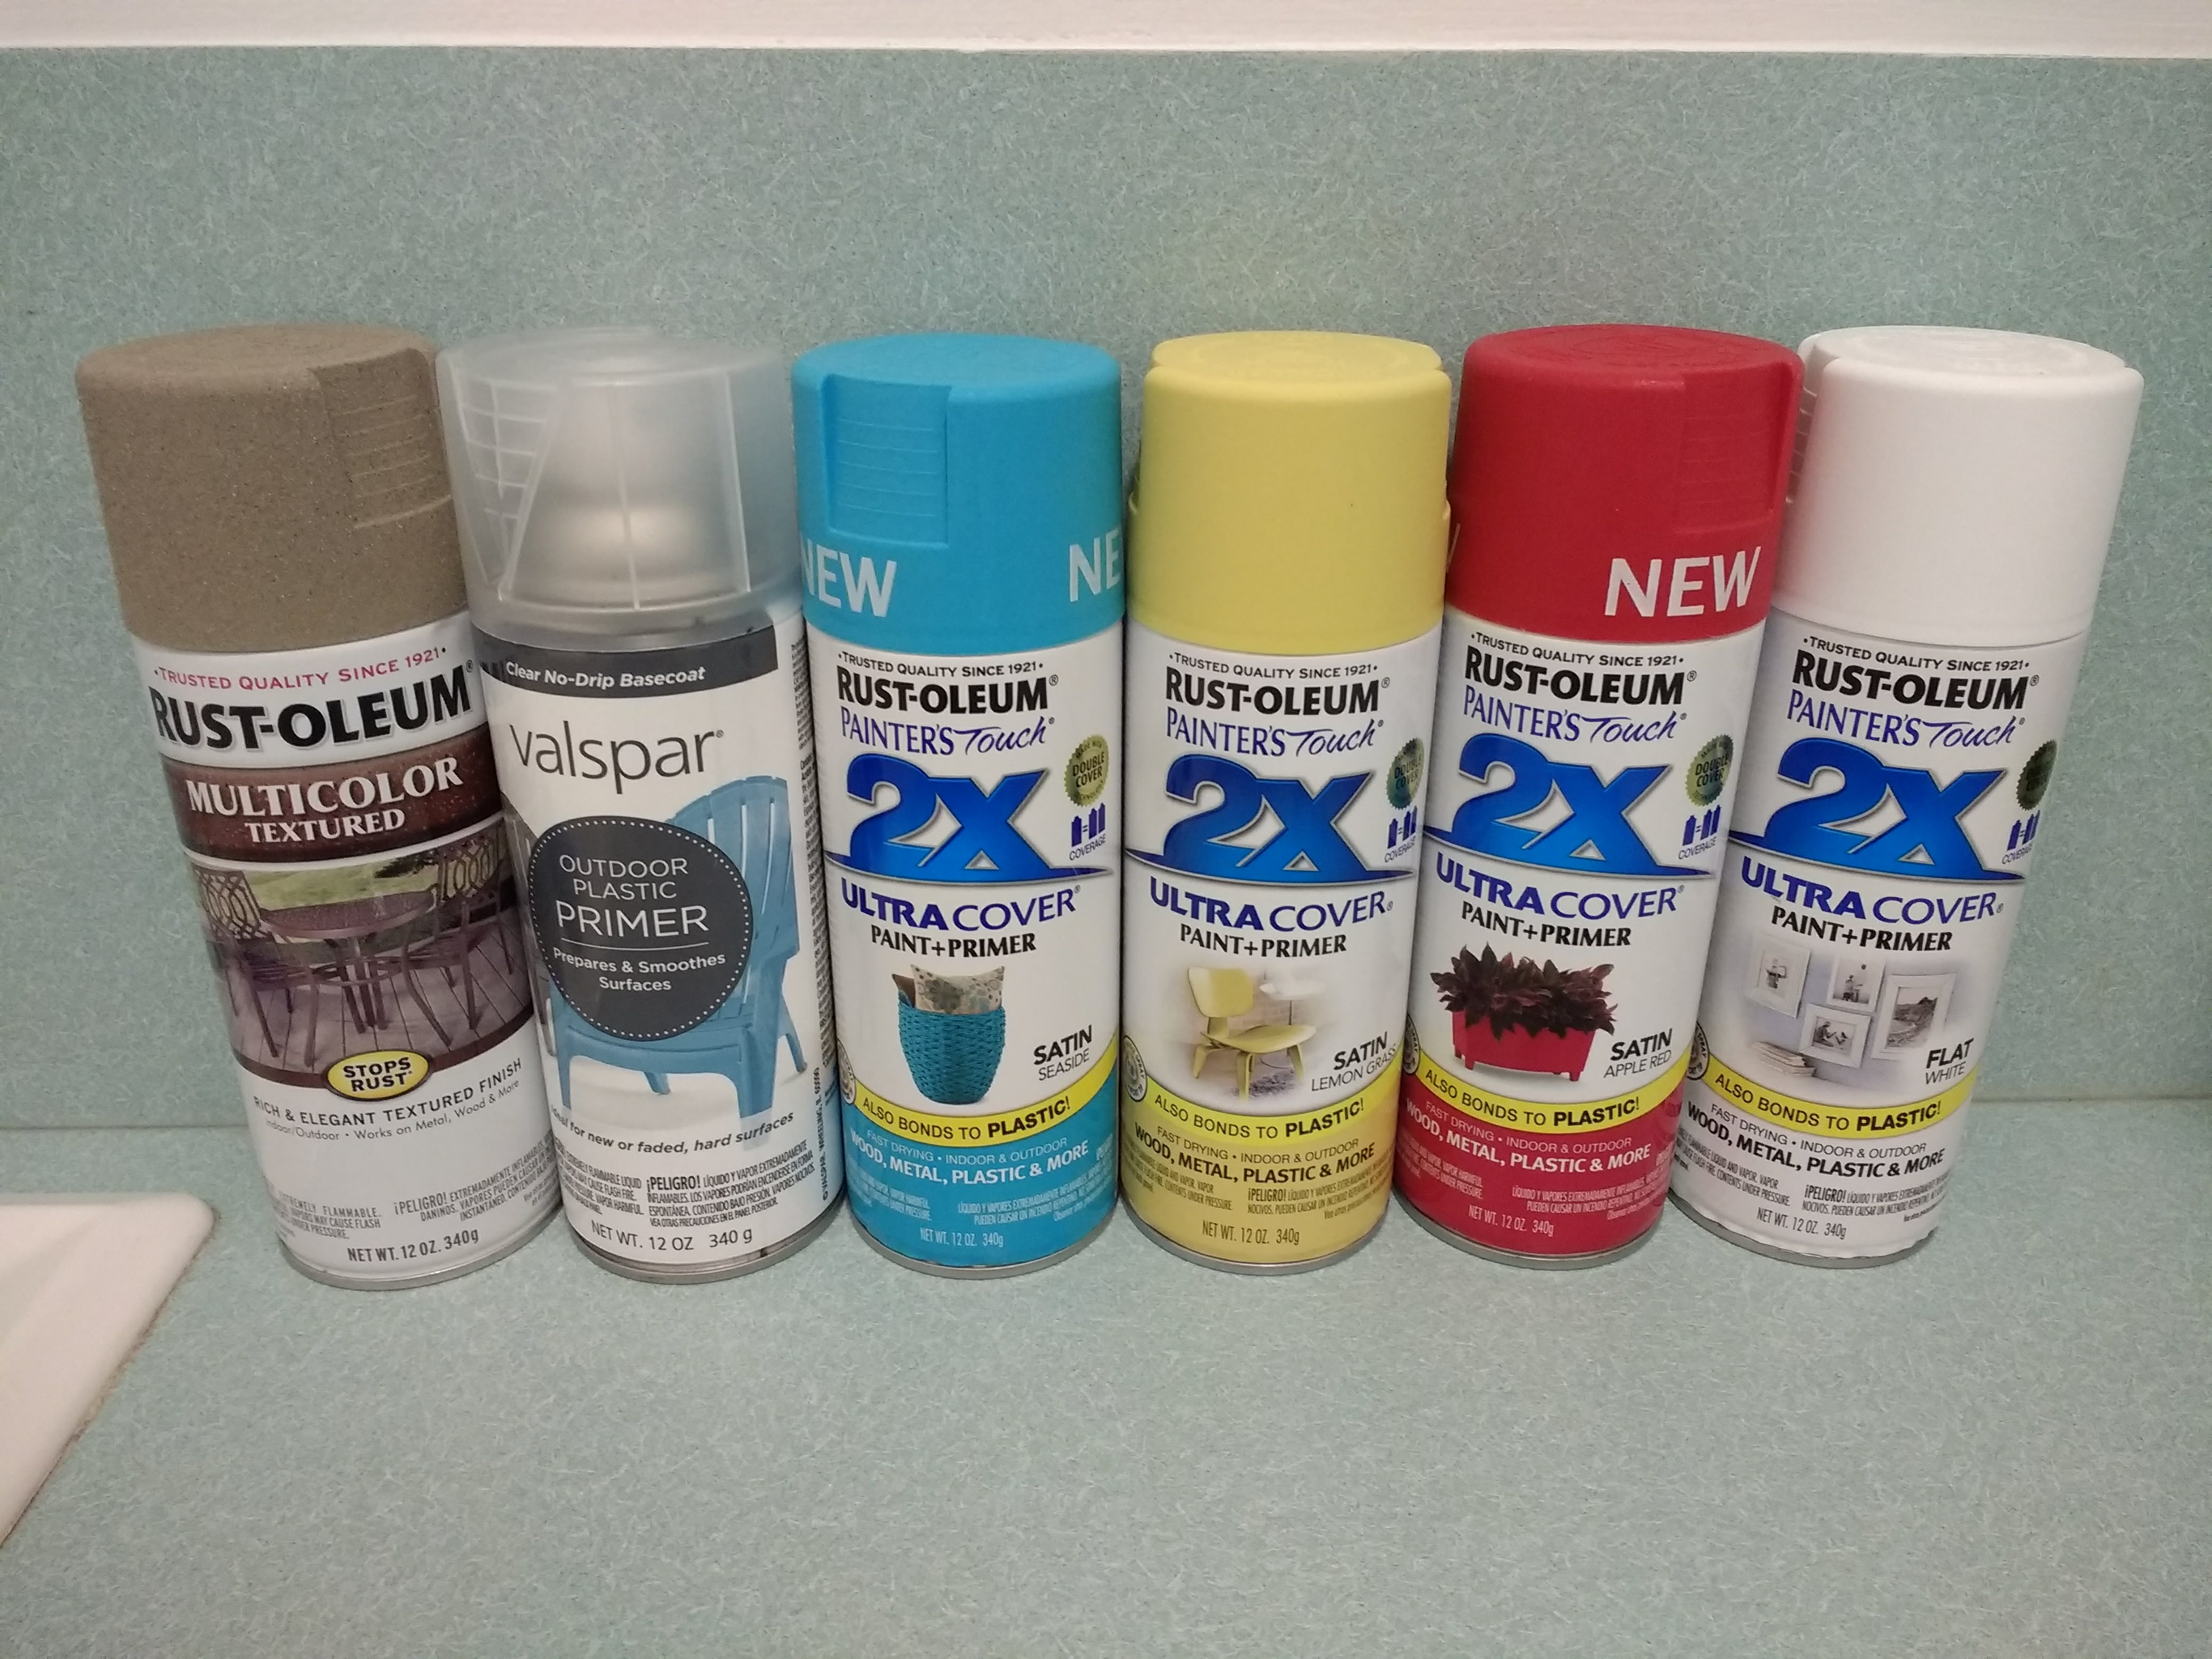
- Plastic friendly spray paint
- One 3D printed door per birdhouse
- One knockout plug per birdhouse
Step 2: Print the door end
You can order it printed or print it yourself from Thingiverse.
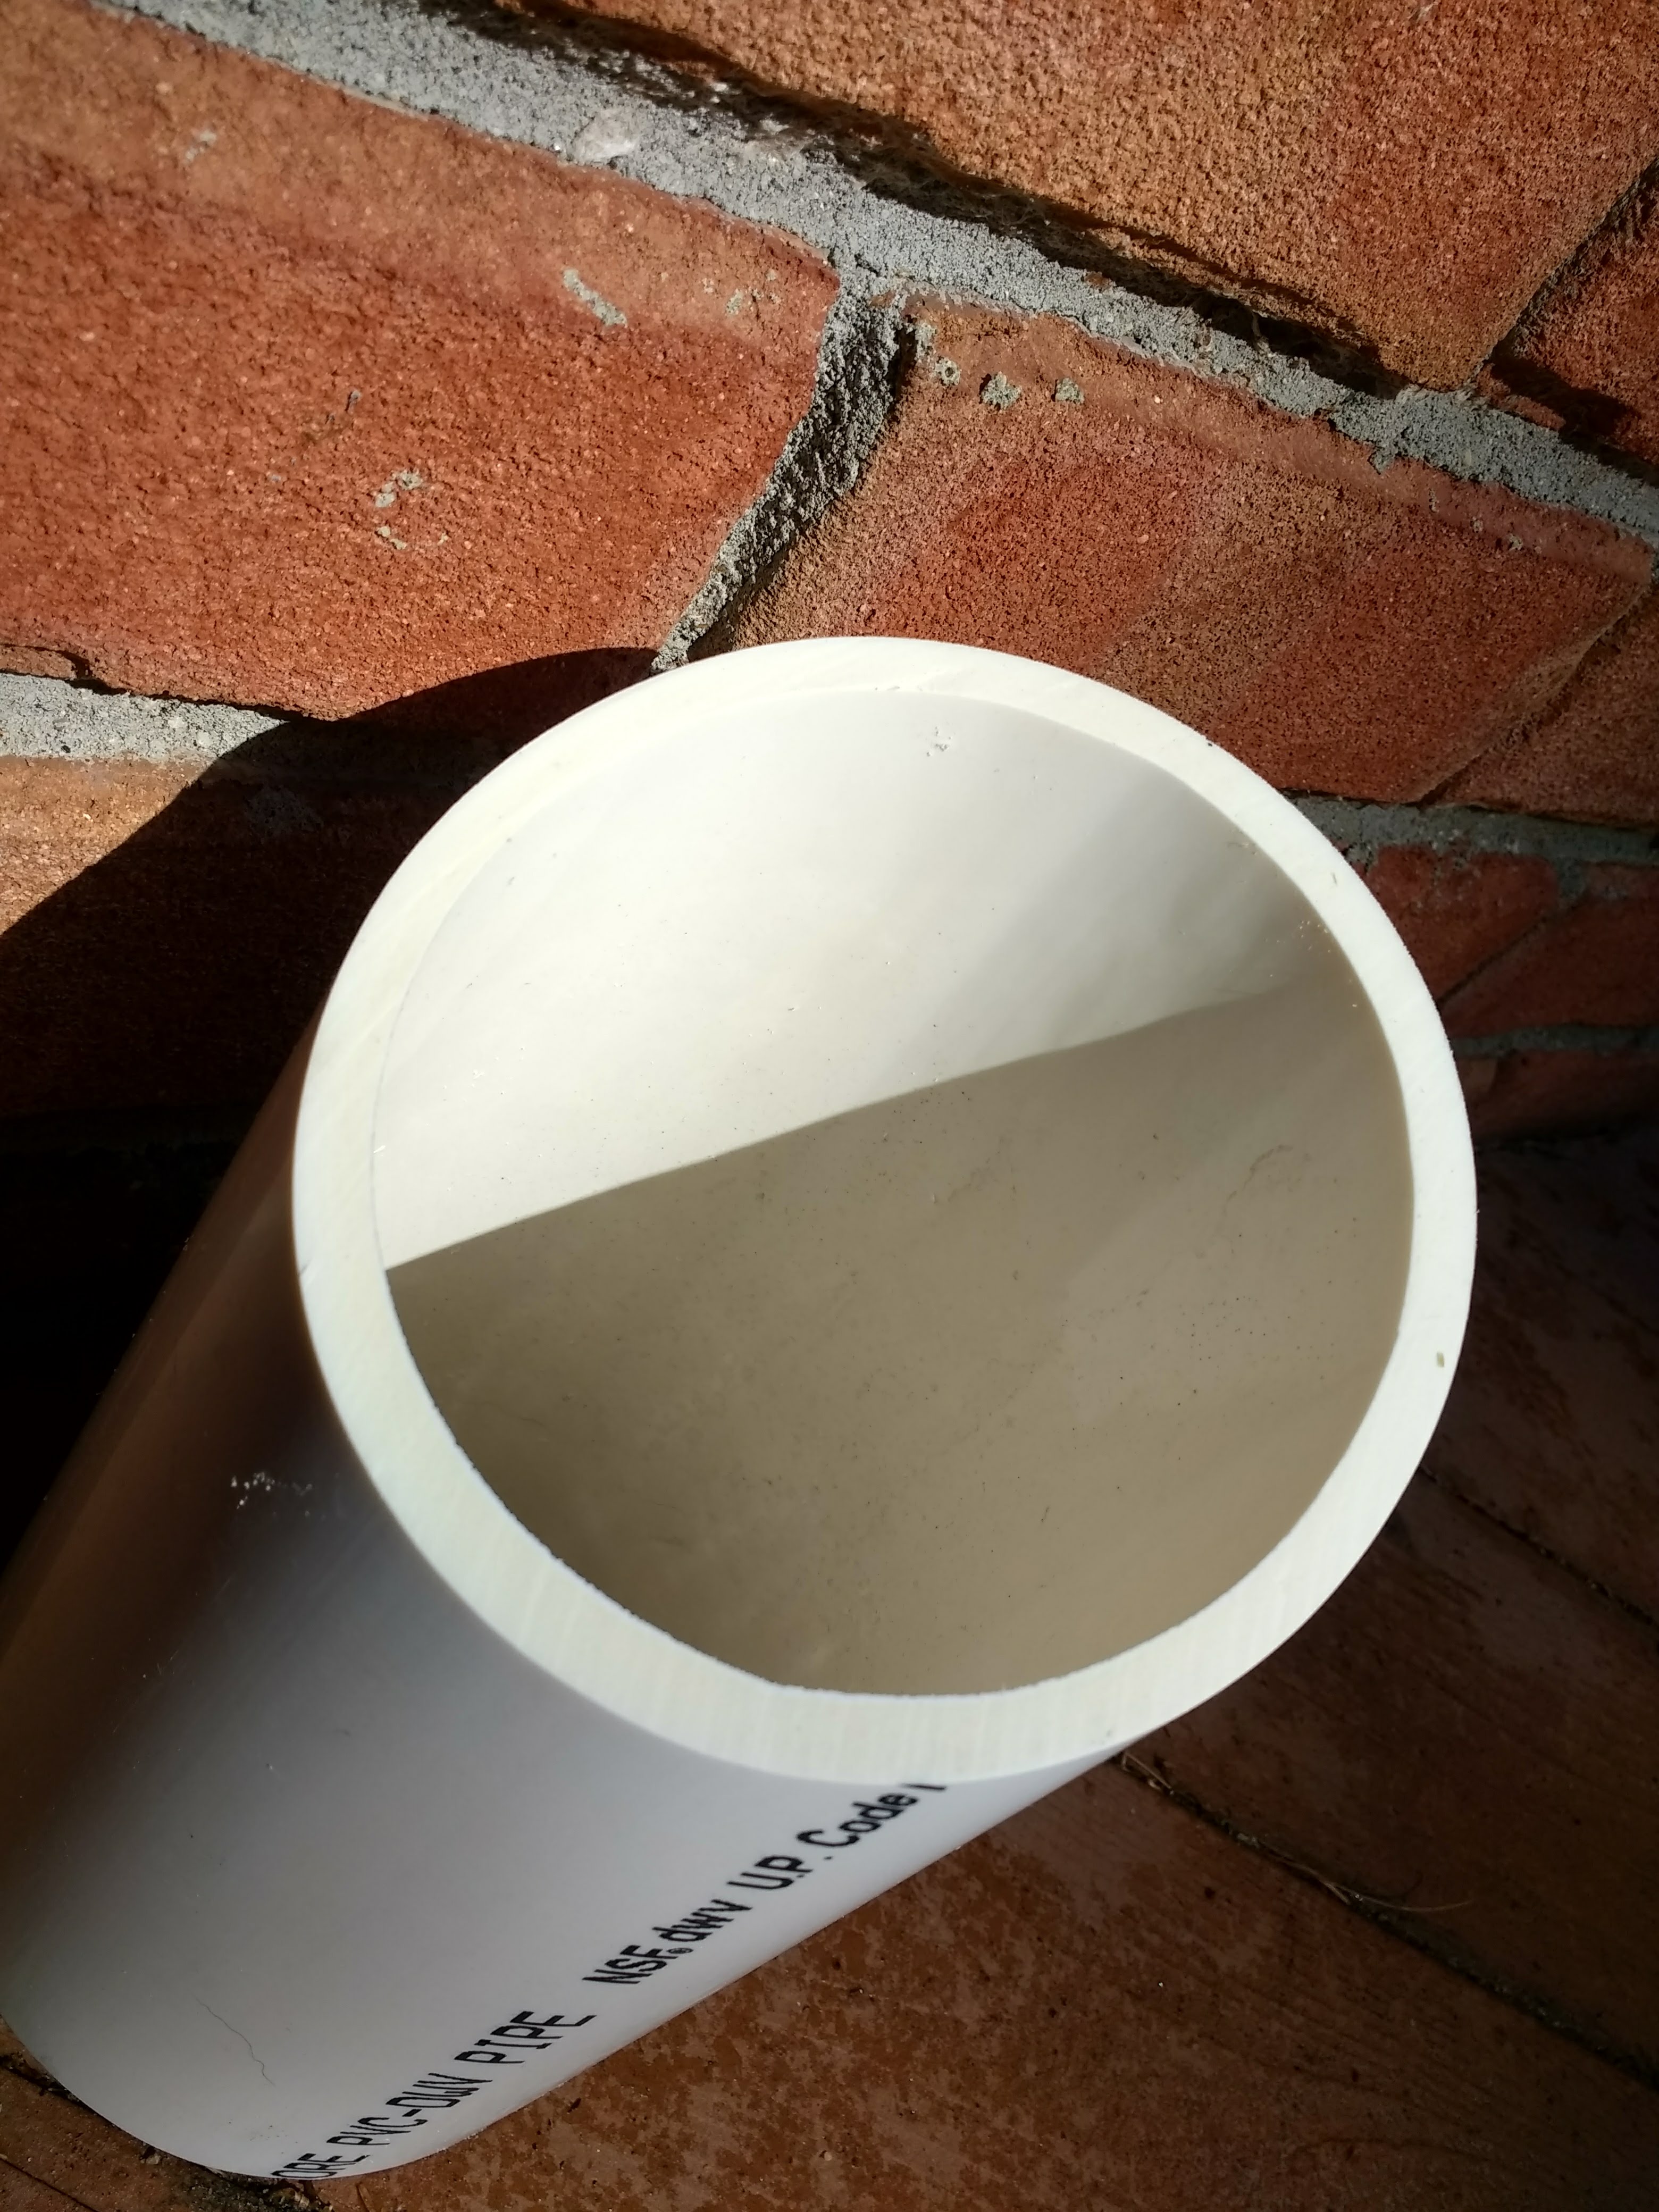
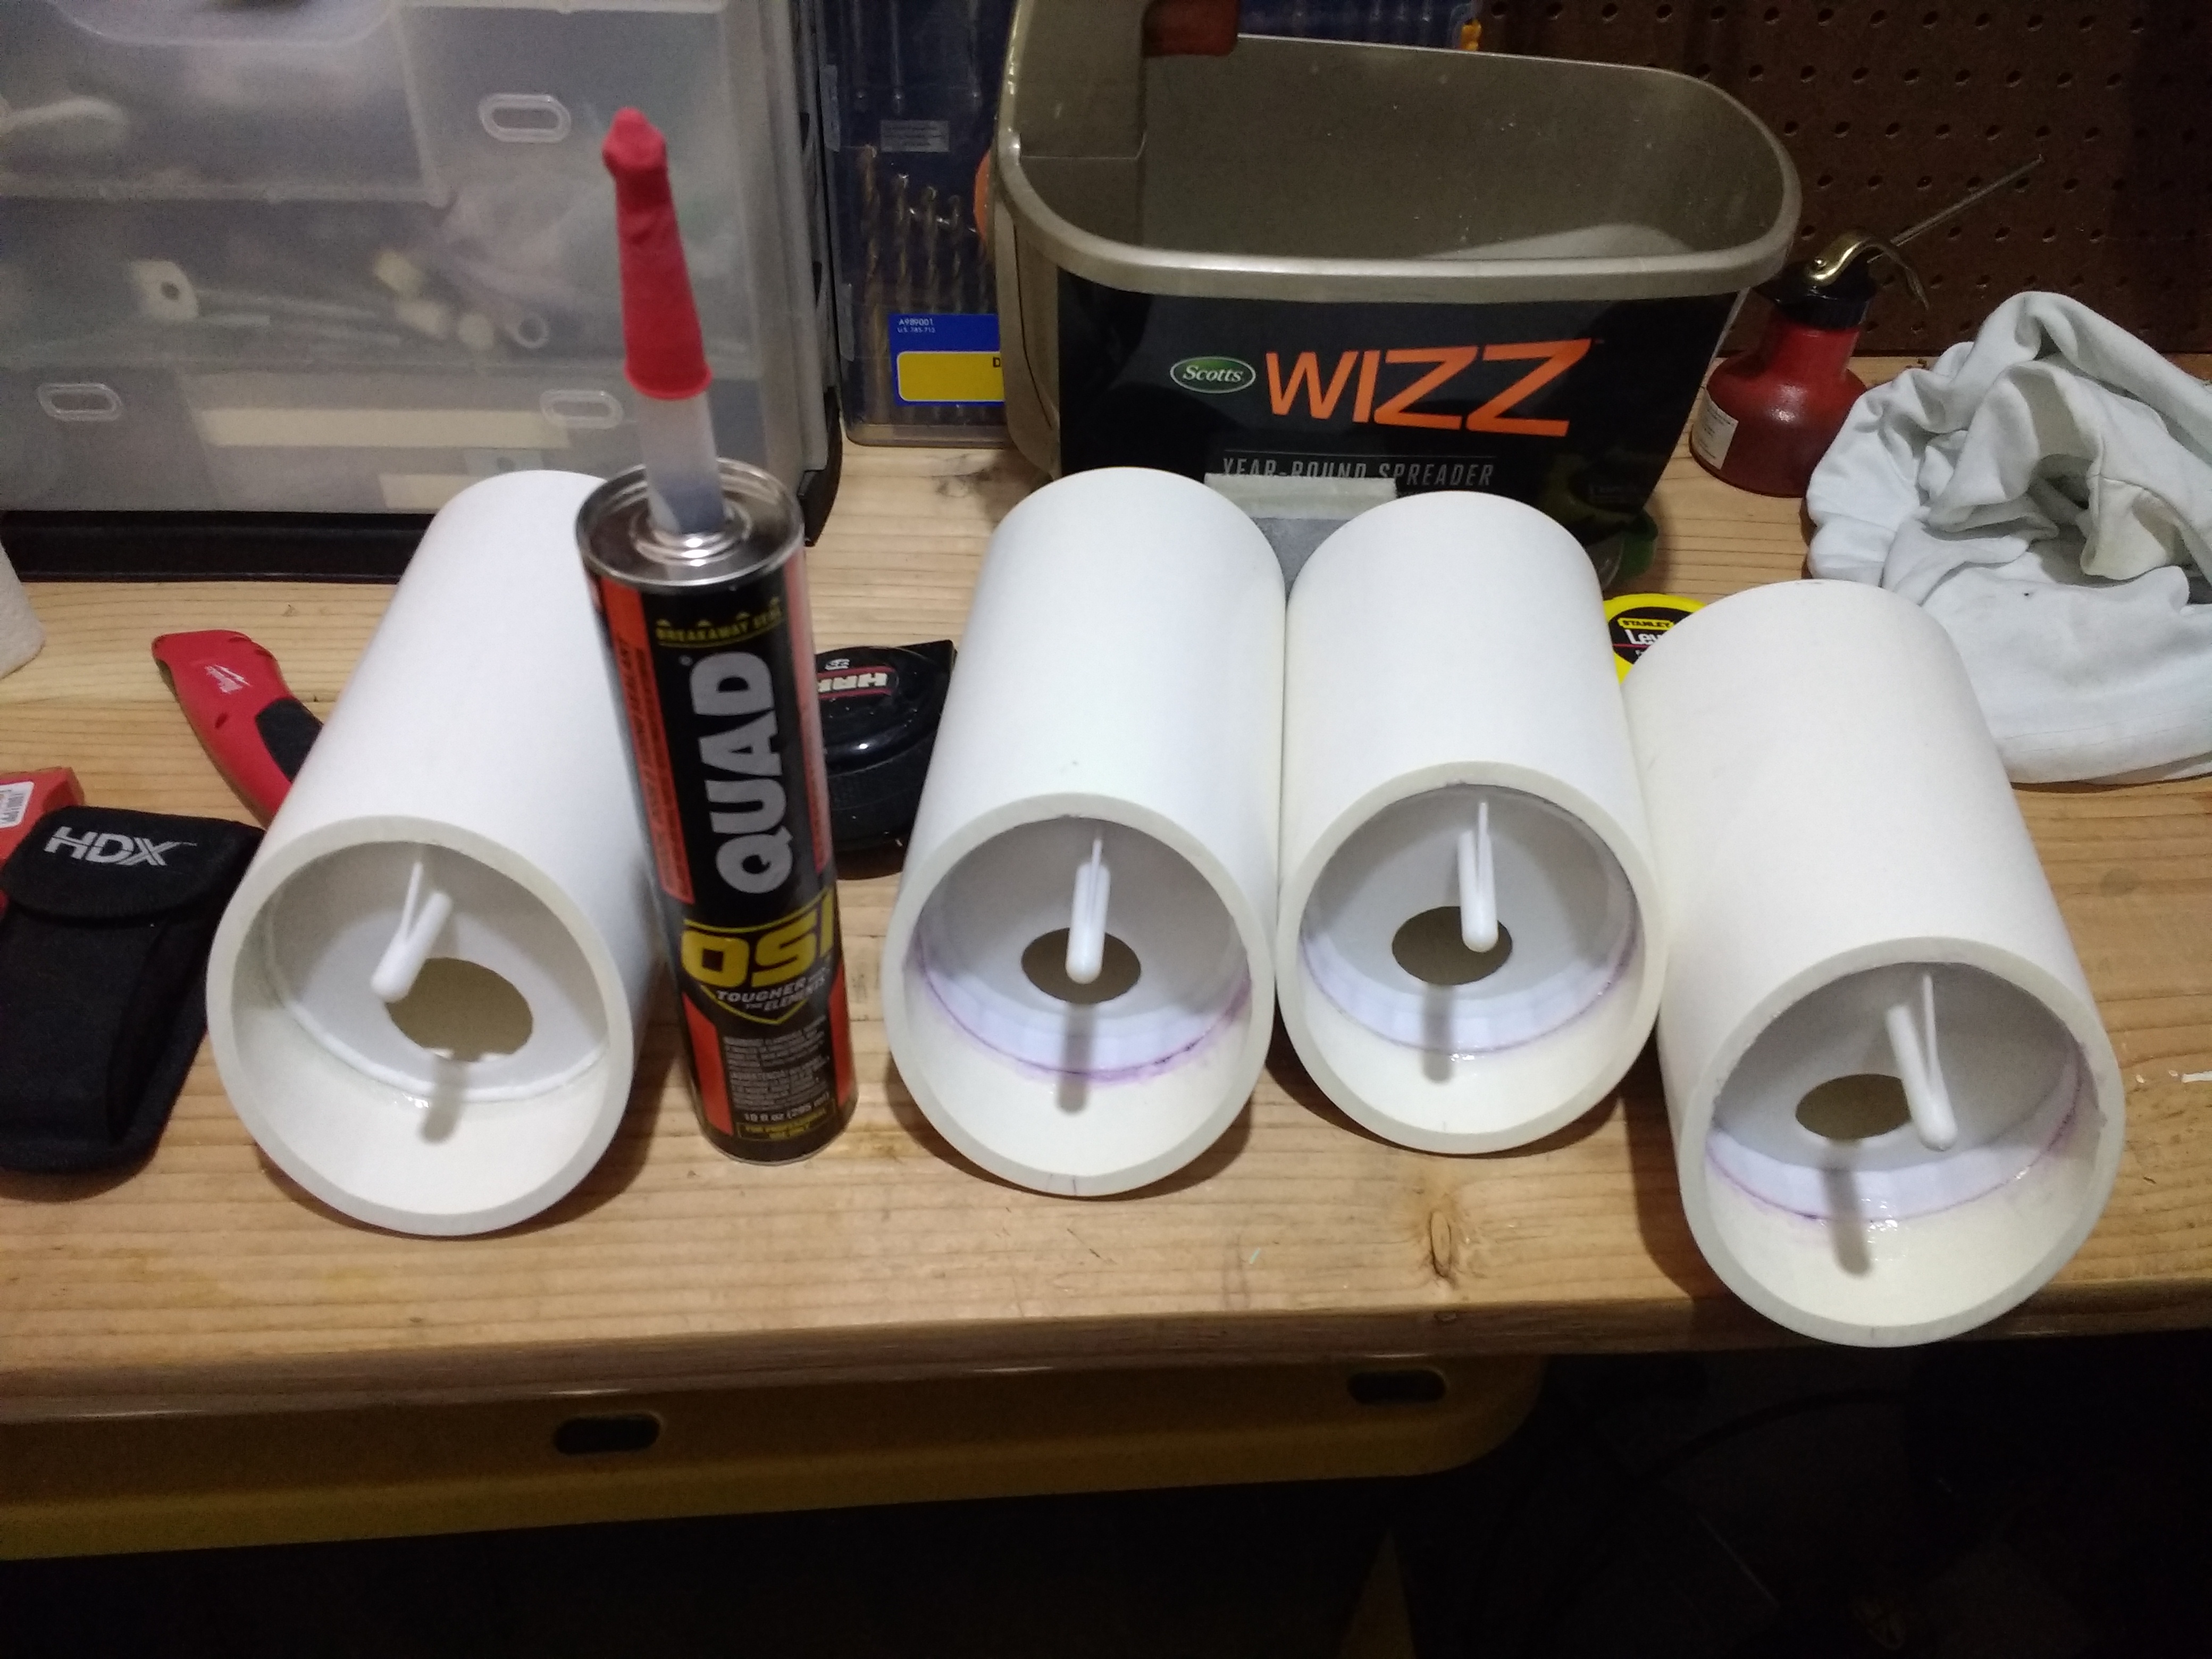
Step 3: Prepare the PVC pipe
Measure off about 8-10" and cut it at an angle. I cut mine at about a 22.5 degree angle. Be sure to sand any rough cut edges.

Step 4: Add vent holes
Use your drill and 1/8" drill bit to drill some vent holes in the knock out cap.
Step 5: Assemble
Now we have all our parts, let's put them together.
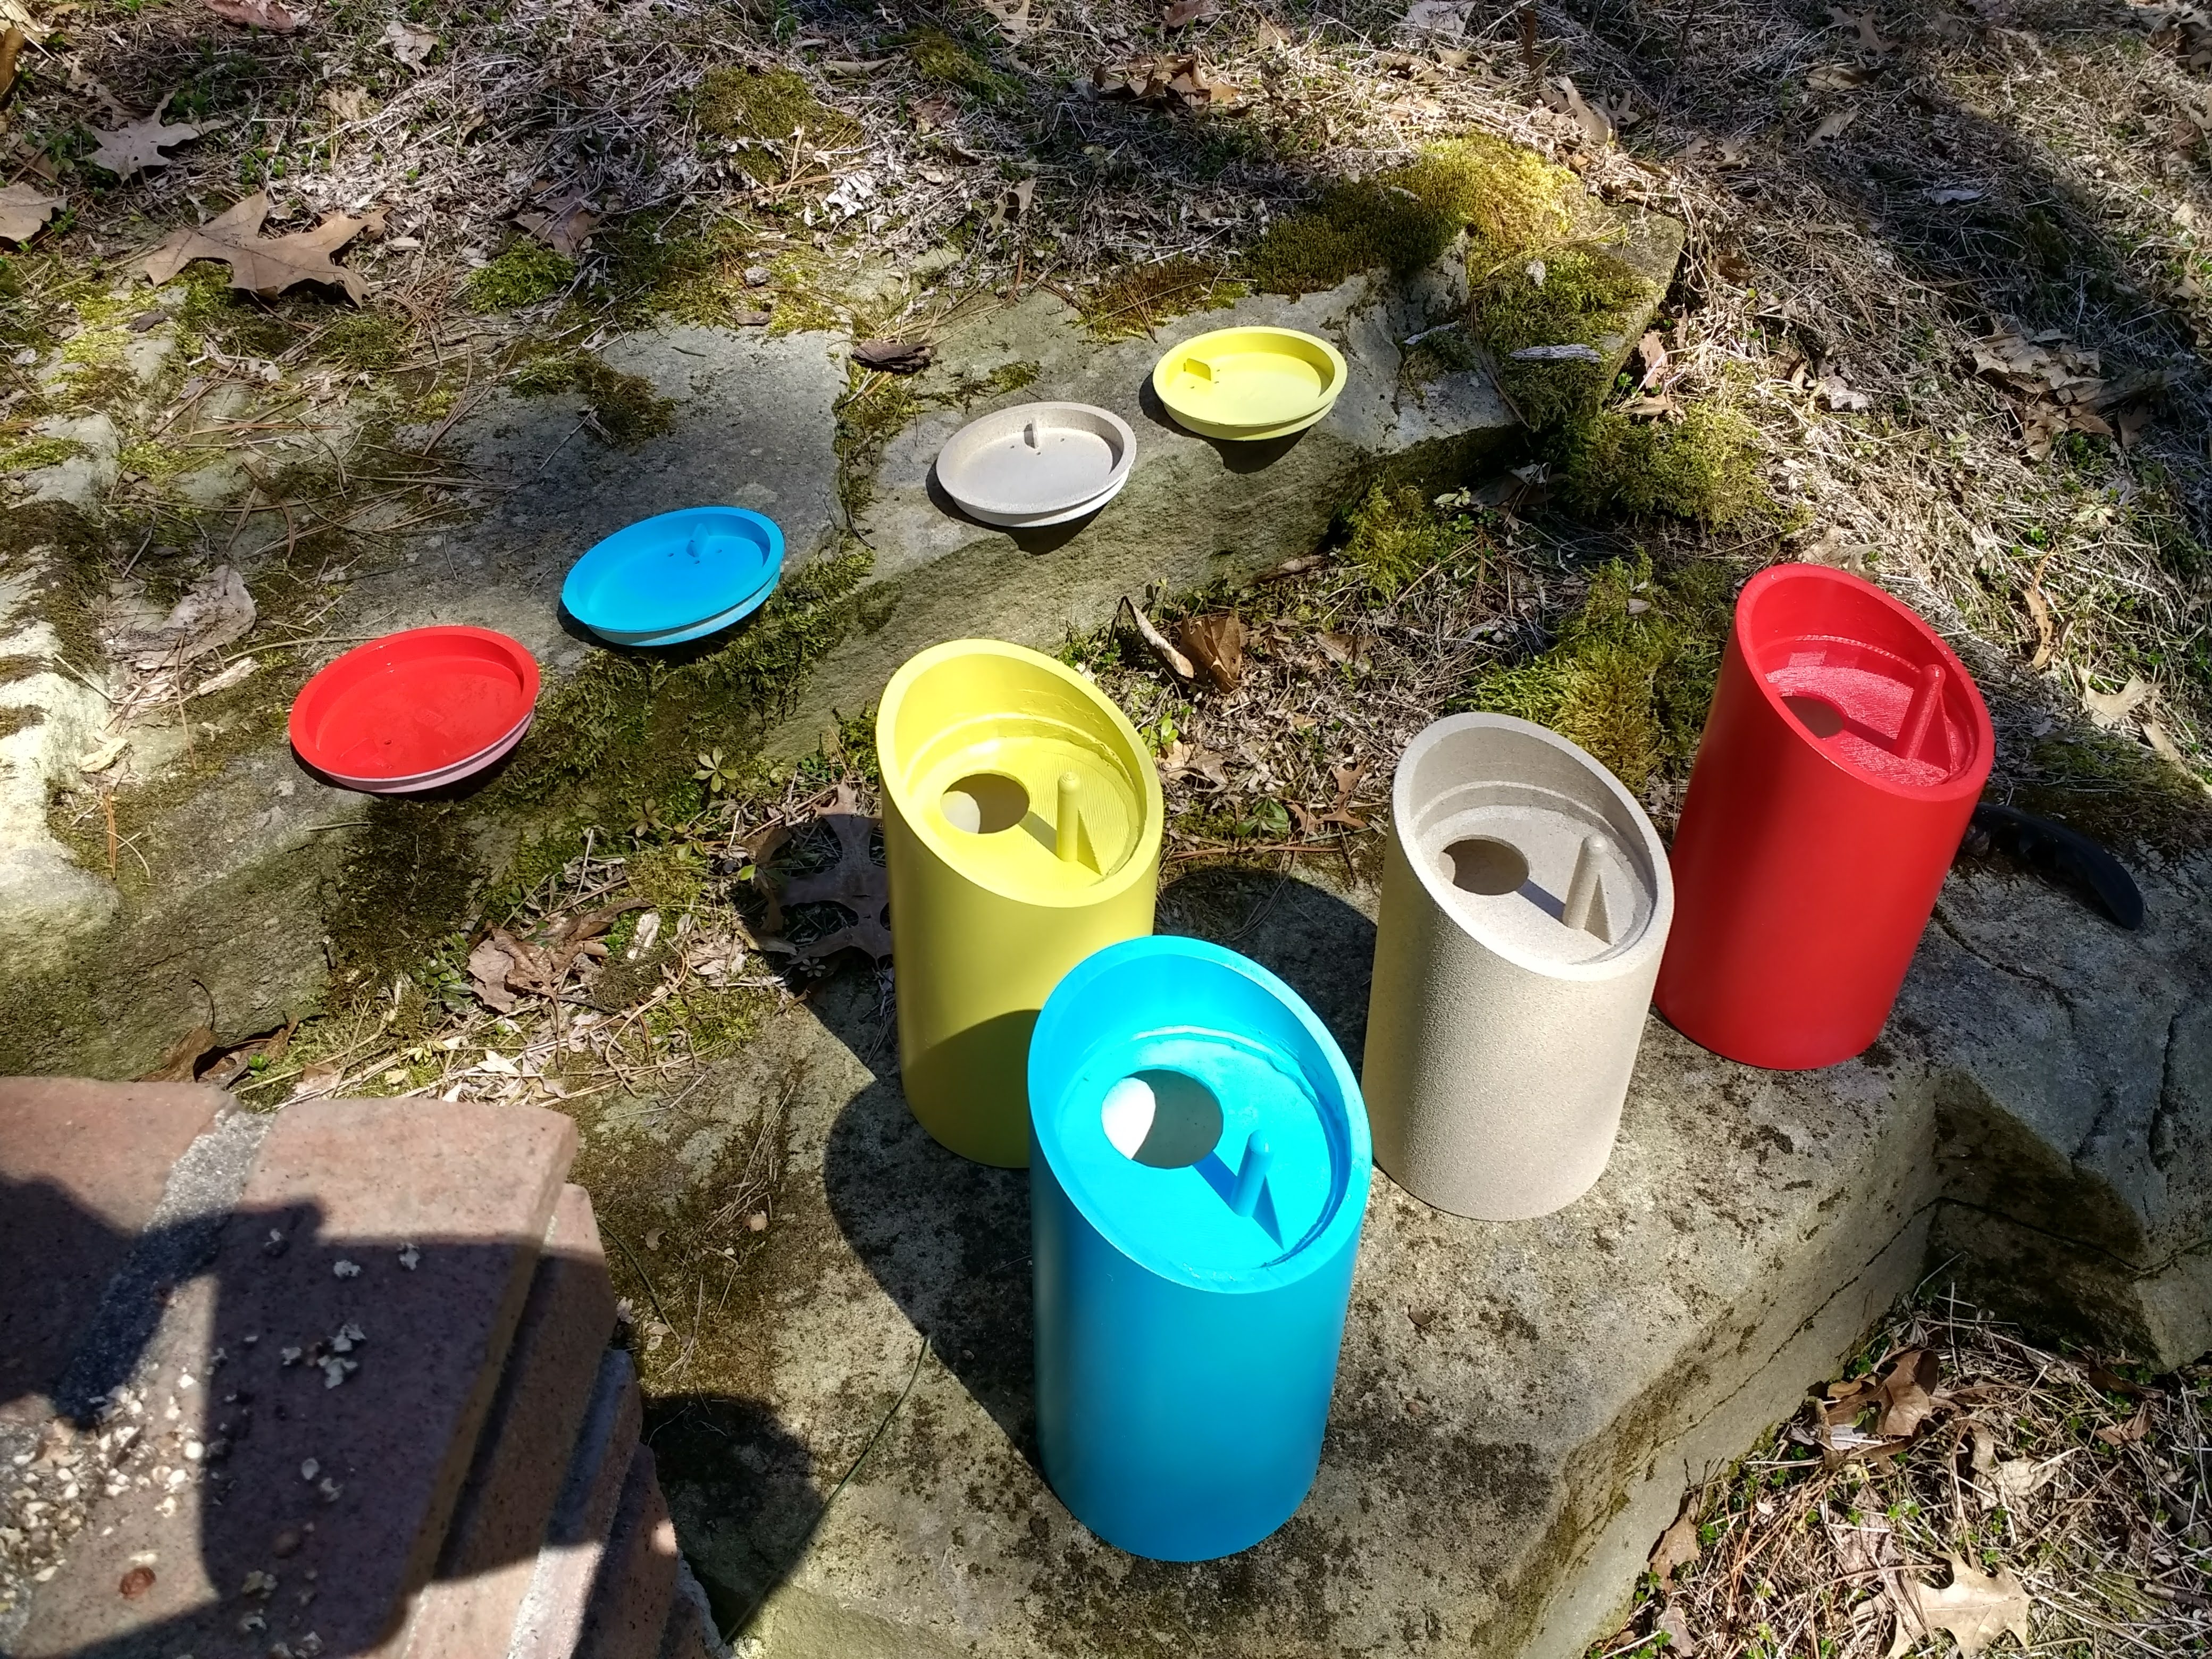
Step 6: Paint
Next step is to paint them. I used paint that advertised as working on plastic. I also used a textured paint that wasn't, so I applied a plastic primer before using that one. Paint the back separately so it doesn't get painted and stuck together.
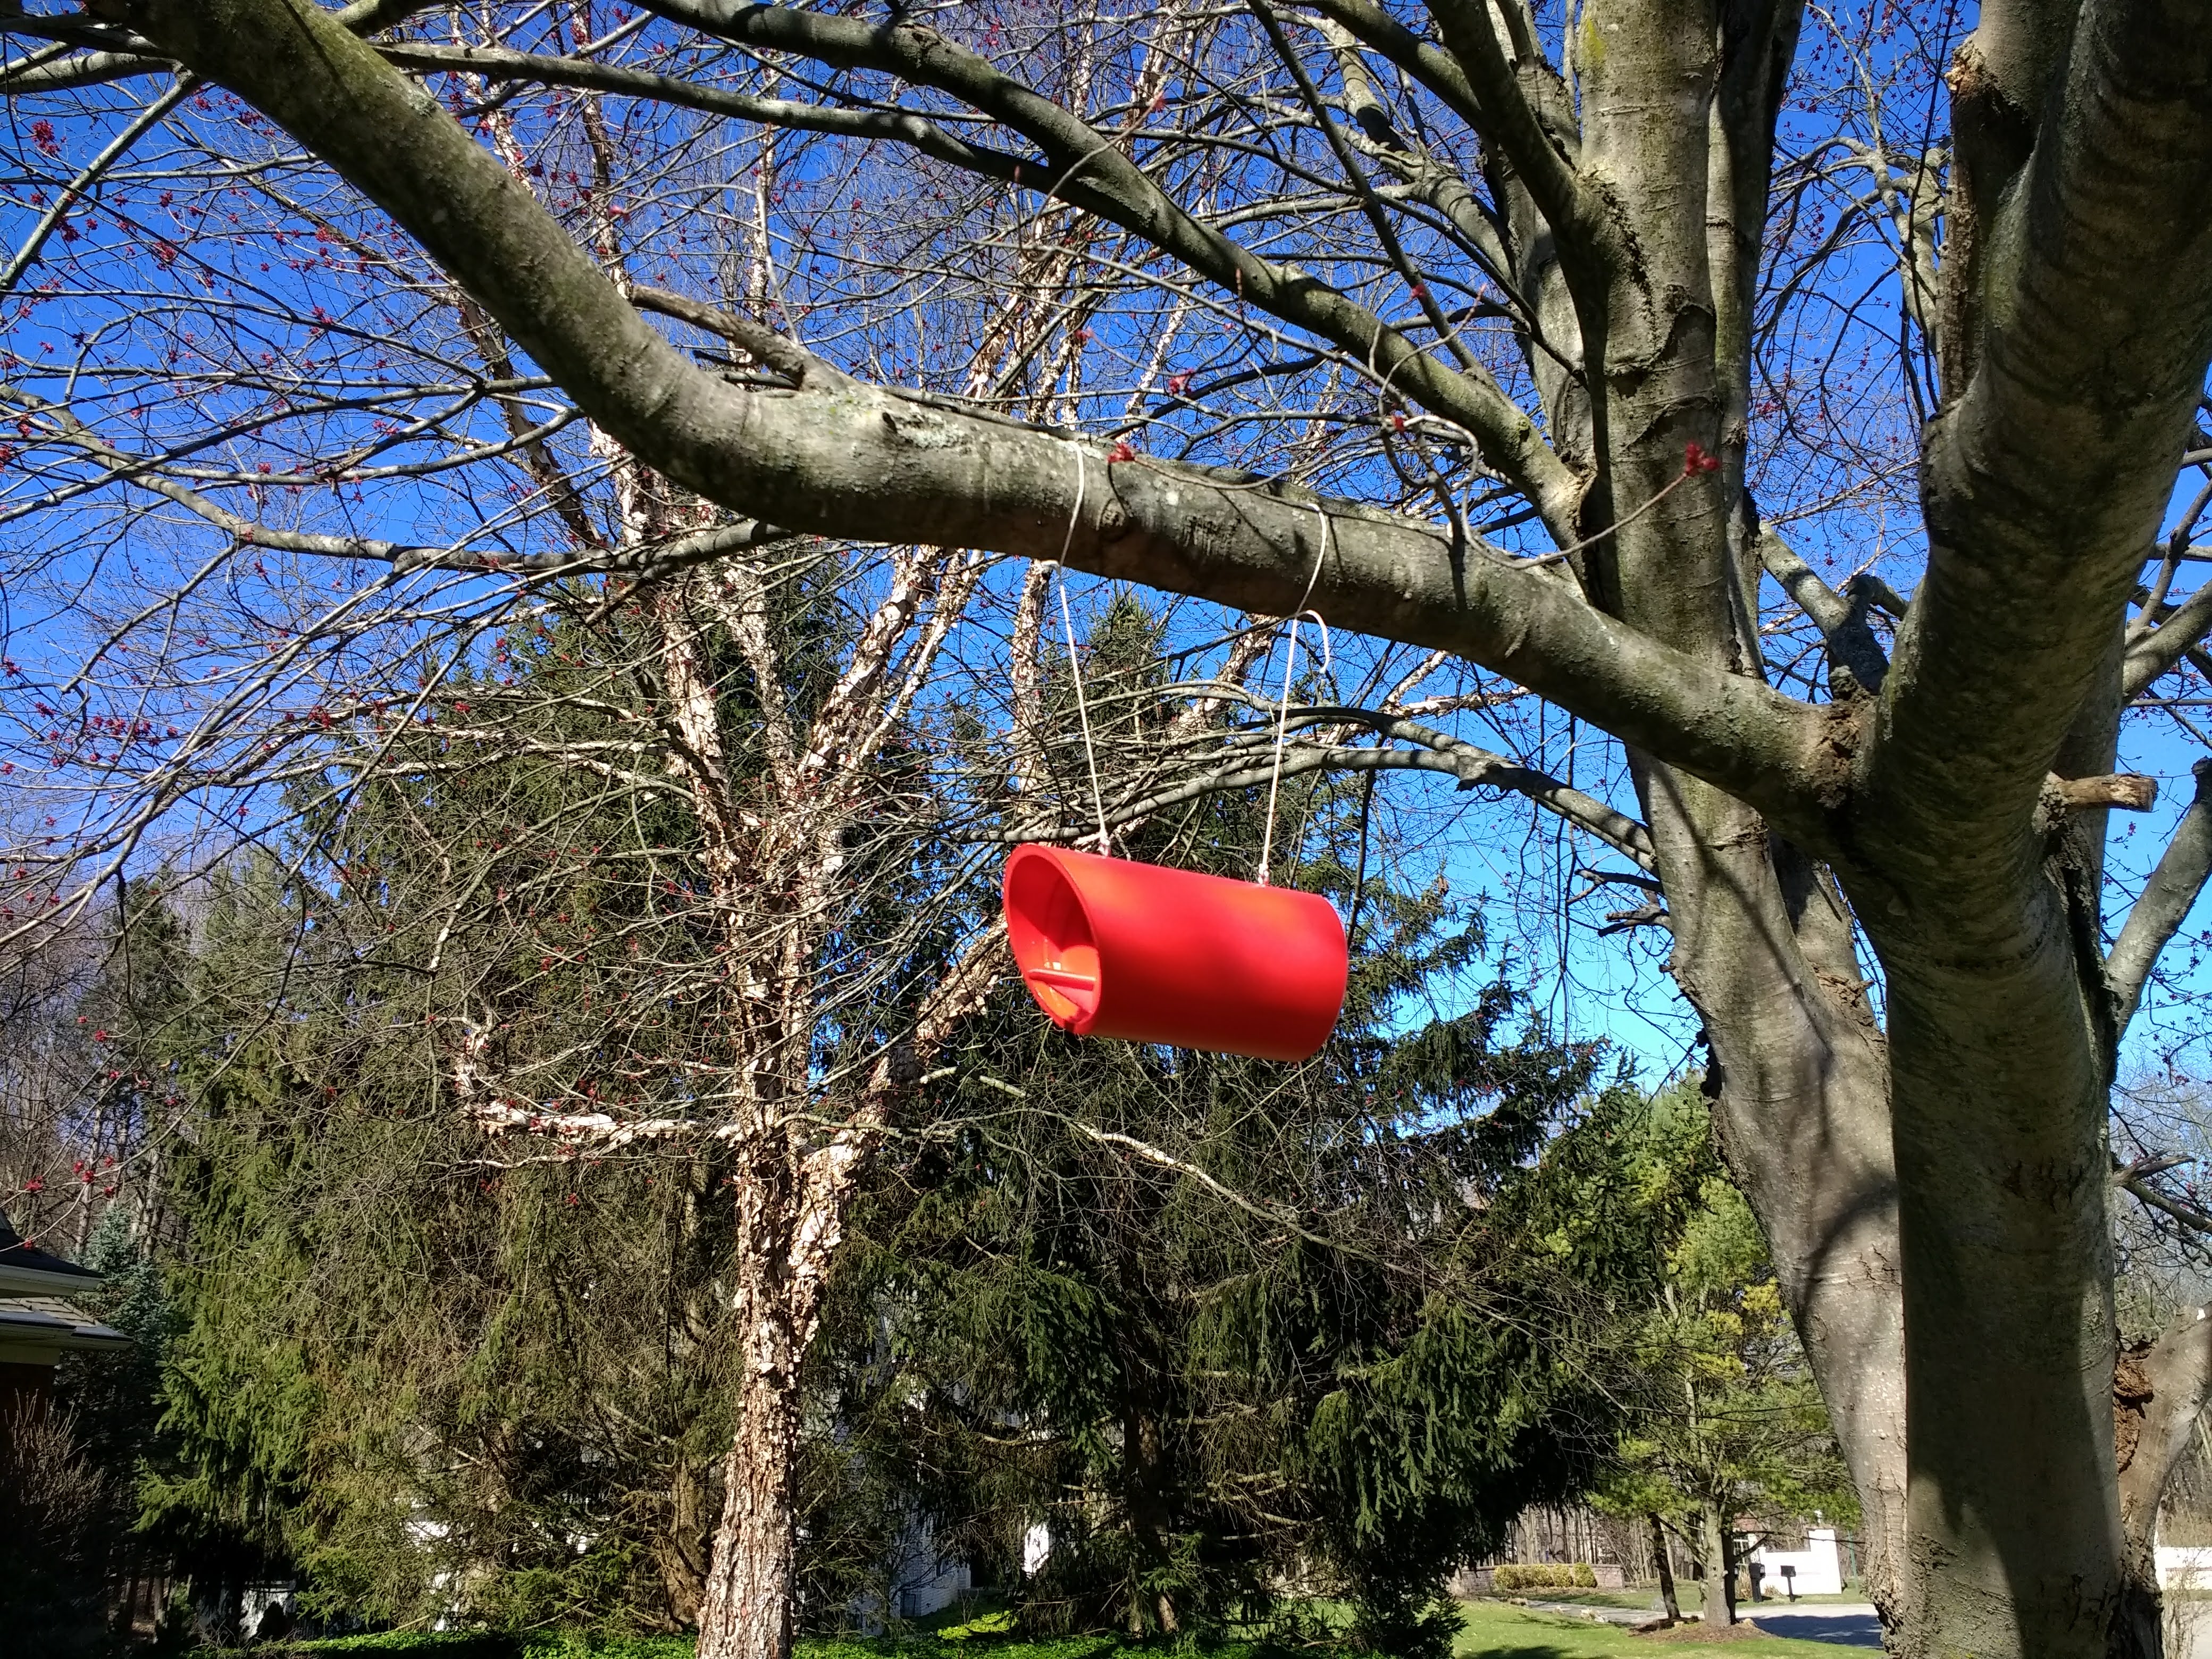
Step 7: Hang
The last step it to hang them! Drill two holes at the top of each one and insert small eyelets. I ground off the sharp point of mine, since they do protude into the inside a bit.
These are a little trickier to hang, as you need two ropes to keep it stable. It's typically best to hang birdhouses with the opening facing south, so using the two ropes also helps keep it aligned.
Other than occasional paint touch up and yearly cleaning with a hose, these should last for years.