Arduino Chicken Coop: Physical structure
Checkout my previous post about why I'm doing this.
My backyard has some steep hills, so for this project, I decided to use that to my advantage. The plan calls for a modern shed with a walkout coop underneath, built into the hillside. Here's a list of things I wanted in a shed:
- No larger than 10x12, as that would require a permit.
- High quality materials to minimize maintenance. Basically, no exposed wood.
- Good interior lighting, natural is better.
Here's what we decided on:
- The size of the walkout is 8x8ft with a 8x10ft shed on top, overhanging the front. I had originally planning on making the shed 8x8ft too, but my father pointed out it'd look like an elevator shaft, plus the interior wouldn't be large enough to hold 8ft pieces of lumber.
- Fiber cement 4x8ft panels for the siding. I wanted to use PVC for the trim, but went with Miratec for cost reasons.
- I considered solar, but the lot is very wooded and I live in Michigan, so instead had to bury a wire from the house.
Foundation
Since my dad had volunteered to help, and I've never built anything like this from scratch, he did the initial plans and lumber list. While he was doing that, I got started on escavating an 8x8ft area by hand and doing the foundation.
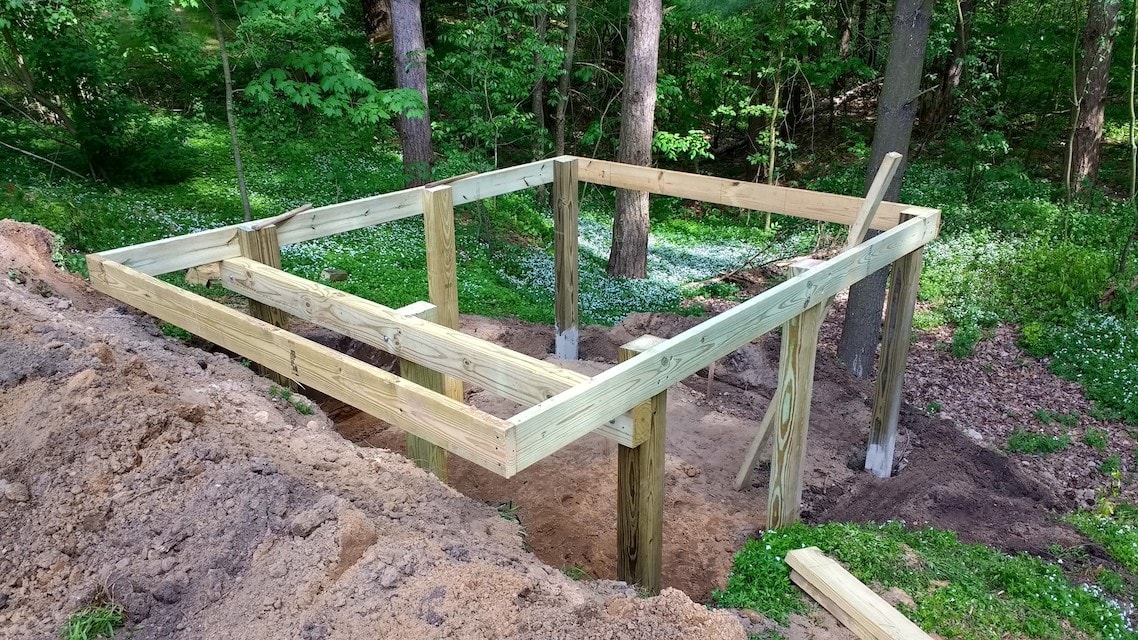 The start of the foundation, with 2' overhang in front.
The foundation is anchored by seven 4x6x8 posts sticking about 48" out of the ground. Everything here is basically held together with large lag bolts.
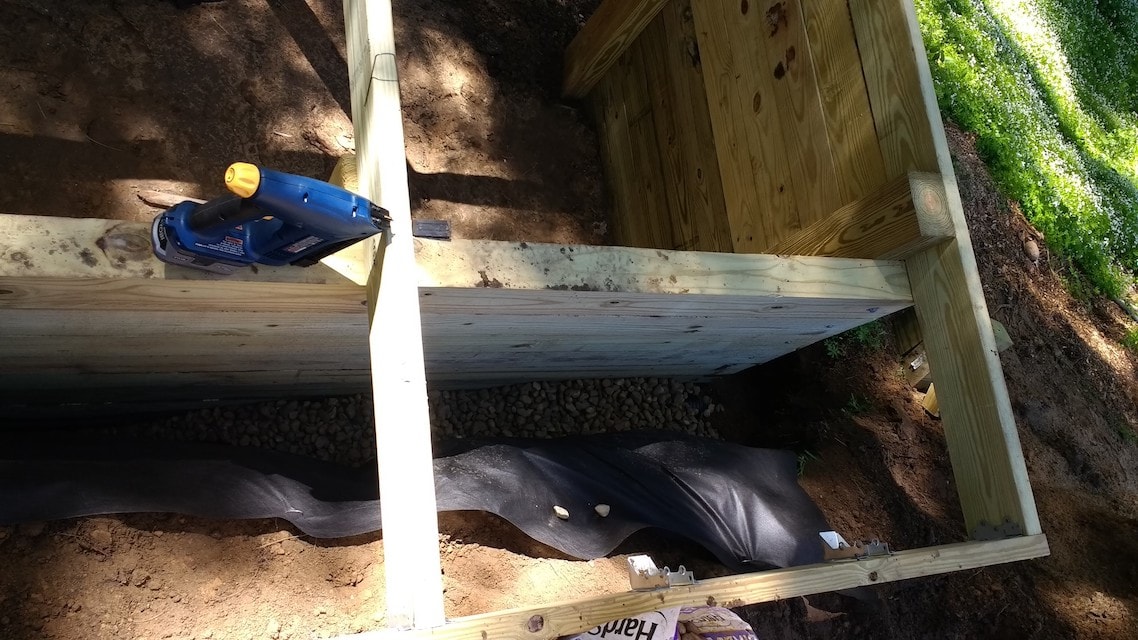 Detail of the retaining wall with drainage stones and fabric.
I used more 4x6x8 posts to build a retaining wall 8ft wide and about 48" high. I also ran a drainage pipe covered in landscape fabric and stones to aid in drainage behind the wall. I considered using stone for this wall, but the ease in attaching the timbers directly to the existing posts was too appealing.
Coop
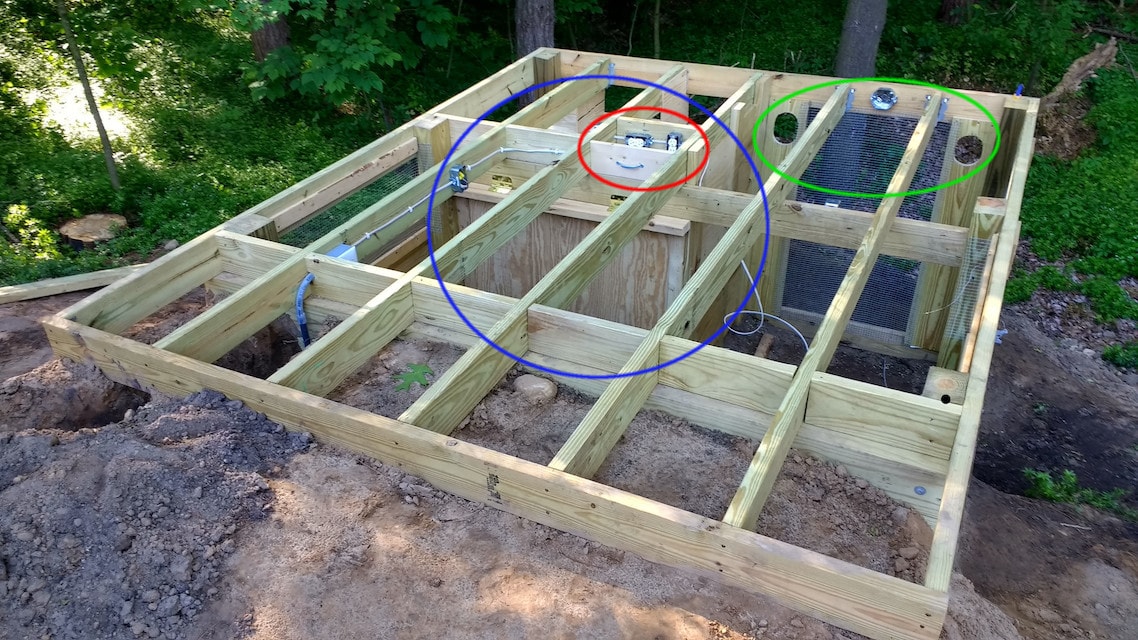 Coop and chicken run.
The image above shows the actual coop in the corner circled in blue, it measures almost exactly 4x4x4ft, taking up a quarter of the available 8x8ft space. I was working on the wiring here, but you can see the openings circled in green, where the food and water will be. Circled in red is where I plan on putting most of the electronics, accessible via the magnetically attached panel.
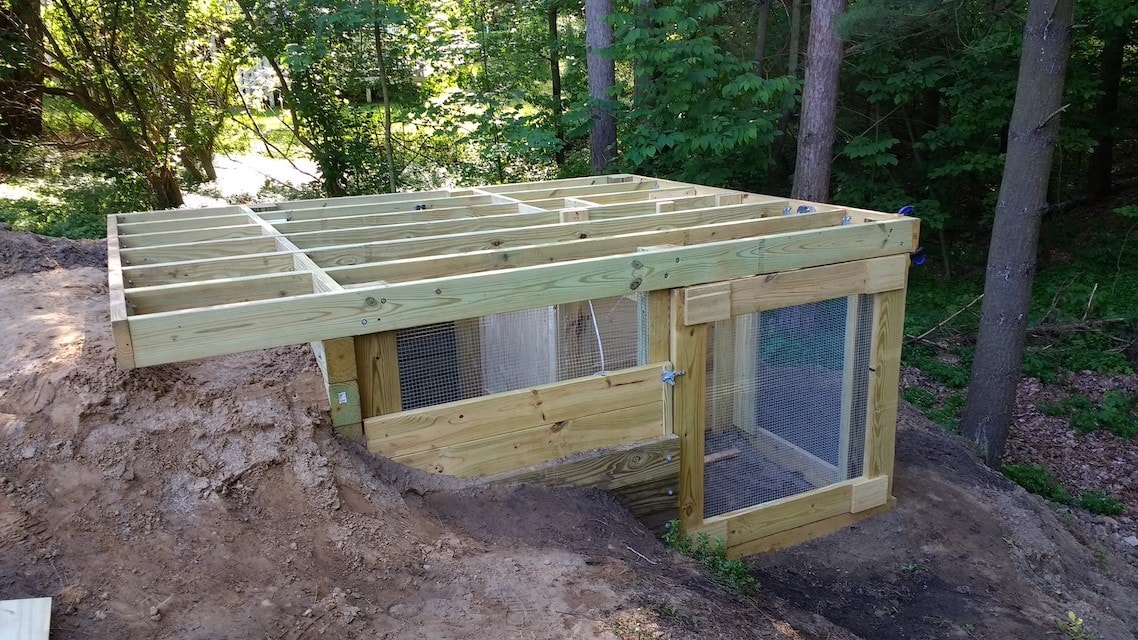
The run is accessed by a single 4x4ft door and all openings are closed with 1/2" hardware cloth. You'll see stuff sold as "chicken wire", but that just keeps chickens in, it doesn't keep predators out.
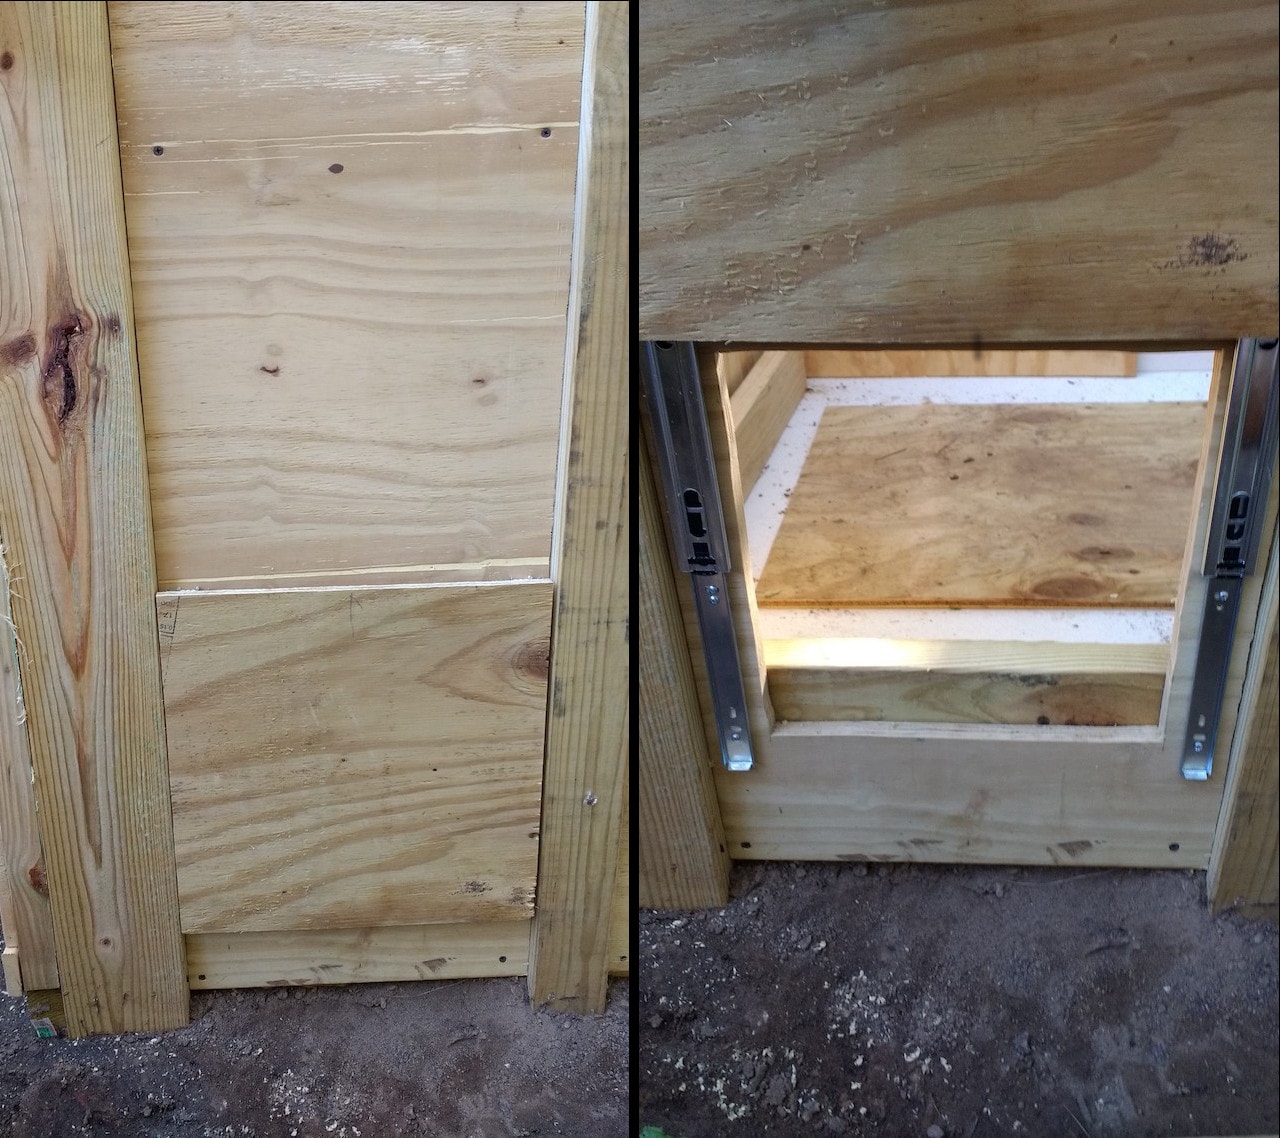 Coop Door: closed and open
This is the coop door that will be automated, sliding up and down on repurposed drawer sliders. The drawer sliders are not rust-proof, so I tried to protect them from the elements and also plan on oiling them regularly. The nice thing about this design too is there's about a 1/2" gap between the wall and the door, so it shouldn't chop off any chicken toes.
Food and water
To minimize the amount of time I have to spend bending over in my 48" tall coop, I wanted to be able to fill food and water from the outside. Having read a lot about it, I decided to build my own PVC devices.
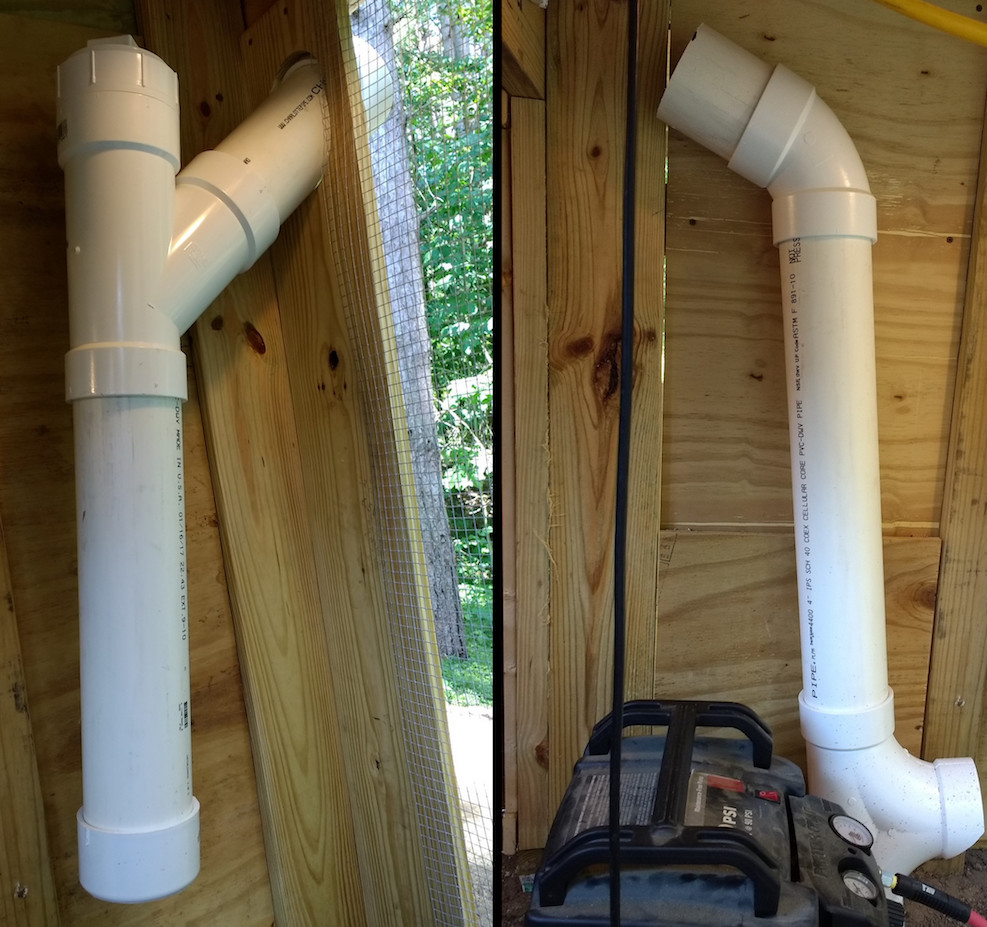 Waterer(left), Feeder (right)
The waterer uses red nipples (not shown) and a cleanout at the top to allow the insertion of a heater in the winter. The feeder is only slightly modified from this design. The main advantage of this design over many others you'll see is this better protects the feed from moisture.
Shed
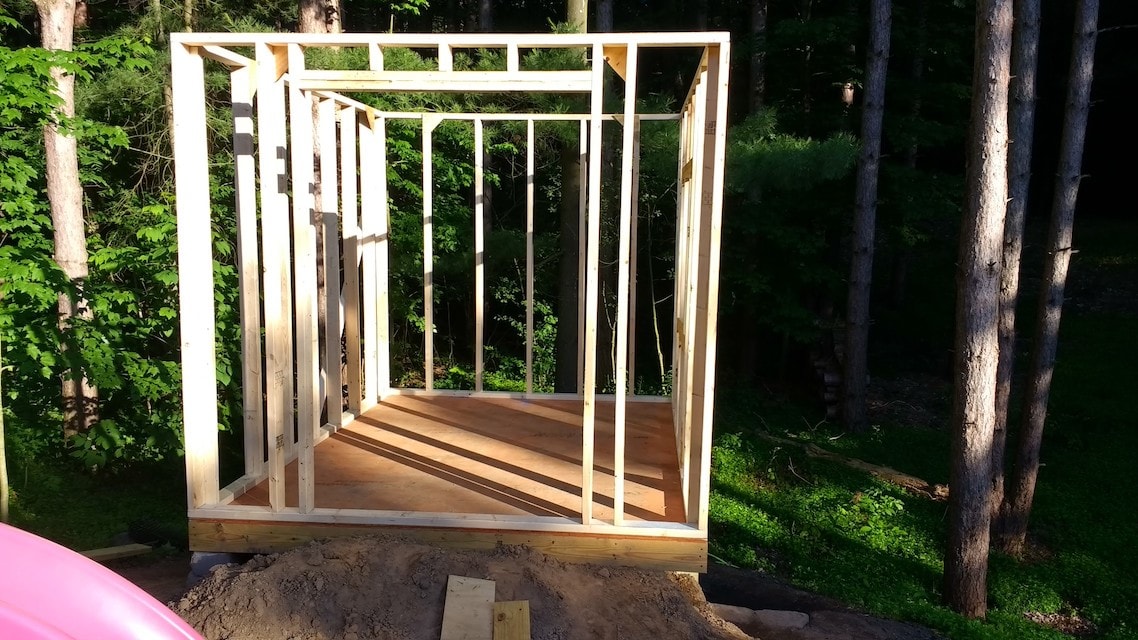
The shed sits on top, and it pretty standard fare. I went with 7ft stud walls, since the slanted roof and transom windows will add a foot or so more on the top.
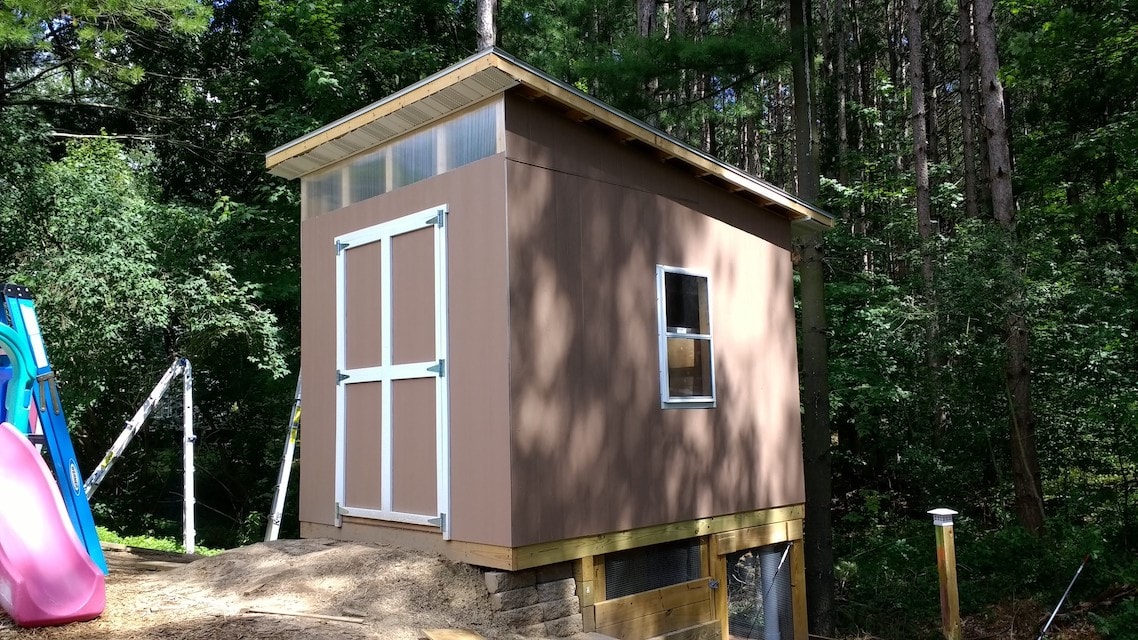 Mostly Done! (except trim)
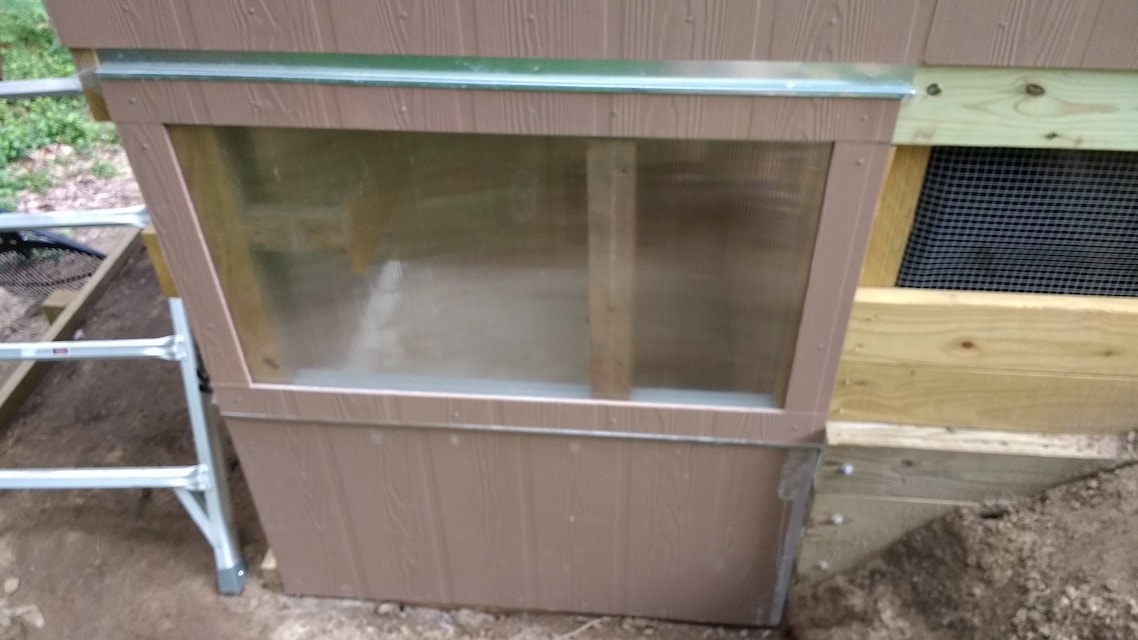 Coop far side, with window.
The transom windows and this window were all taken from a single 4x8 sheet of corrugated plastic roofing. I used it because it costs a lot less than plexiglass, I didn't need perfect clarity, and it provides extra insulation and strength.
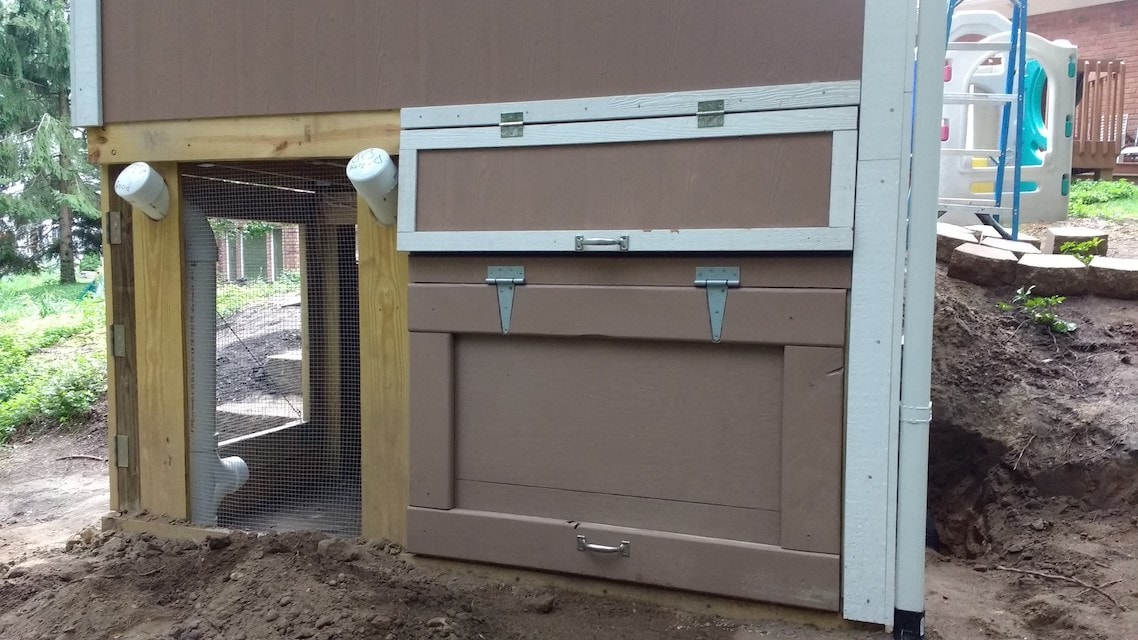 Coop back: food, water, egg door, cleanout door, downspout.
Checkout my next post on hardware for the automatic door.
