
Chicken Coop: Lessons learned 2 years in
I've had my chicken coop for more than 2 years now. For the most part, it has been working great. I can easily leave the chickens for a week, no matter the season, and not worry. In this post, I'll detail some of the things I've changed from the original design and why.
Water heater
During last year's polar vortex, temperatures got down to −15 °F (−26 °C) with windchill values between −20 °F (−29 °C) and −40 °F (−40 °C). The previous winter, I had made some changes to try and keep the waterer from freezing that didn't work. Over the following summer, I dismantled the waterer and tried something else. I already had a 4" PVC tube inside a 6" PVC tube with insulation in the void between them. I cut a spiral in the 6" tube in order to use a standard pipe heat tape to wrap around the inner 4" tube. I had more wraps near the bottom where the red water nipples are. I added an insulated cap and insulated the bottom arround the nipples. This does make it a pain to clean: I have to remove the nipples to slide off the green PVC first. However, this setup survived the vortex just fine.
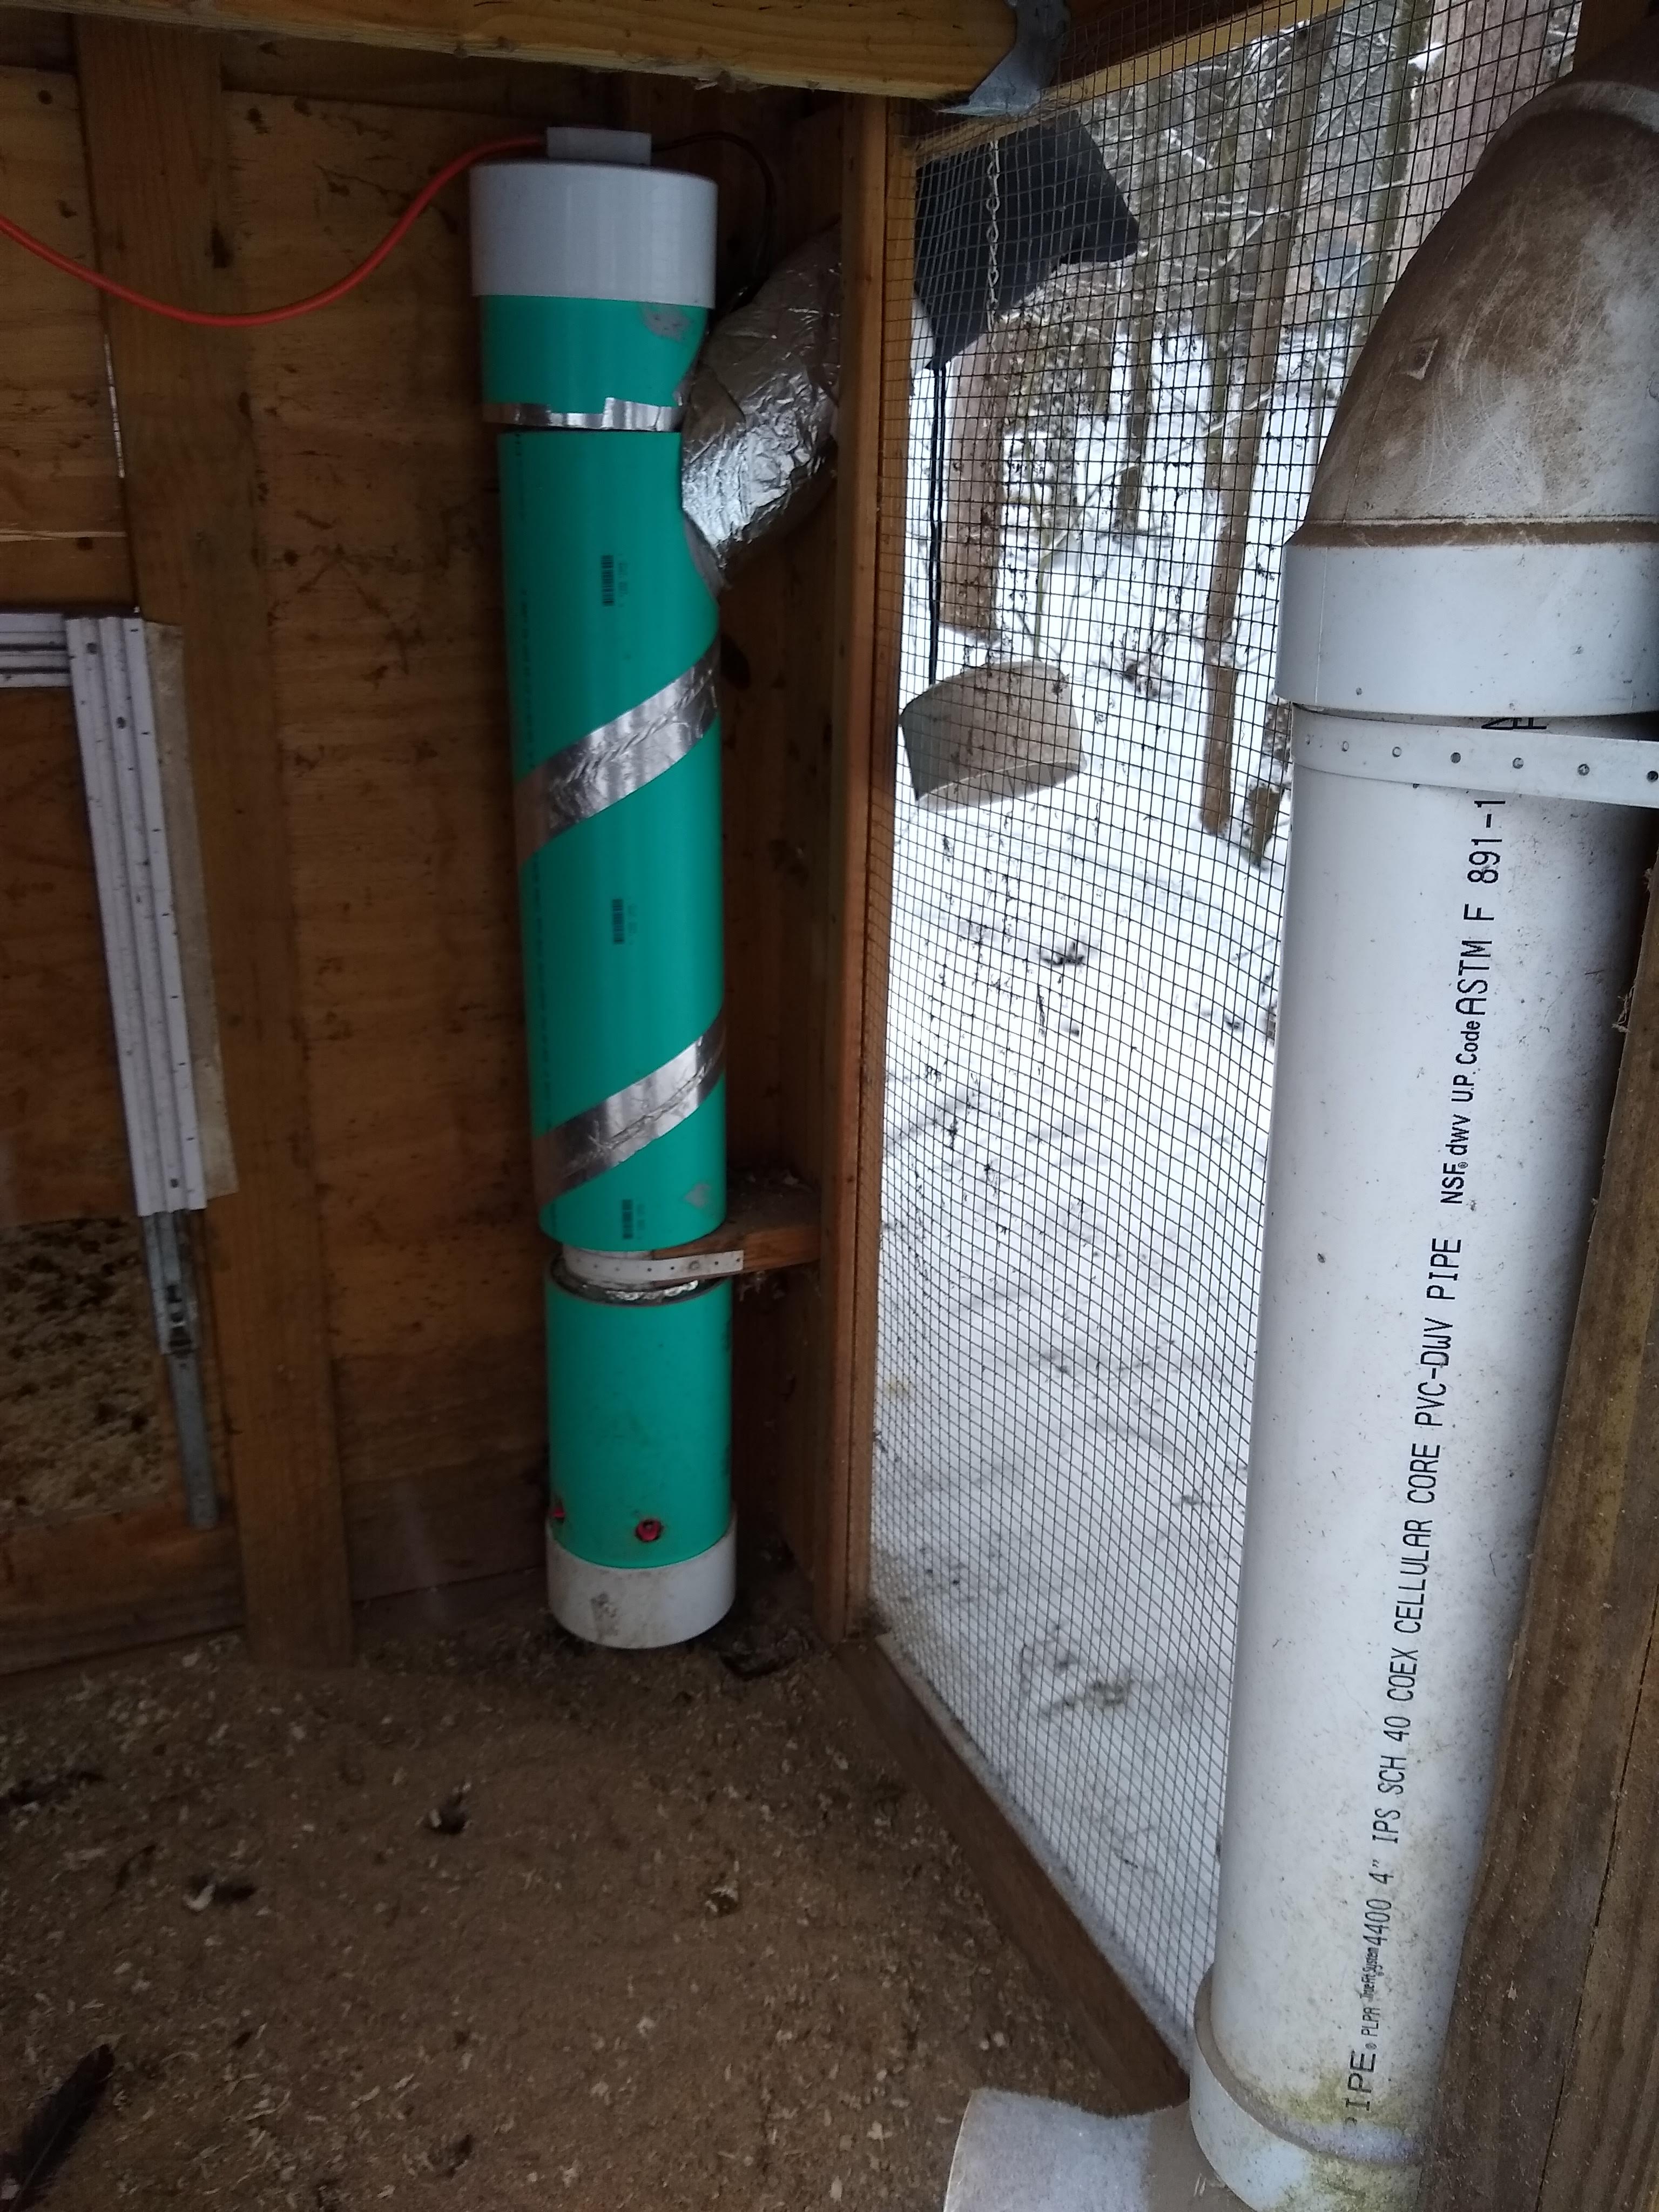
The only thing I now had to contend with is evaporation causing the exterior cap to freeze in place, making it impossible to fill. I solved that by using a PVC test cap to seal it and covered it with an insulated faucet cover that just fits.


With this setup, the test cap stops all evaporation from escaping and I haven't had any issues with things freezing.
Expanded Run
We live in a neighborhood where people liked to have our chickens roaming around. However, I'd only let them out if I was home. I wanted to make sure they didn't get into too much trouble. So most times, they'd only get out for a few hours in the evenings.
However, this all changed when our neighbors got a puppy that loved to chase the chickens. Luckily, it just wanted to play and never hurt them, but it sure did freak them out a few times.
To solve these issues, I decided to expand their run.
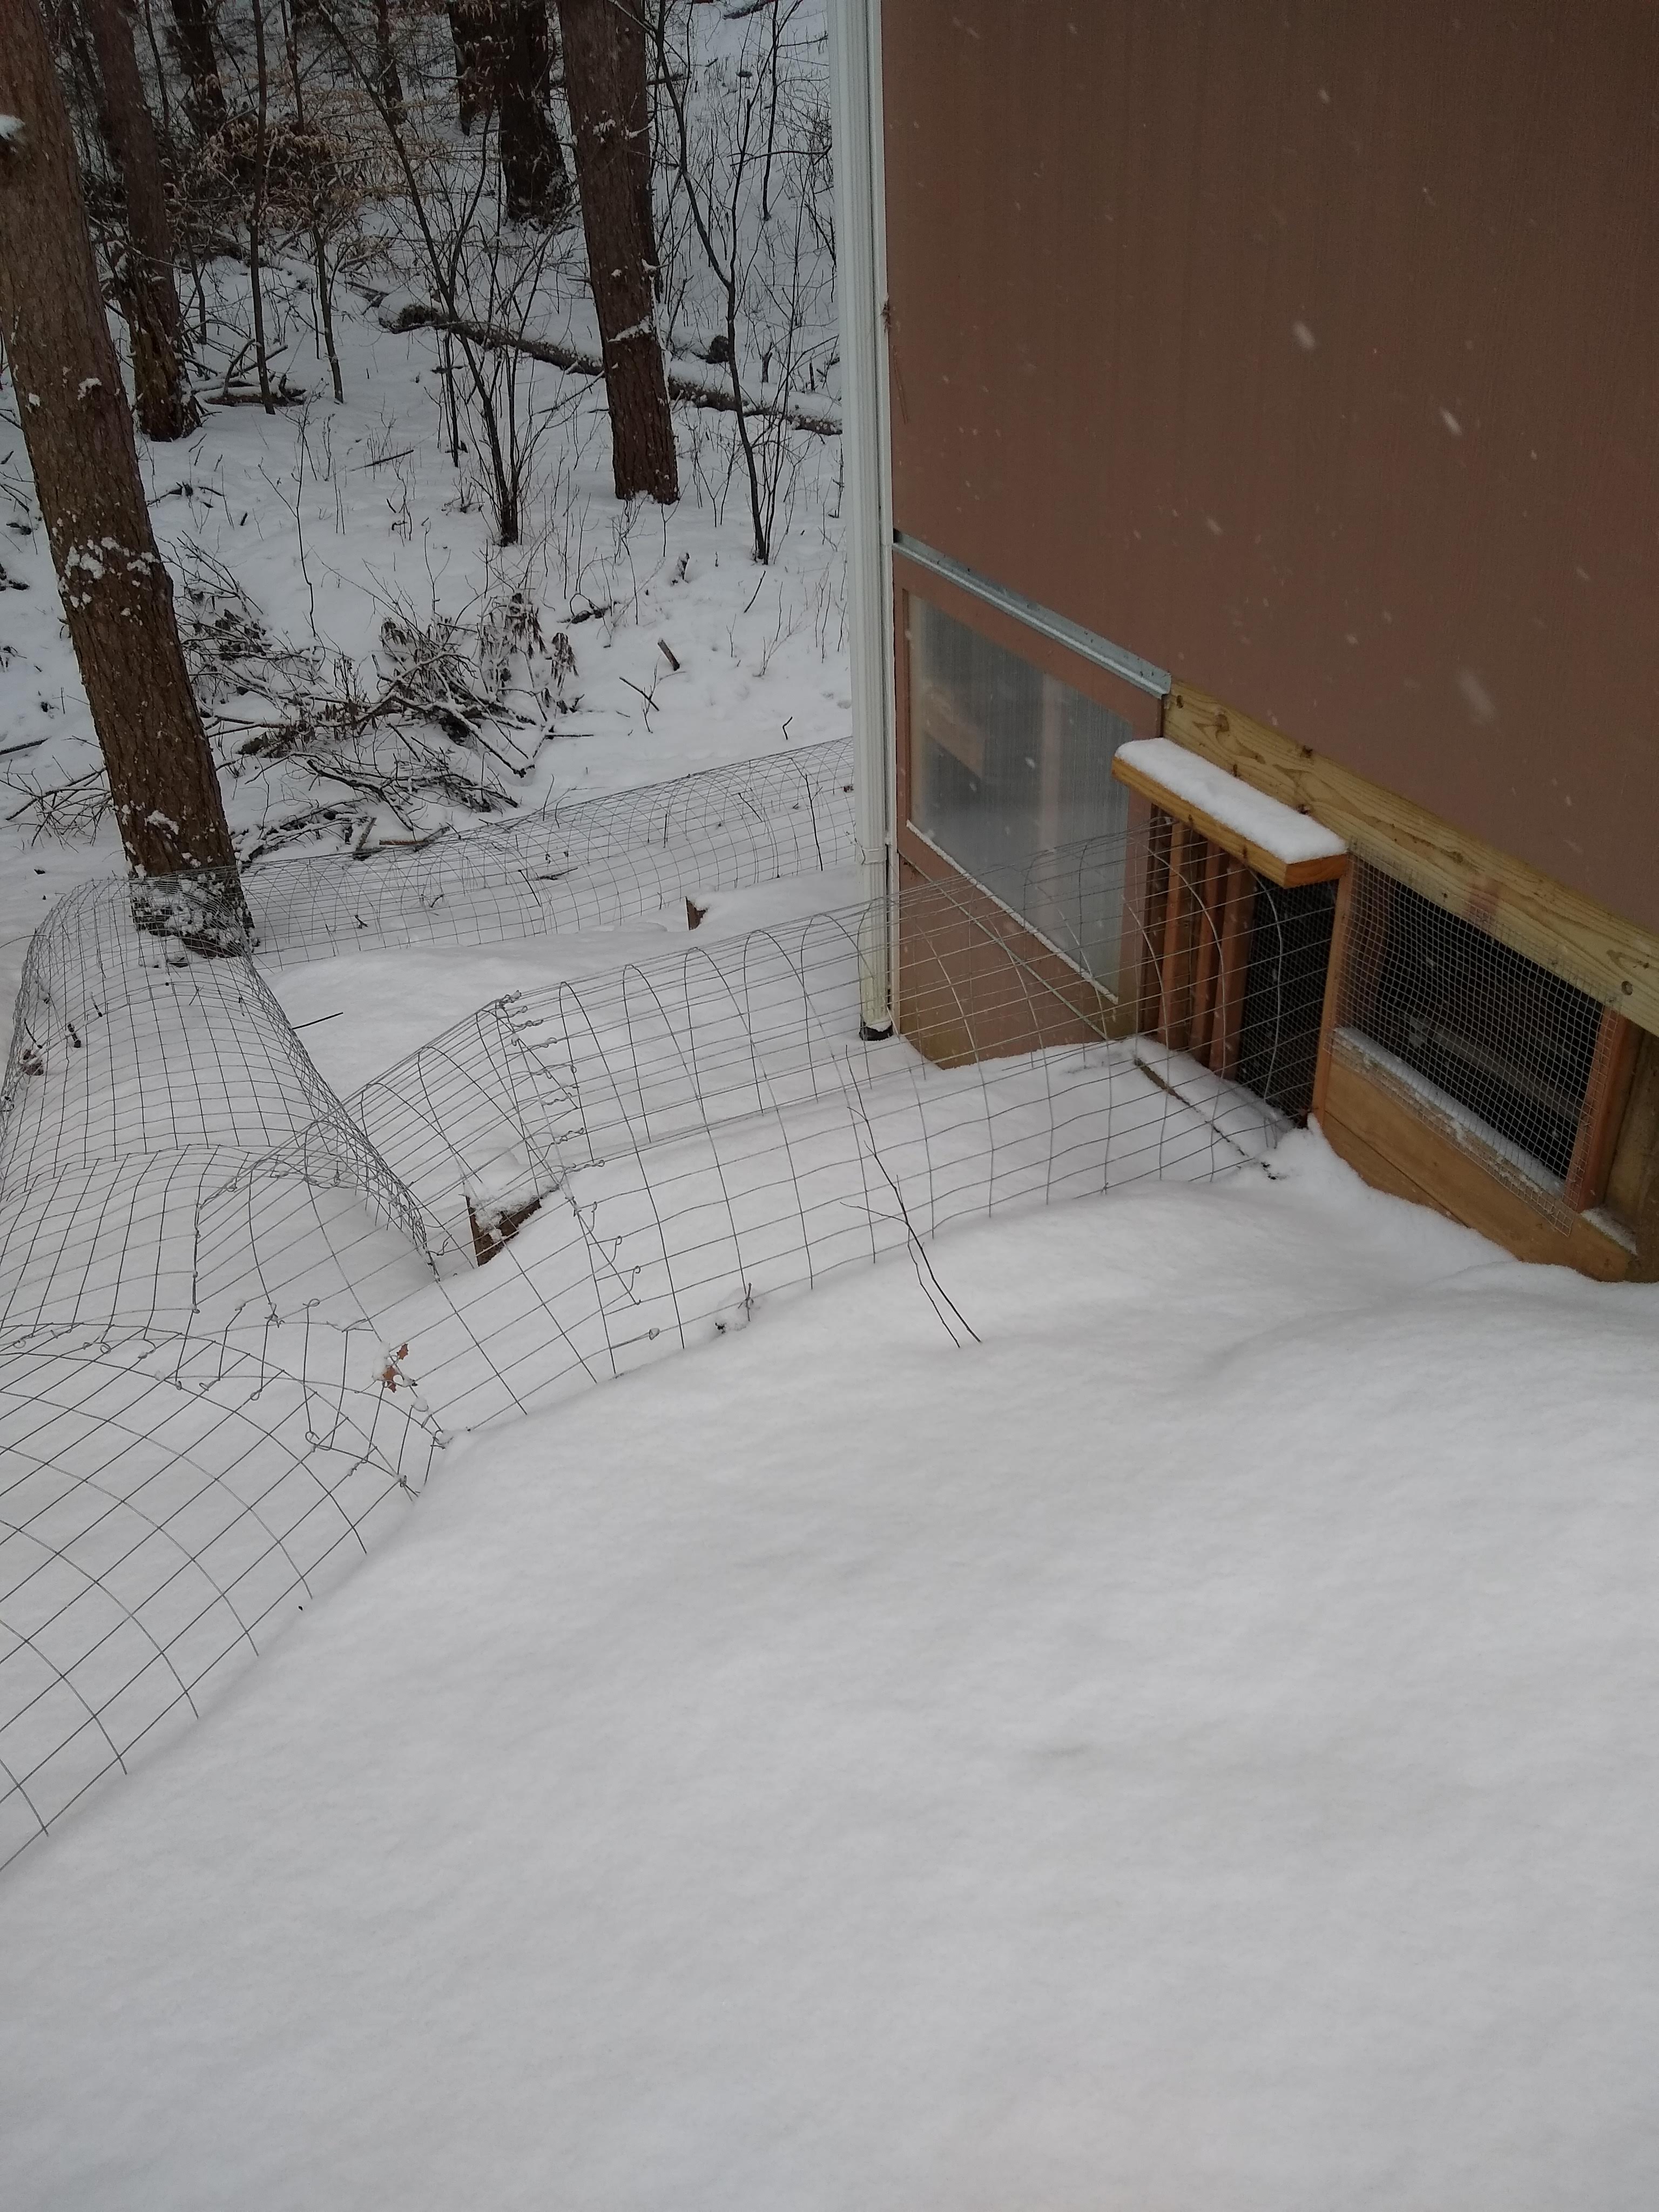

I hooked up a second linear actuator to my controller to run a second door out the side of the coop. This door leads to chicken tunnels (Chunnels). The door is mounted on some pipes with some sliders. I have had issues with the door freezing in place and breaking my 3D printed actuator mount...I'm still working on that problem. I probably don't really need the door, but I wanted to keep stuff from getting in and eating the chicken food at night.
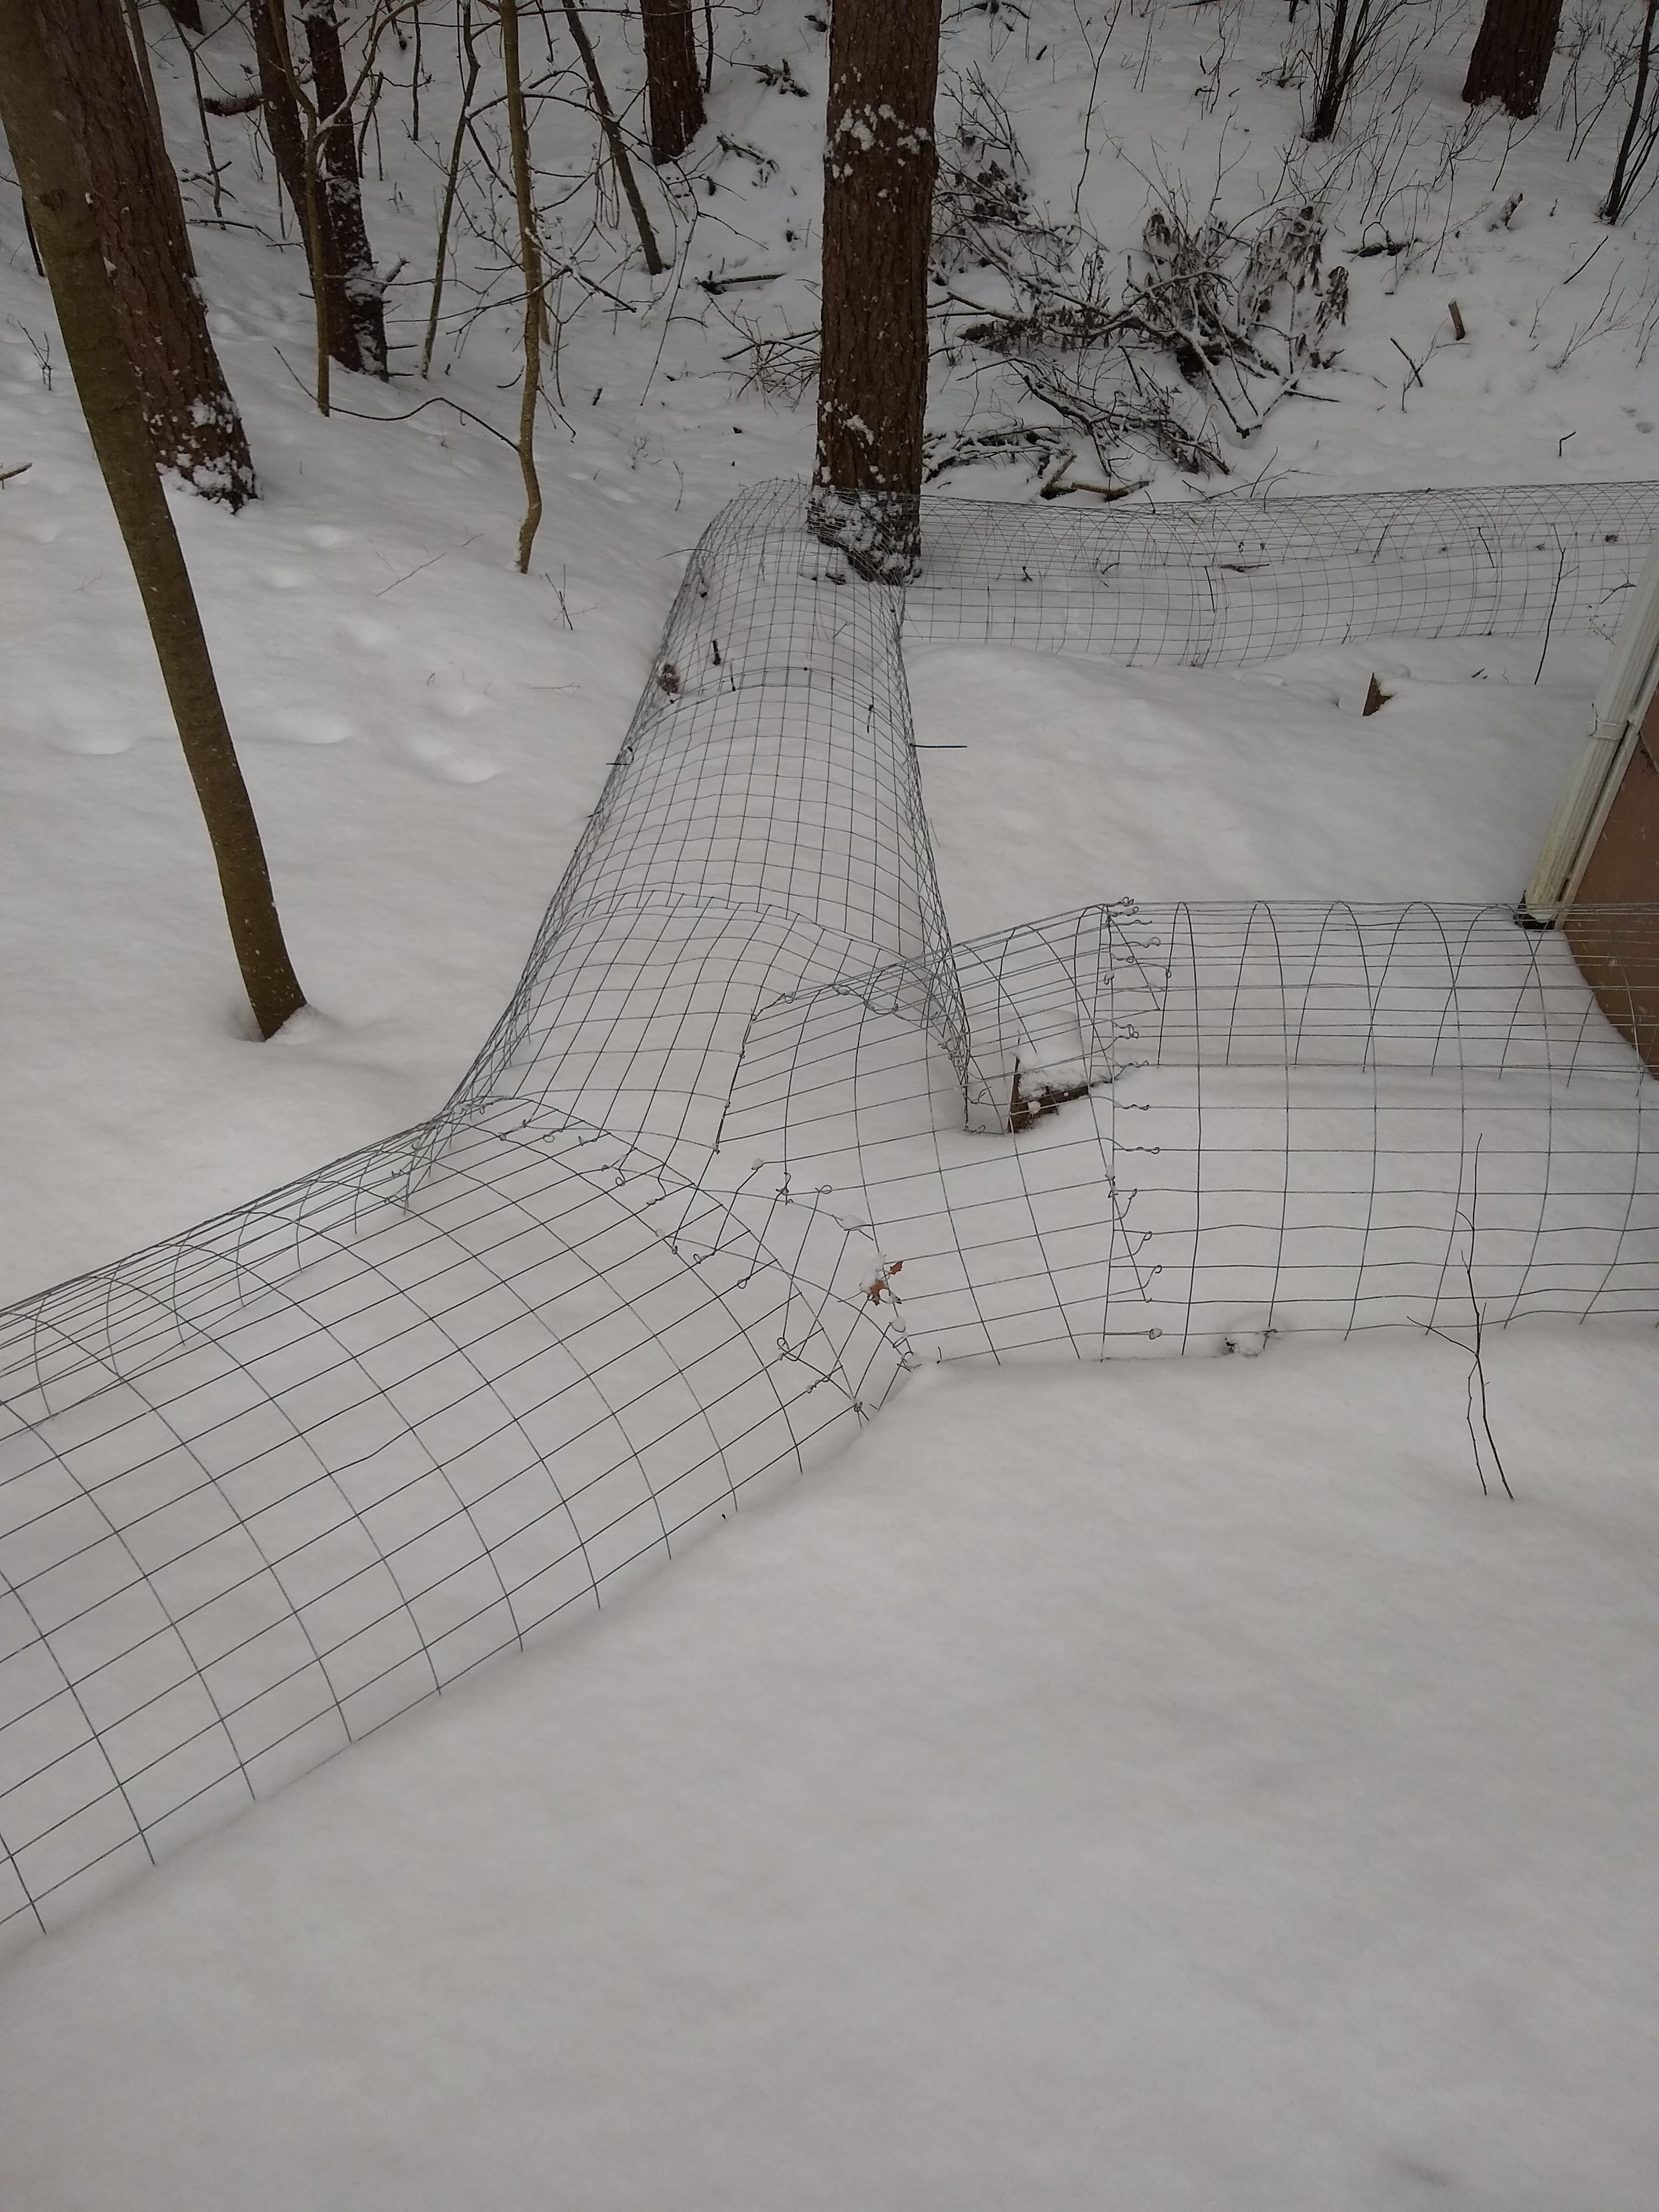
The tunnels are made from welded wire fence. It goes up quick. You simply cut some off, plop it on the ground, and then ziptie it to the previous section. This makes it convenient to be able to add sections here and there. It doesn't keep things out if they're determined to get in, and I have had chickens escape underneath. But, it works well enough.
Benefits
- Goes up quick
- Cheap
- Flexible and easy to move or reposition
- The bend from the roll of wire works in your favor
Drawbacks
- Chickens can escape
- Animals can still get in
- Large animals, such as dogs, can crush the sections easily
Locking food cap
I had problems with animals (racoons I think) getting into the food from the outside. Somehow they got the PVC cap off and would eat as far as they could reach. I fixed this with a simple hook holding the cap to the pipe.

Nesting boxes
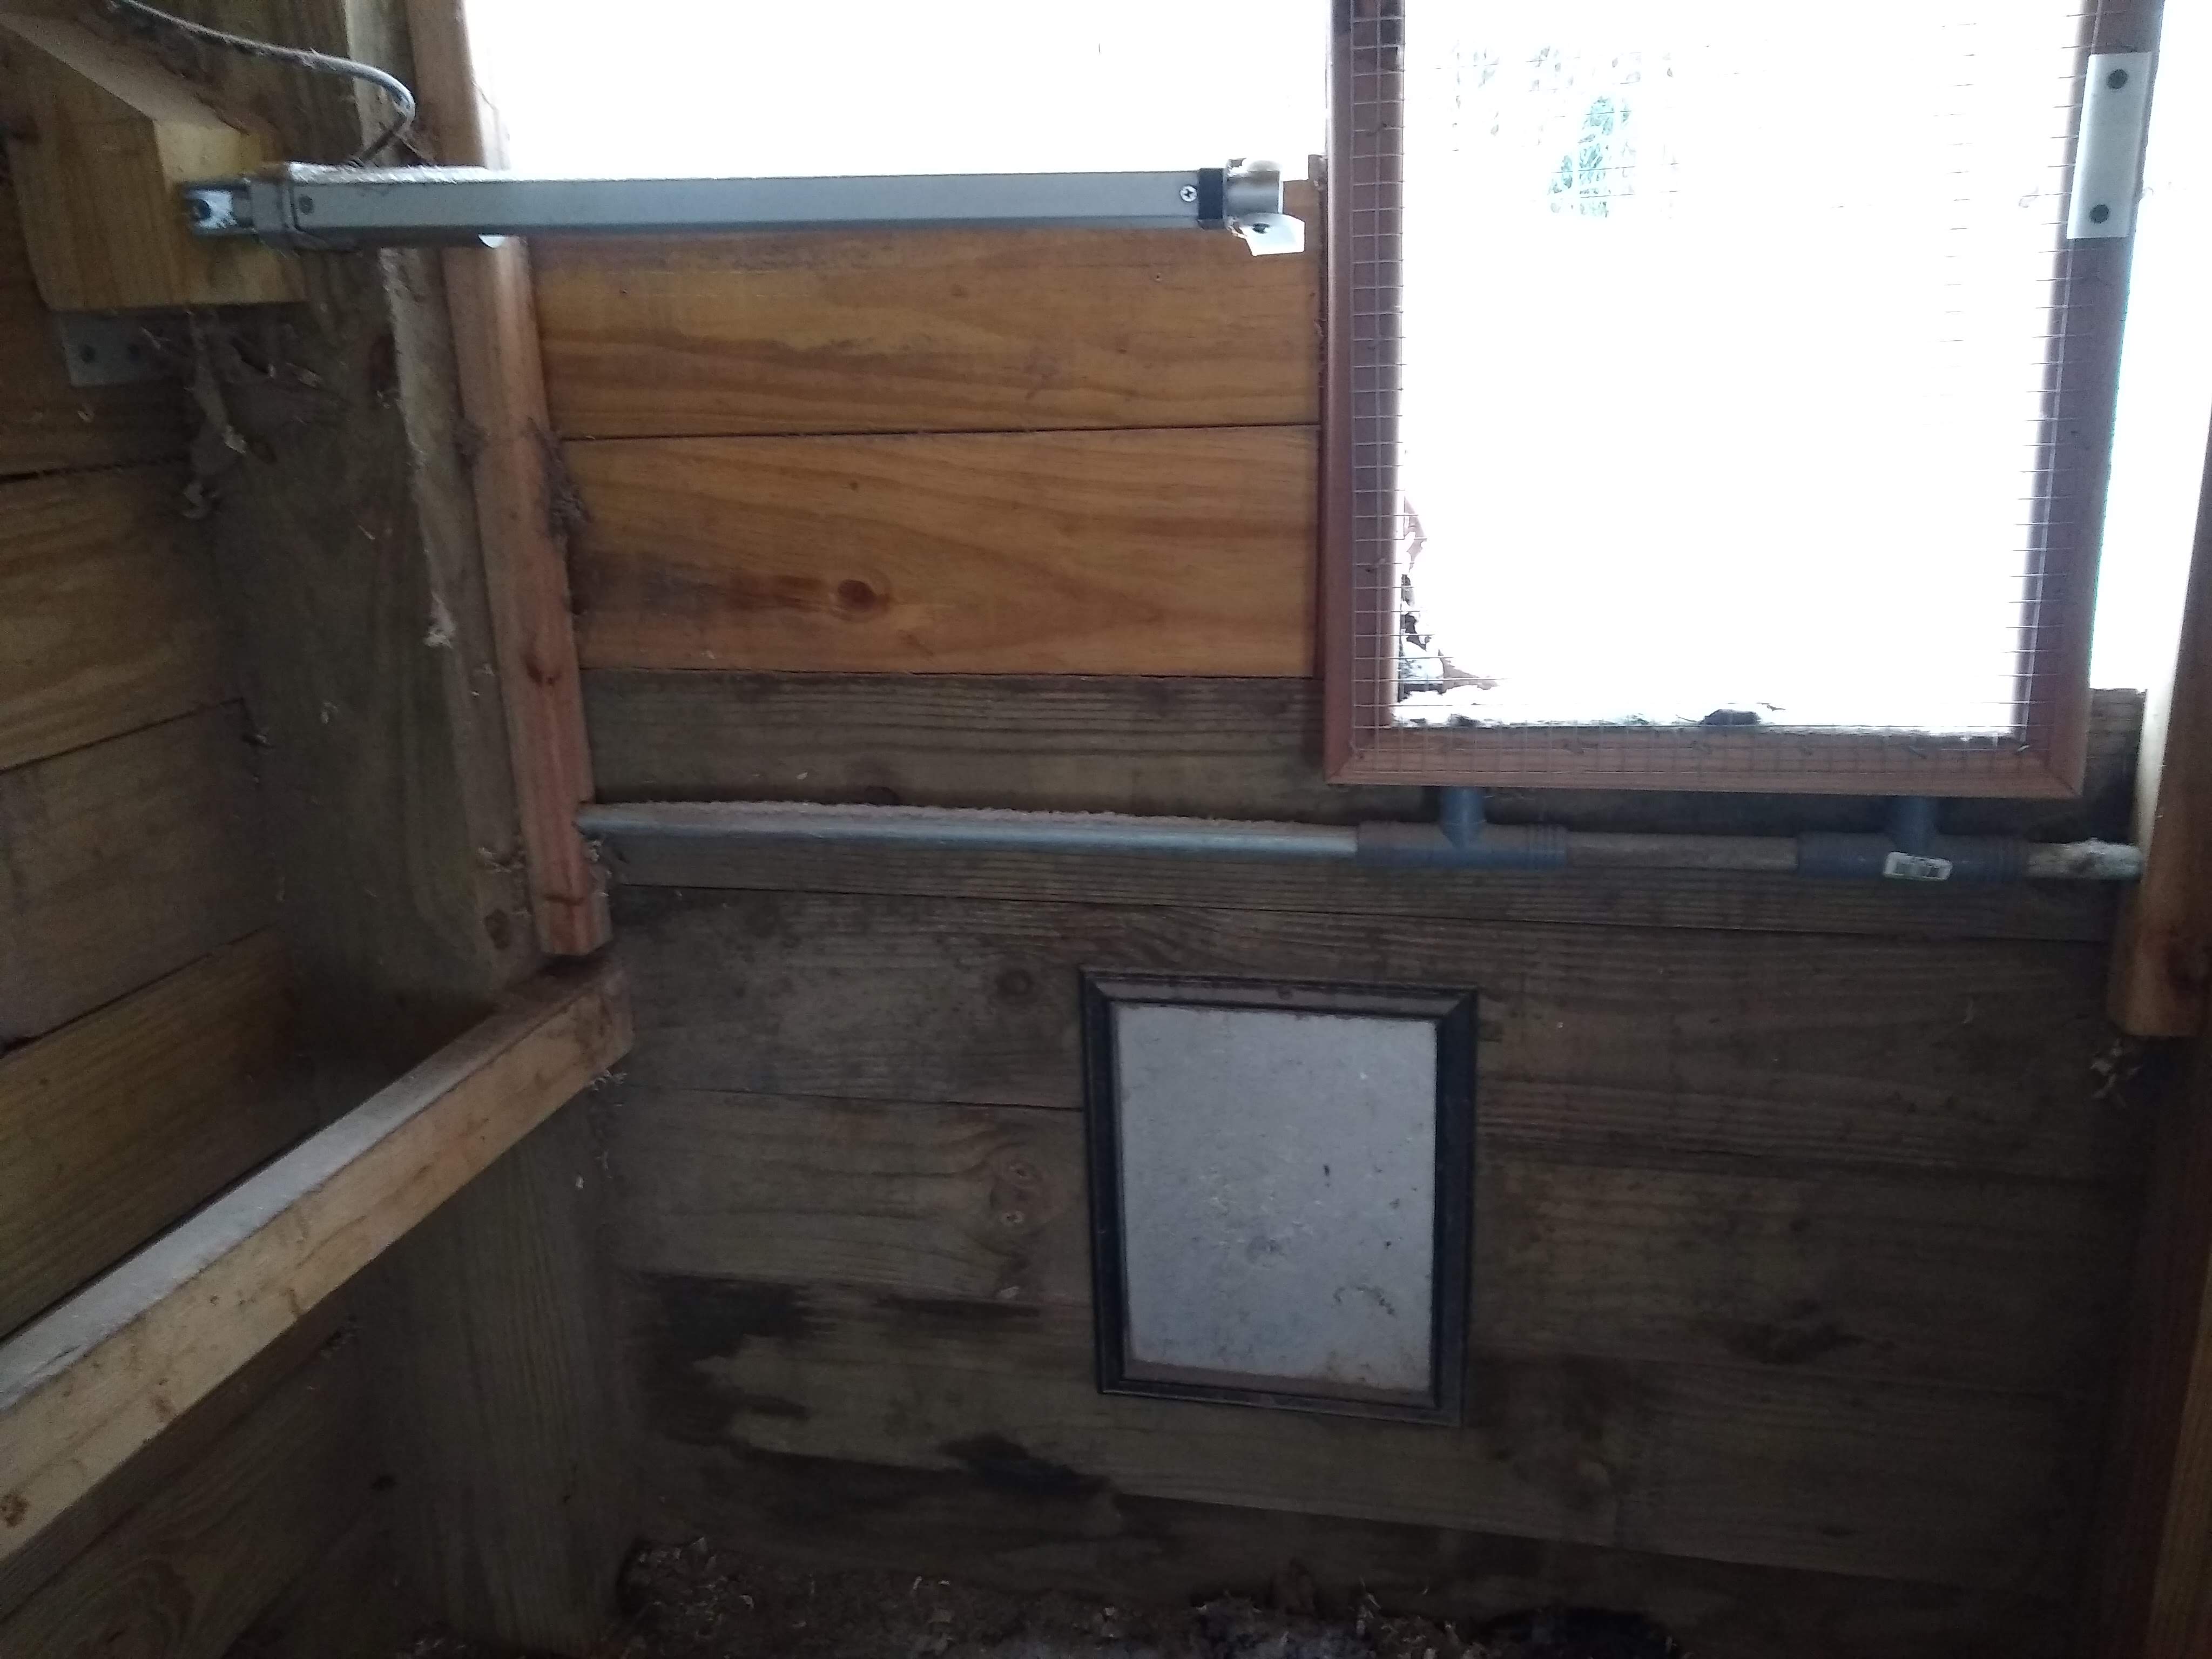
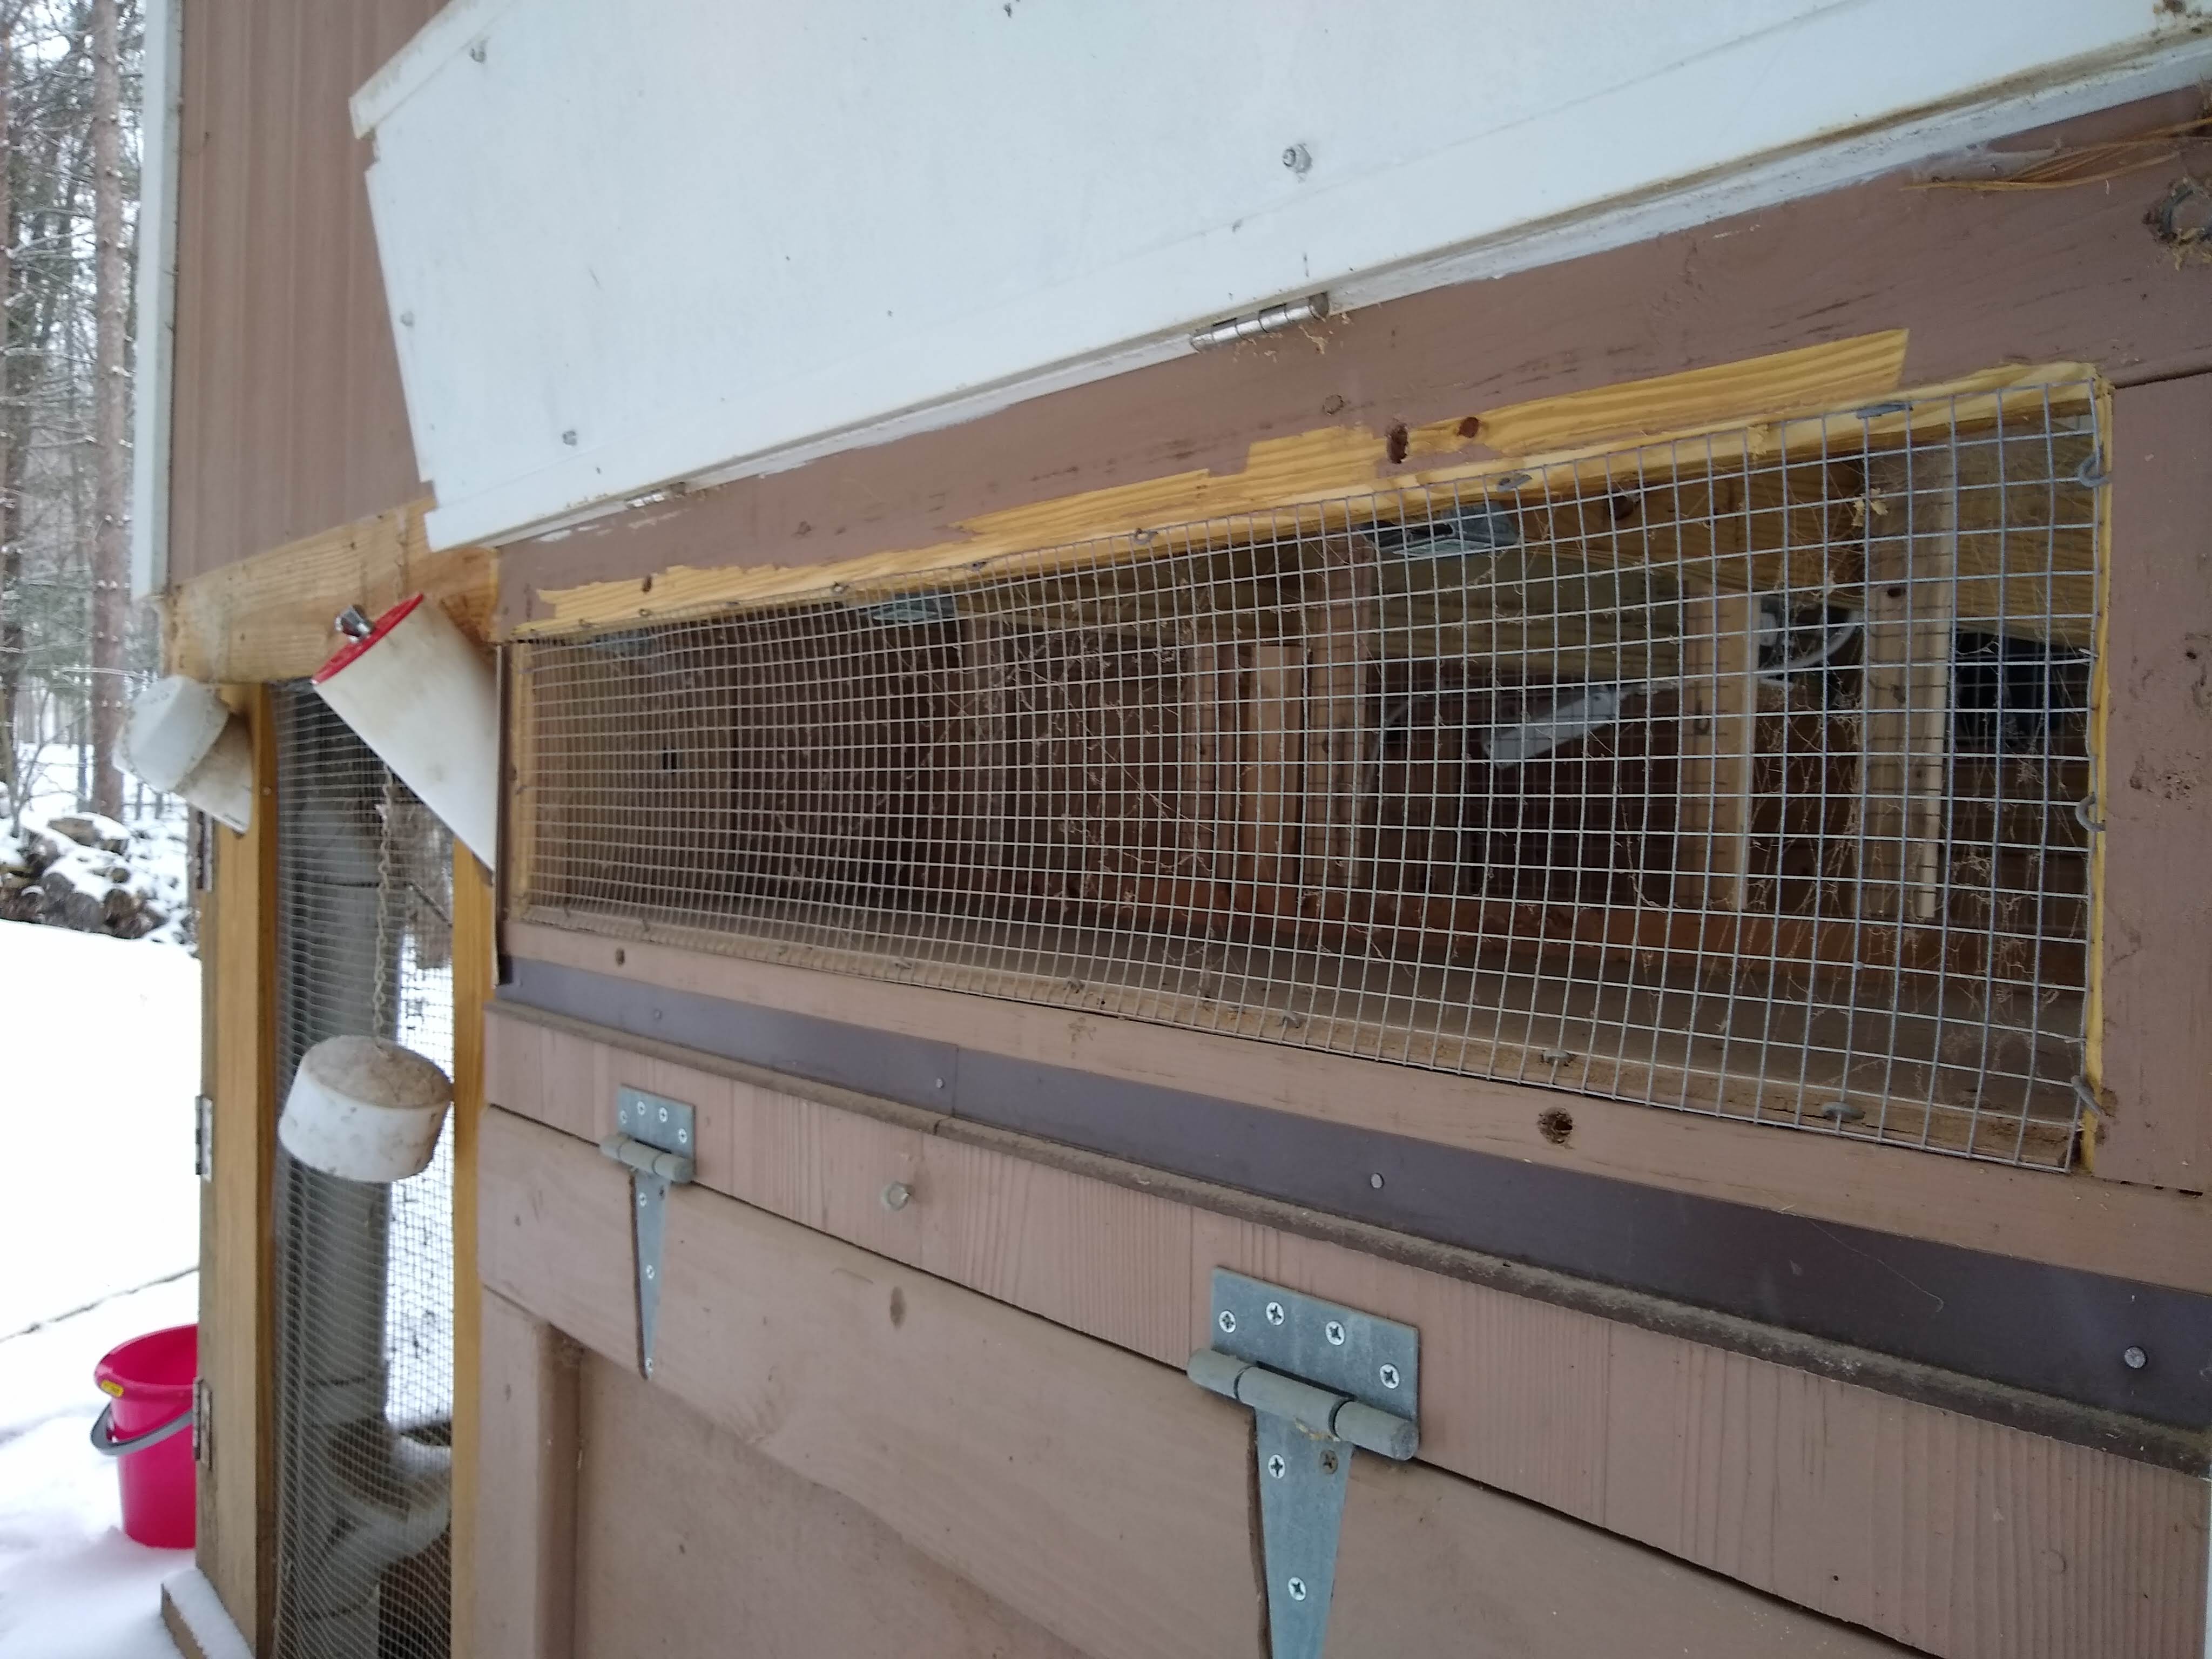
When I first built the coop, the nesting boxes were higher than the roost. This led to the chickens roosting on the edge of the nesting boxes, and pooping in the nesting boxes.
I ended up converting the nesting box area into a vent and building separate removable boxes to put in on the floor or the coop. This solved my problem. However, now I have to open my big door to get the eggs.

At some point I may put a smaller egg door in the big door to make it easier to access the eggs. However, since this is right on the ground on exposed, it needs to be predator proof, I haven't done it yet.
Heat
My rooster got frost bite last winter during the vortex. I had a small panel heater in the coop, but it apparently wasn't sufficient. I dislike any sort of heat bulb due to the fire risk. So this year, I put in a sweeter heater. It fits perfectly in the space I already had under the old nesting boxes and above the new ones.
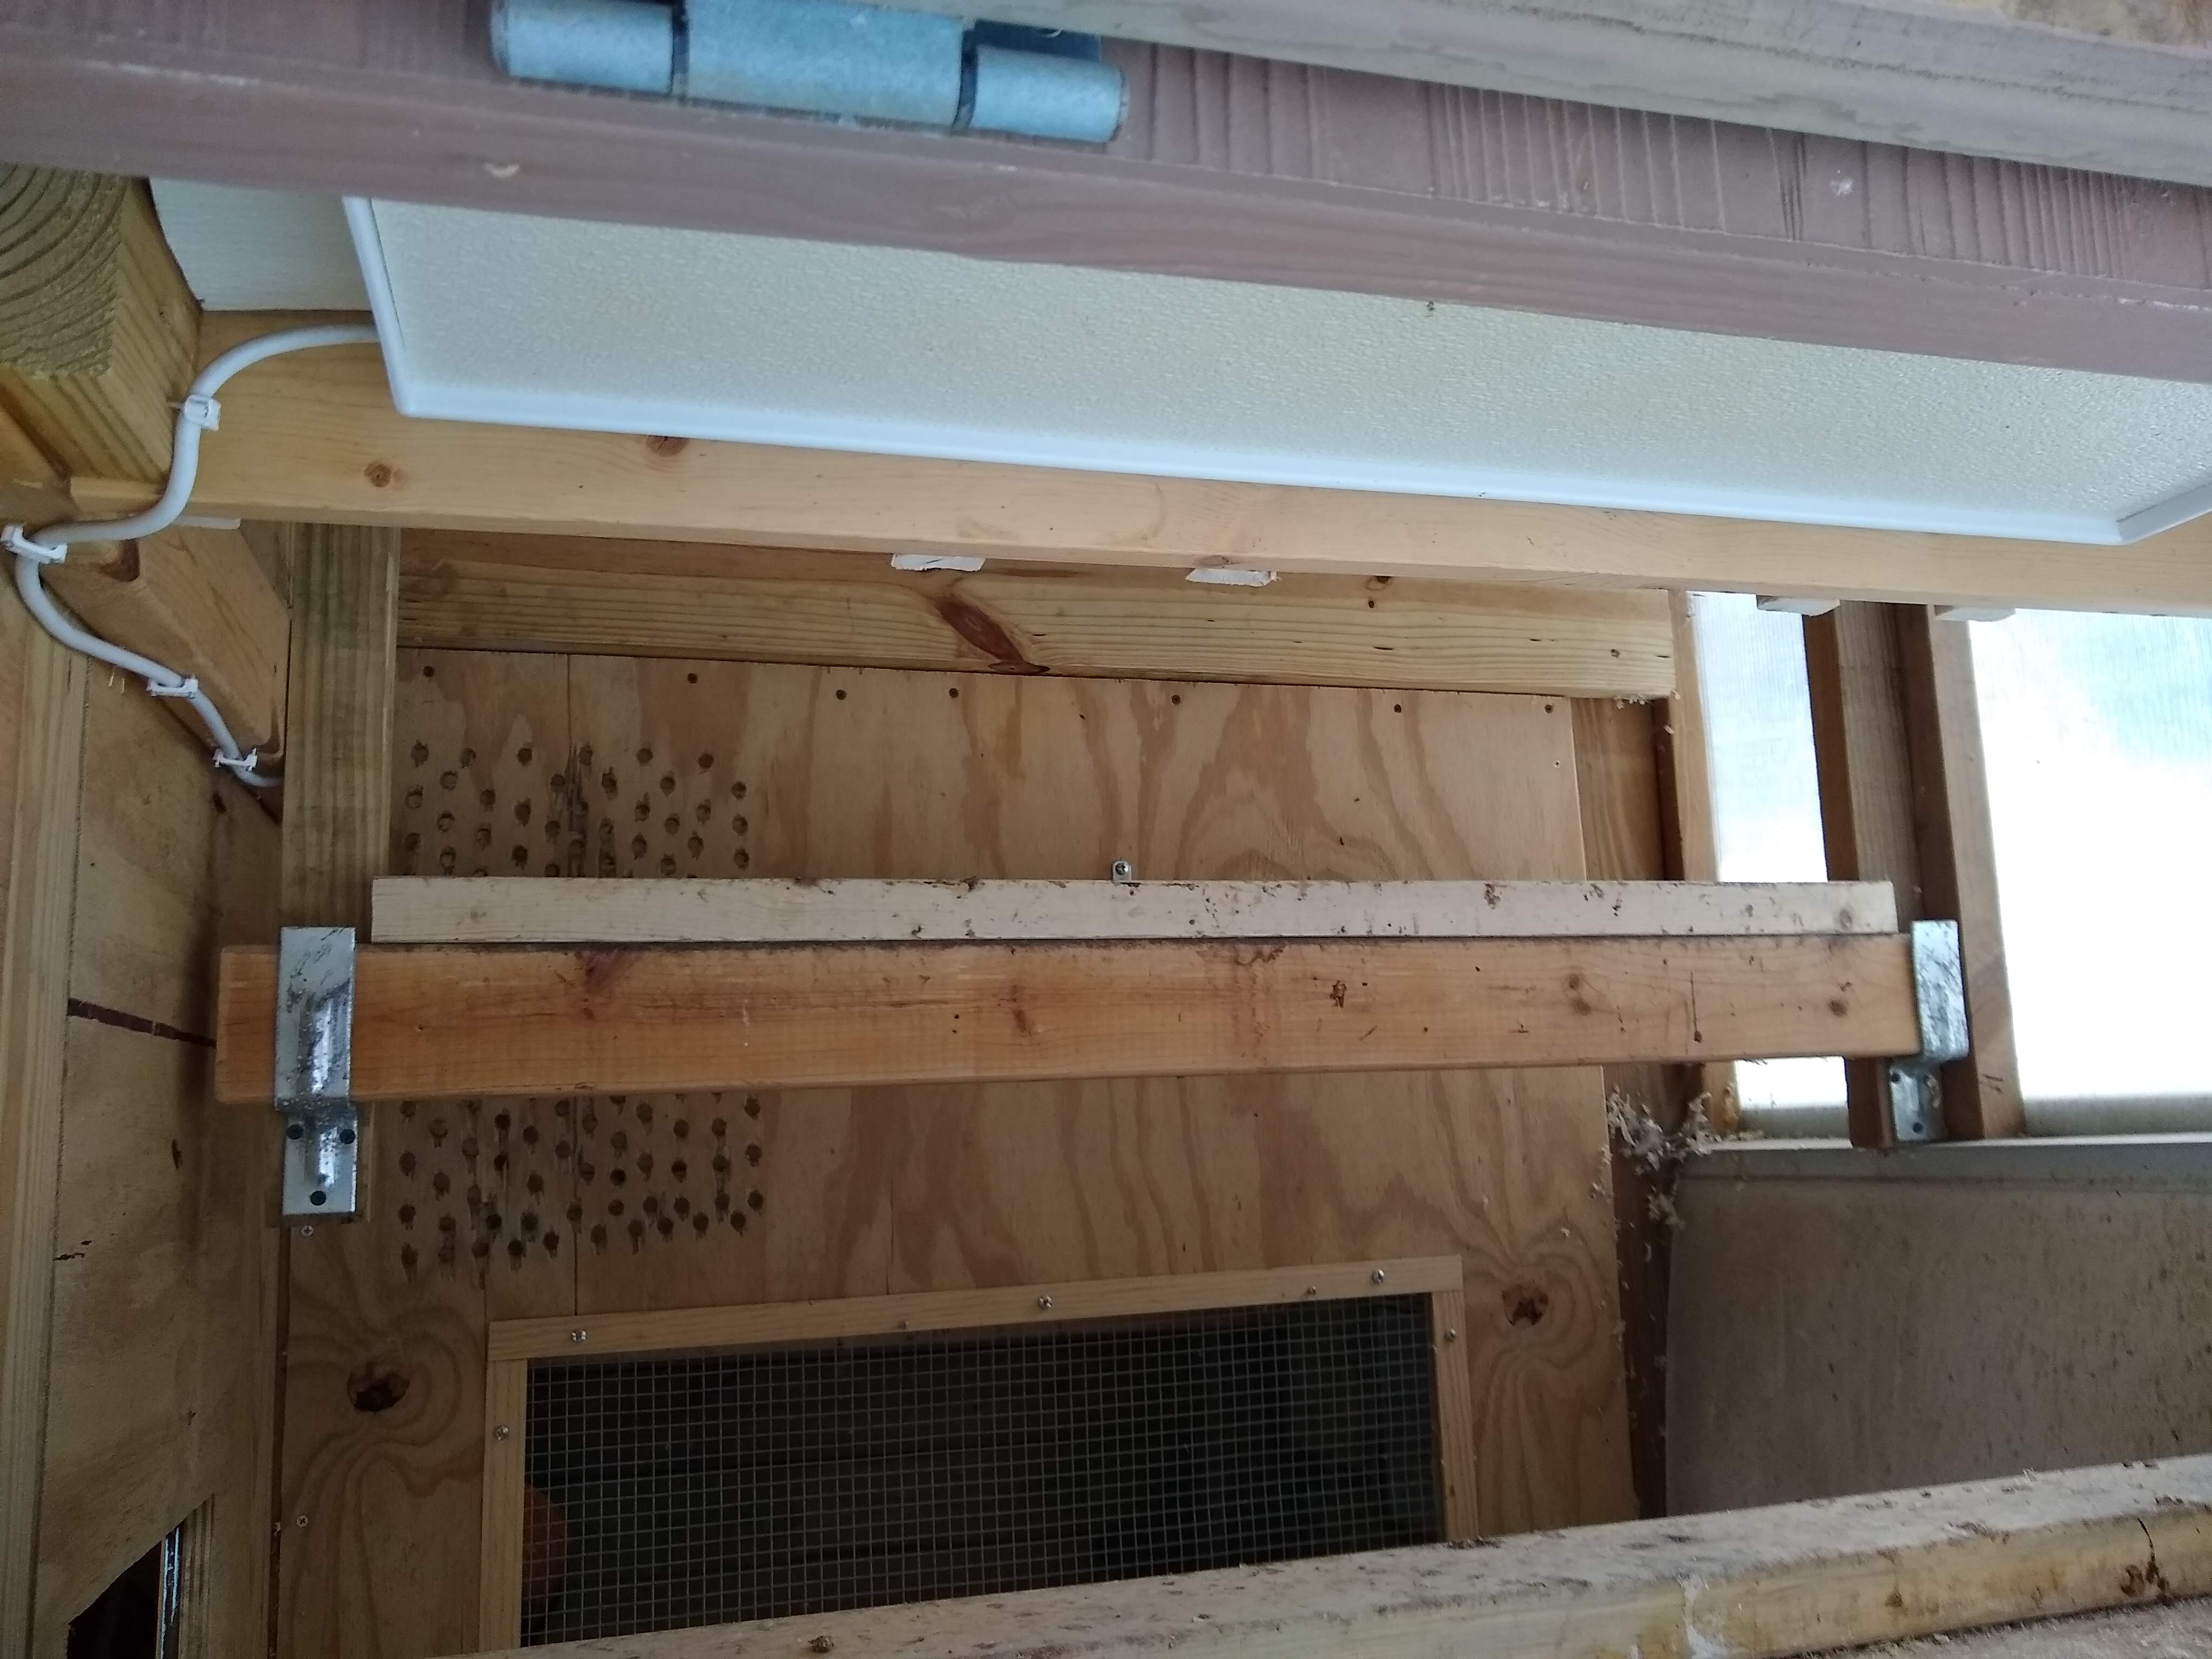
The heater is on when you plug it in, it doesn't have a thermostat of any kind. So, I have it plugged into a thermo cube to only turn it on when it's cold.